
Here I will show you how I make this delicious sourdough sandwich bread. Have you ever tried to make a peanut and butter sandwich with regular sourdough bread? If you have, you know how difficult it is to keep the condiments inside the sandwich.
While still fluffy, sourdough sandwich bread has a much tighter crumb. This will allow you to smear on those condiments without your condiments falling through the holes.
Recipe
The recipe for sandwich bread is a little different than normal sourdough bread. Standard sourdough normally has the following four ingredients:
Distilled Water
Sourdough Starter
Flour
Sea Salt
To tighten the crumb we will add some sugar and melted butter. We wont add much as it does not take a lot to effect the change we are looking for.
Lets take a look at the actual sourdough sandwich bread recipe.
200g Water
200g Sourdough Starter
425g All Purpose Flour
5g Sea Salt
5g Sugar
7g Melted Butter
Note that if you are using chlorinated water, you will need to boil it for 20 minutes to remove the chlorine. While I have used chlorinated tap water in the past with success, I recommend using distilled, or boiled water to give your bread the best chance for success.
The Players
Mixer
While you can certainly knead your sourdough by hand, some even find it therapeutic.
I make a loaf of sourdough bread every week for my wife and I. I find the hand kneading to be very monotonous so I looked for a simpler way.
I tried several mixers, including the popular kitchen-aid mixers. These just were not up to the task.
I started doing research into the both the Nutrimill Artiste and Bosch Universal Plus Mixers. There is definitely some relationship between the two, as they have much the same components and many of the accessories are interchangeable between the two.
When it was all said and done I decided on the Nutrimill Artiste for its smaller footprint and much cheaper price and came with all the accessories needed to make bread. If you are going to mix one or two loaves at a time the Artiste is perfectly fine, for more loaves I recommend the Bosch.
I picked mine up from Amazon here:
Note that the Bosch mixer works just as well. I know a few folks that used them to make sourdough bread.
The Starter
I made my own starter that I call “Honey Monkey”. I have been using it to make sourdough bread for almost 3 years.
I will be doing a write-up in the near future on how to make such a starter.
I have also dried some of my starter so that I can offer it to folks as a starting point. I will show how to reconstitute a starter again in the near future.
I have used as little as 100g of starter with success. The 200g will really get your bread to rise and create a larger fluffier loaf.
The Flour
In the recipe, I use 100% all purpose flour. It should of the unbleached variety.
While just about any unbleached all-purpose flour will work, this is what I have been using:
This flour is not really all purpose flour as it has 12.7% protein which is up there with most bread flours.
Note that this flour is sold in many restaurant supply stores.
You can substitute some of the all purpose flour with whole wheat flour, but I recommend the first few times you make it with 100% all purpose flour.
Mixing the Ingredients
200g Warm Water
Start by adding 200g of warm water. Don’t use hot water, make sure its 90 degrees or cooler. Note that the warm water will help dissolve the rest of the ingredients.
5g Sea Salt
Next, add 5g of sea salt.
5g Sugar
Add 5g of sugar.
5g Melted Butter
Add 5g of the 7g melted butter. The remaining butter will be used to coat the top of the loaf when it is baked.
Mix
Mix until the salt and sugar have dissolved in the water.
200g Sourdough Starter
Add the 200g of sourdough starter to the mixture.
It is OK if you are over or under when adding the starter.
Mix
Mix until the starter is incorporated.
425g All Purpose Flour
In another bowel add 425g of flour.
Again, if you are a little under or over that’s ok.
Add Flour
Add the 425g of flower to the mixer.
Add Starter
Add the starter mixture to the Mixer.
Knead the Dough
Start the Mixer
Start the Mixer on low speed. If the mixture does not want to mix, increase the speed. If this does not help add a little water. A little water goes a long way, only add 1 Tbs at a time.
Stop the Mixer
Once the mixture forms into a single mass stop the mixer.
Add Lid
Add the mixer lid and let the dough rest for 30 minutes. This process called autolyse, will give the gluten a head start.
Stretch and Fold #1
Run the mixer until the dough has been folded by the tines at least 12 times.
Rest
Close the lid and let rest for 15 minutes.


Stretch and Fold #2
Run the mixer until the dough has been folded by the tines at least 12 times.
Rest
Close the lid and let rest for 15 minutes.
Stretch and Fold #3
Run the mixer until the doughhas been folded by the tines at least 12 times.
Rest
Close the lid and let rest for 15 minutes.


Check the Dough
After the third rest, perform a window pane test.
What is a window pane test?
If you can stretch the dough enough to see light through it, it’s ready.
In this case it is not ready.
Stretch and Fold #4
Run the mixer until the dough has been folded by the tines at least 12 times.
Rest
Close the lid and let rest for 15 minutes


Test the Dough Again
Perform the window pane test again. If it is not ready perform the fold/rest/check sequence until it is.
First Proof
Here we are going to do our initial shaping and first proof.
Dust
Dust your work surface with flour. Make sure you spread the flour and get some on your hands.
Place Dough
Remove the dough from mixer and place it on your work surface.
Fold Dough
Stretch four sides of the dough and fold it over.
Flip and Form
Flip the dough over and fold the dough under to stretch the top.
Dust
Dust a bowl with a cover with flour. You need the cover to keep the bread from drying out during the proof.
You can use cling wrap, foil, or a damp tea towel as a cover.
Add to Bowl
Add the dough to the bowl and add the cover.
Proof
If you have a proofer, set it to 86 degrees and proof for two hours.
If you don’t have a proofer, you can proof at room temperature. Note that the lower the temperature the long it will need to proof.
At 70 degrees you will need about 4 hours.
Note that the longer the bread proofs the more sour it will taste. If you proof in your fridge, it will proof for several hours and you will get more of a sour taste. Personally I don’t like all that sour.
My Proofer
This is the proofer I am using. I is a very high end toaster oven with a proofing feature.
If you want to make a very inexpensive proofer check this article I wrote.
Wait
Wait for the proof to complete.


You want the dough to increase in size.
Second Proof
Here we will do our final shaping and proofing.
Dust
Dust your work surface. Again, make sure you get some on your hands.
I am using a silicone baking mat for my work surface.
Place
Using a bread scraper, remove the dough from the bowl and place it on your mat with the smooth stretched side down.


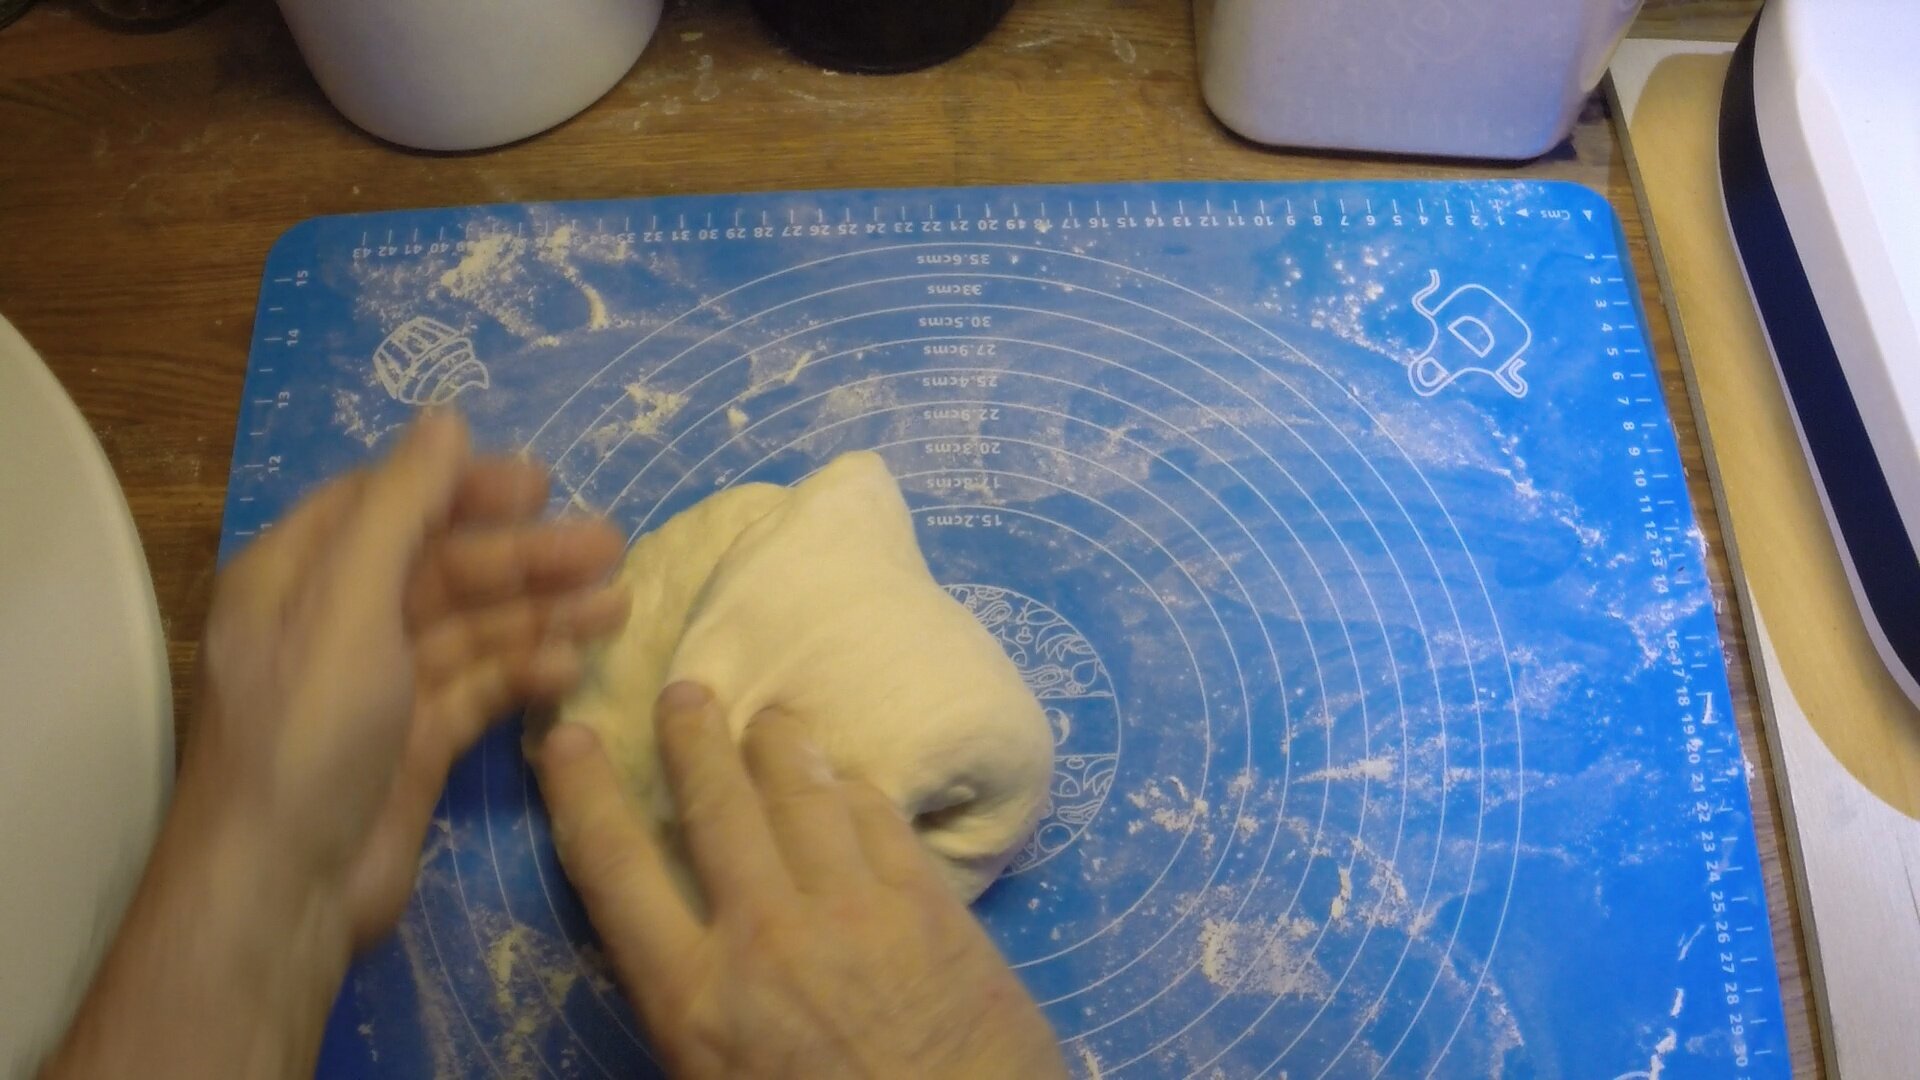
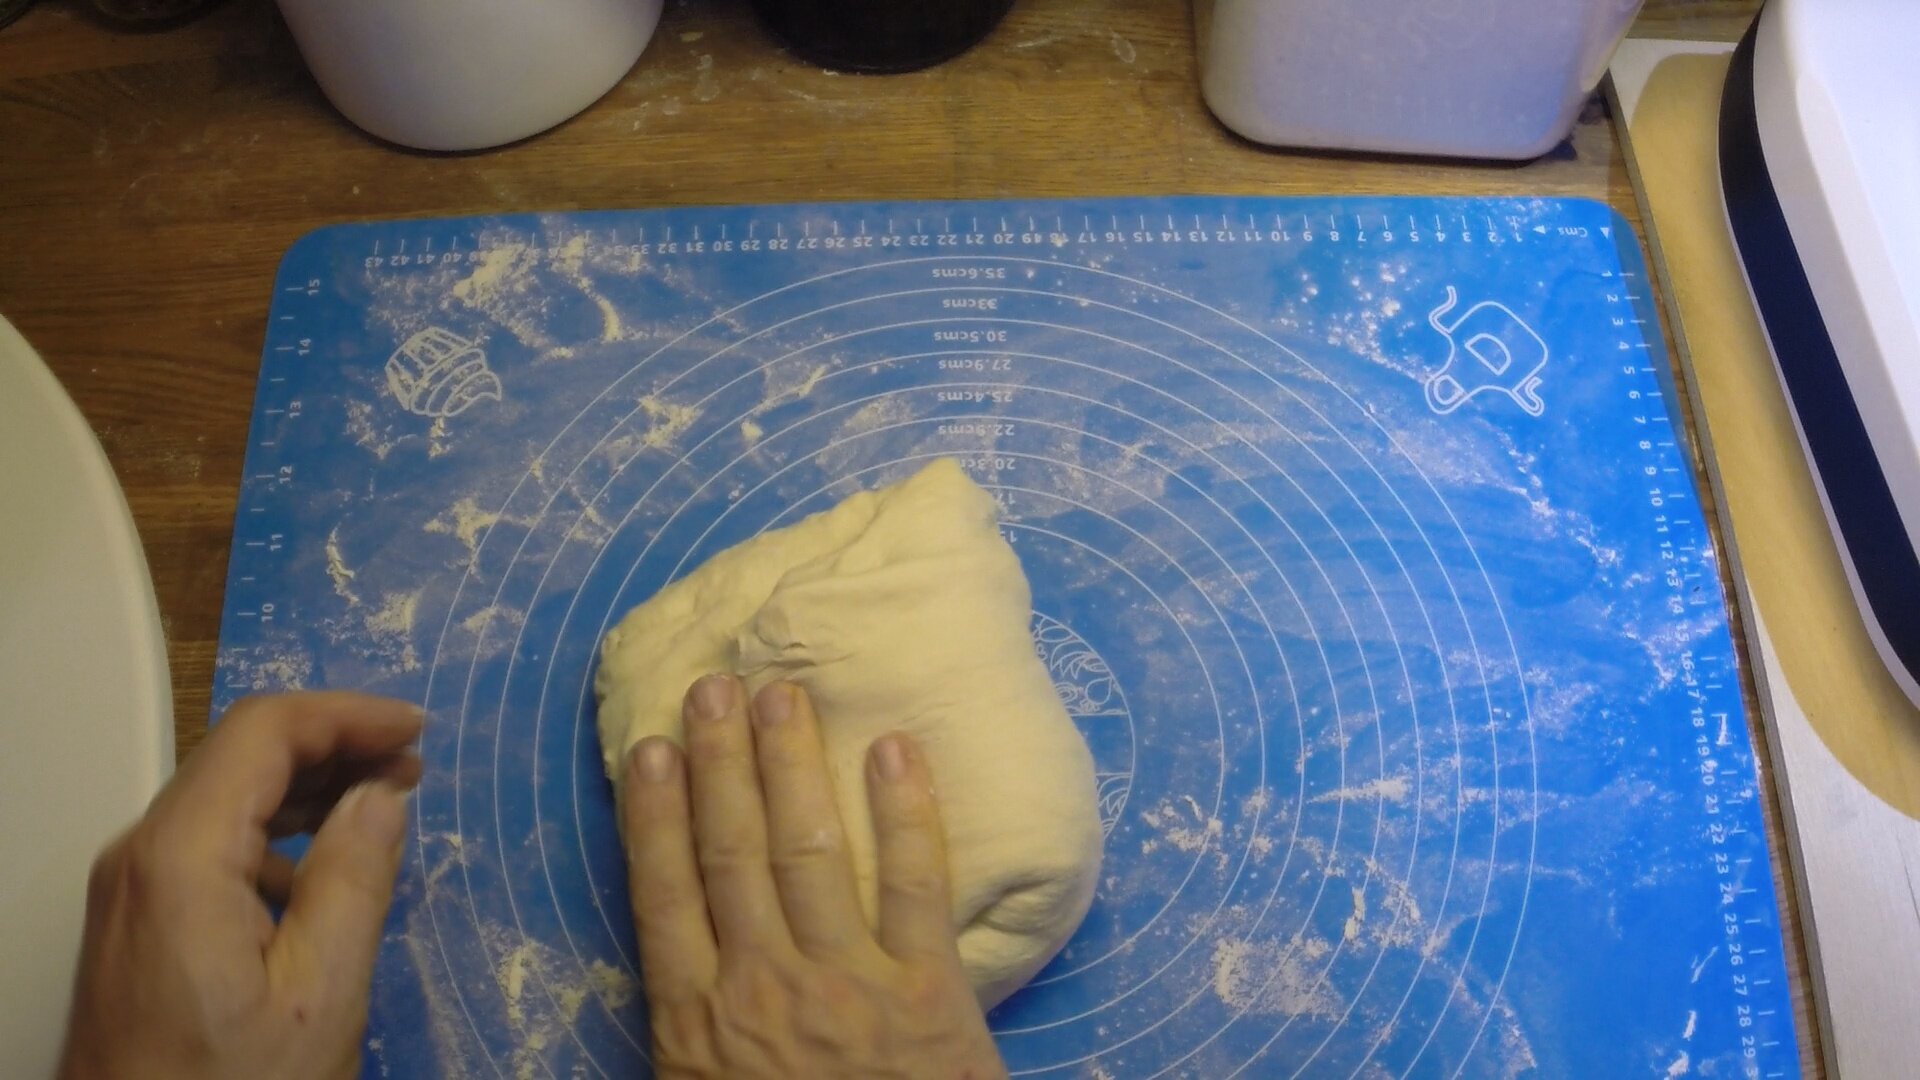
Fold
Fold the dough into thirds
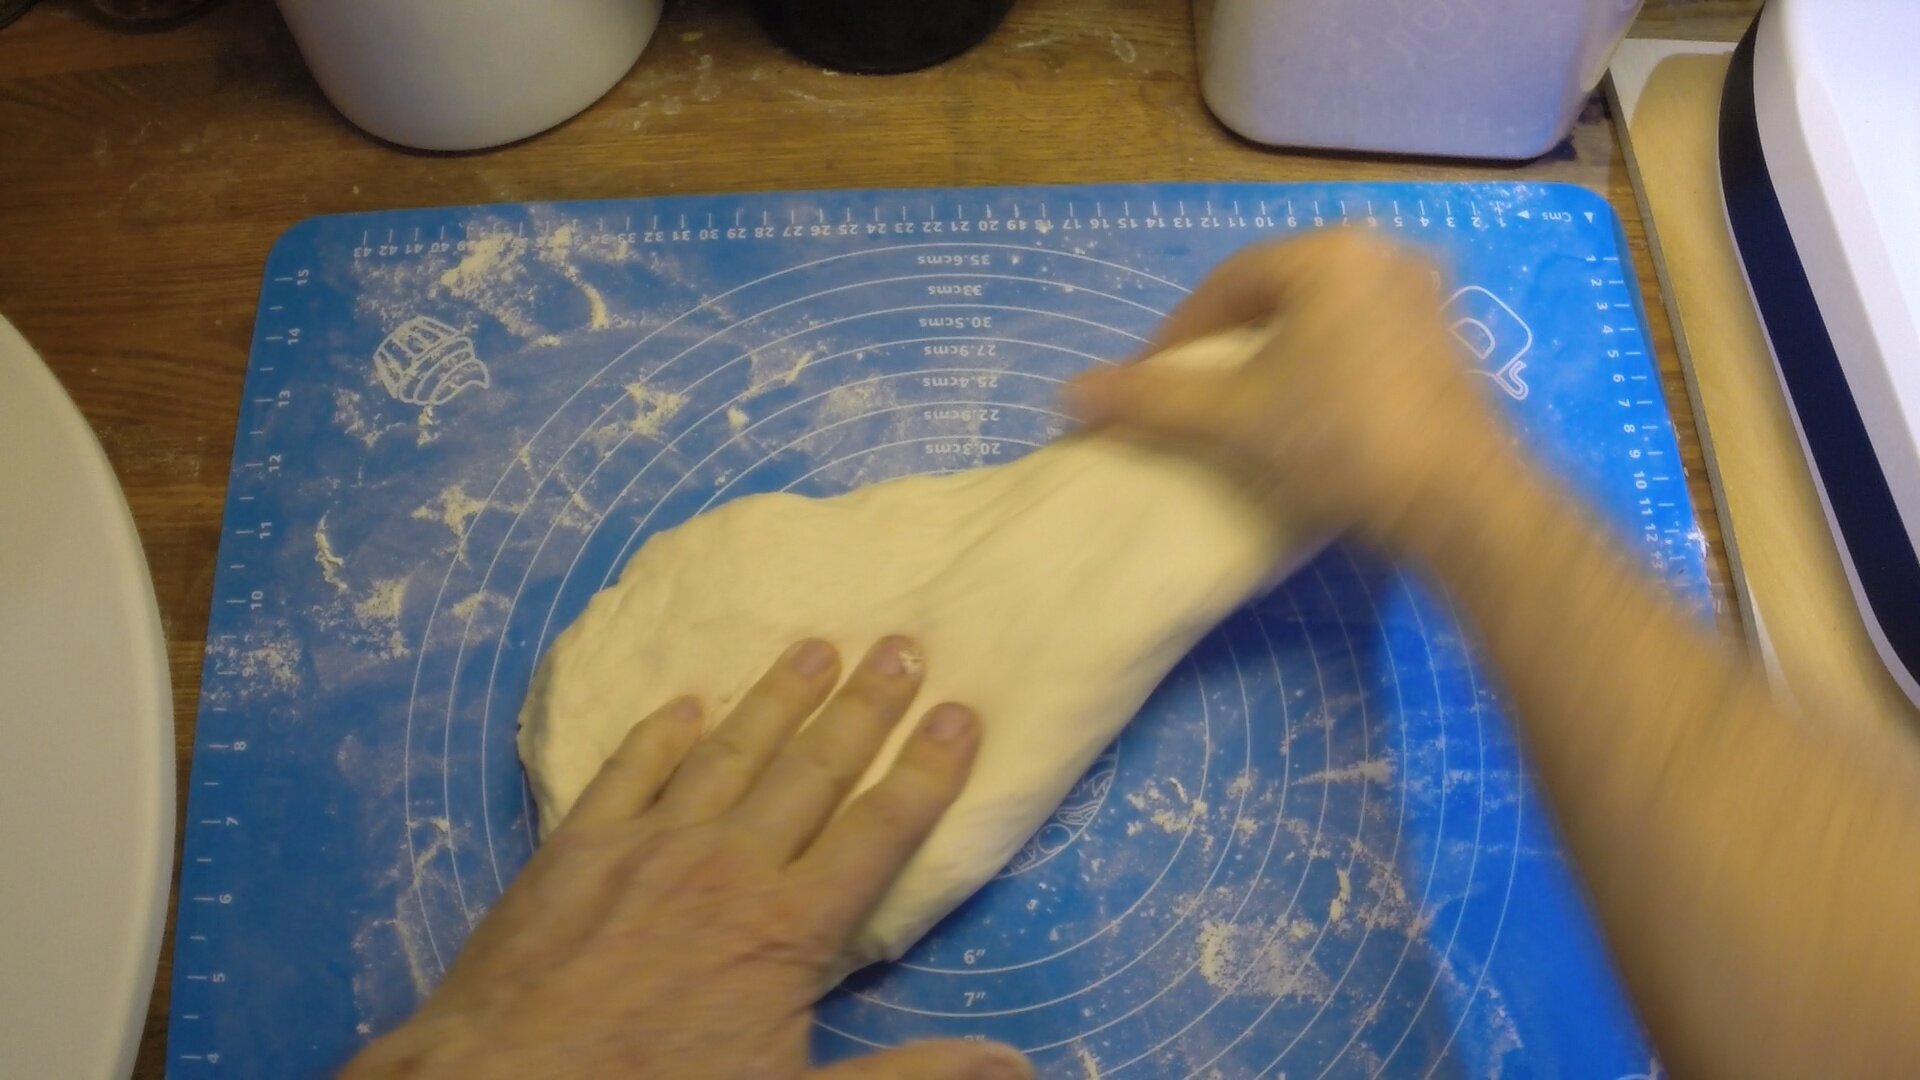
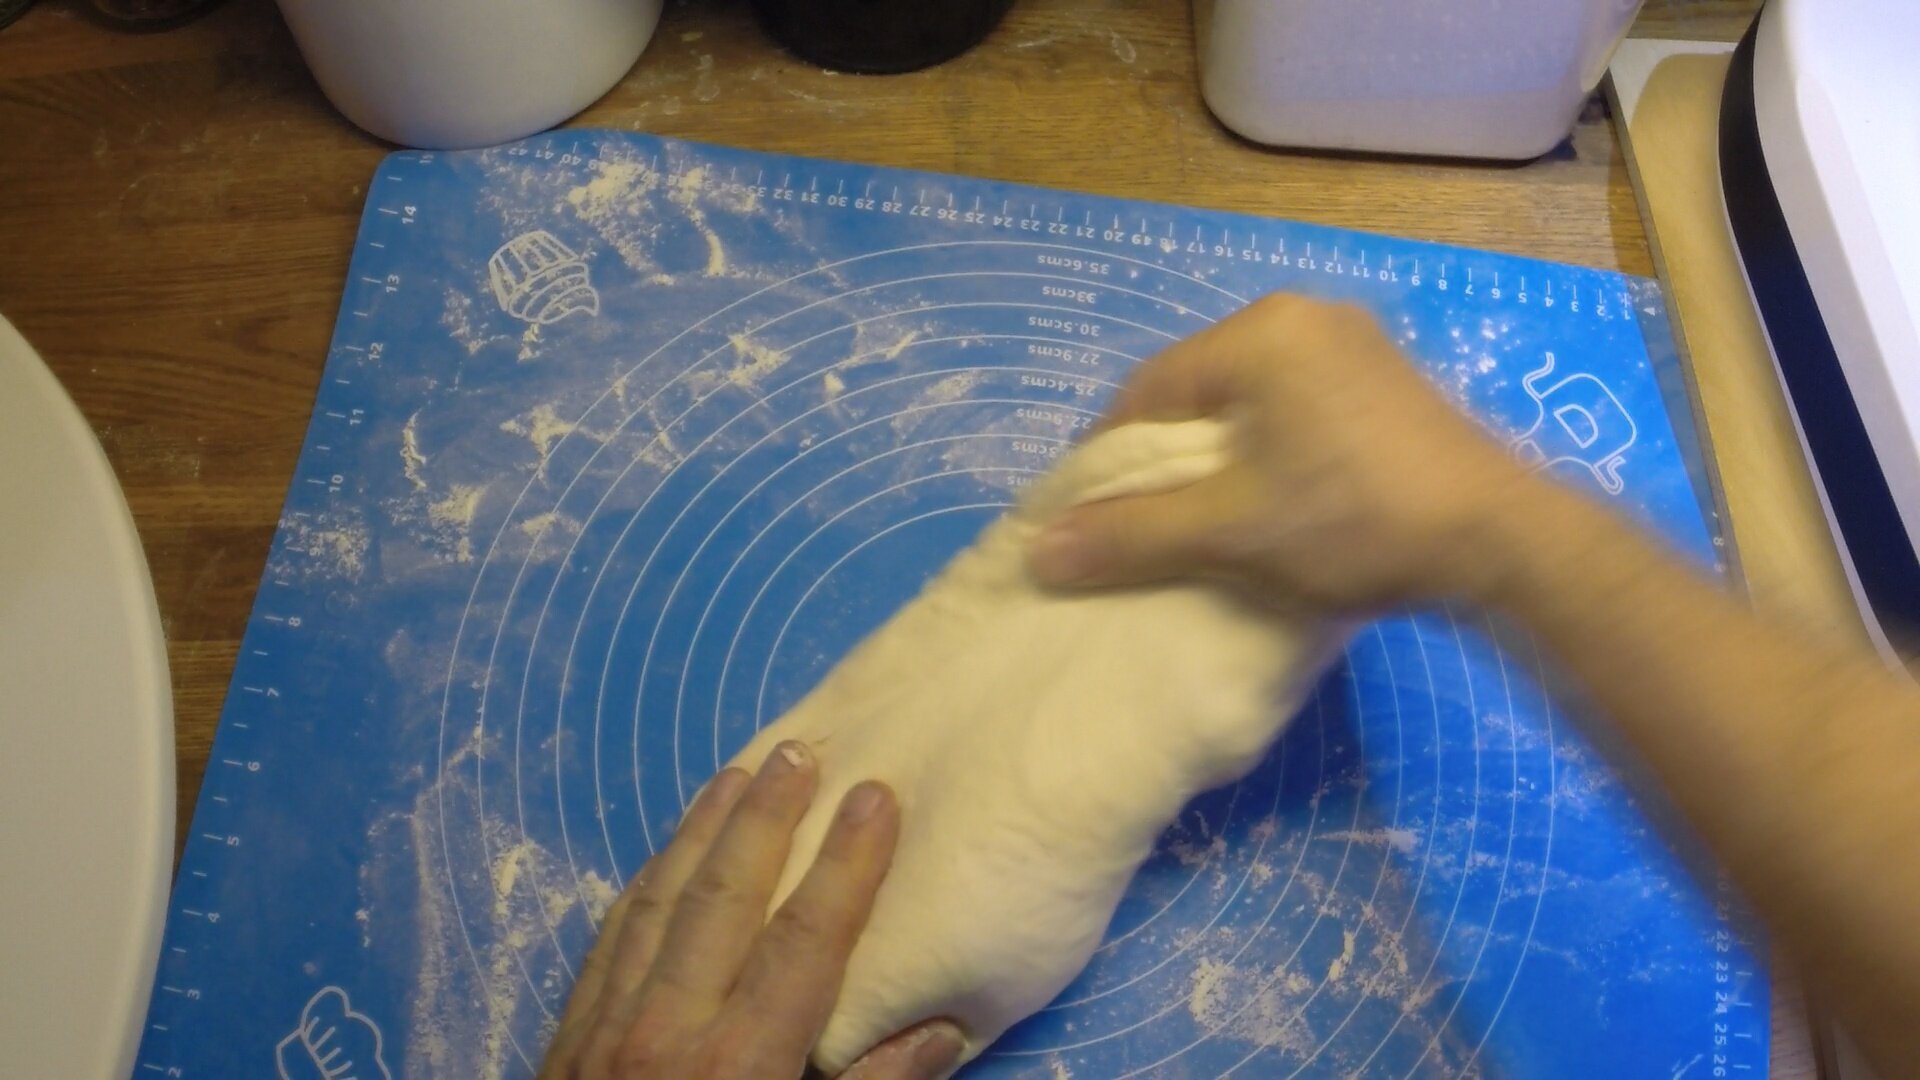
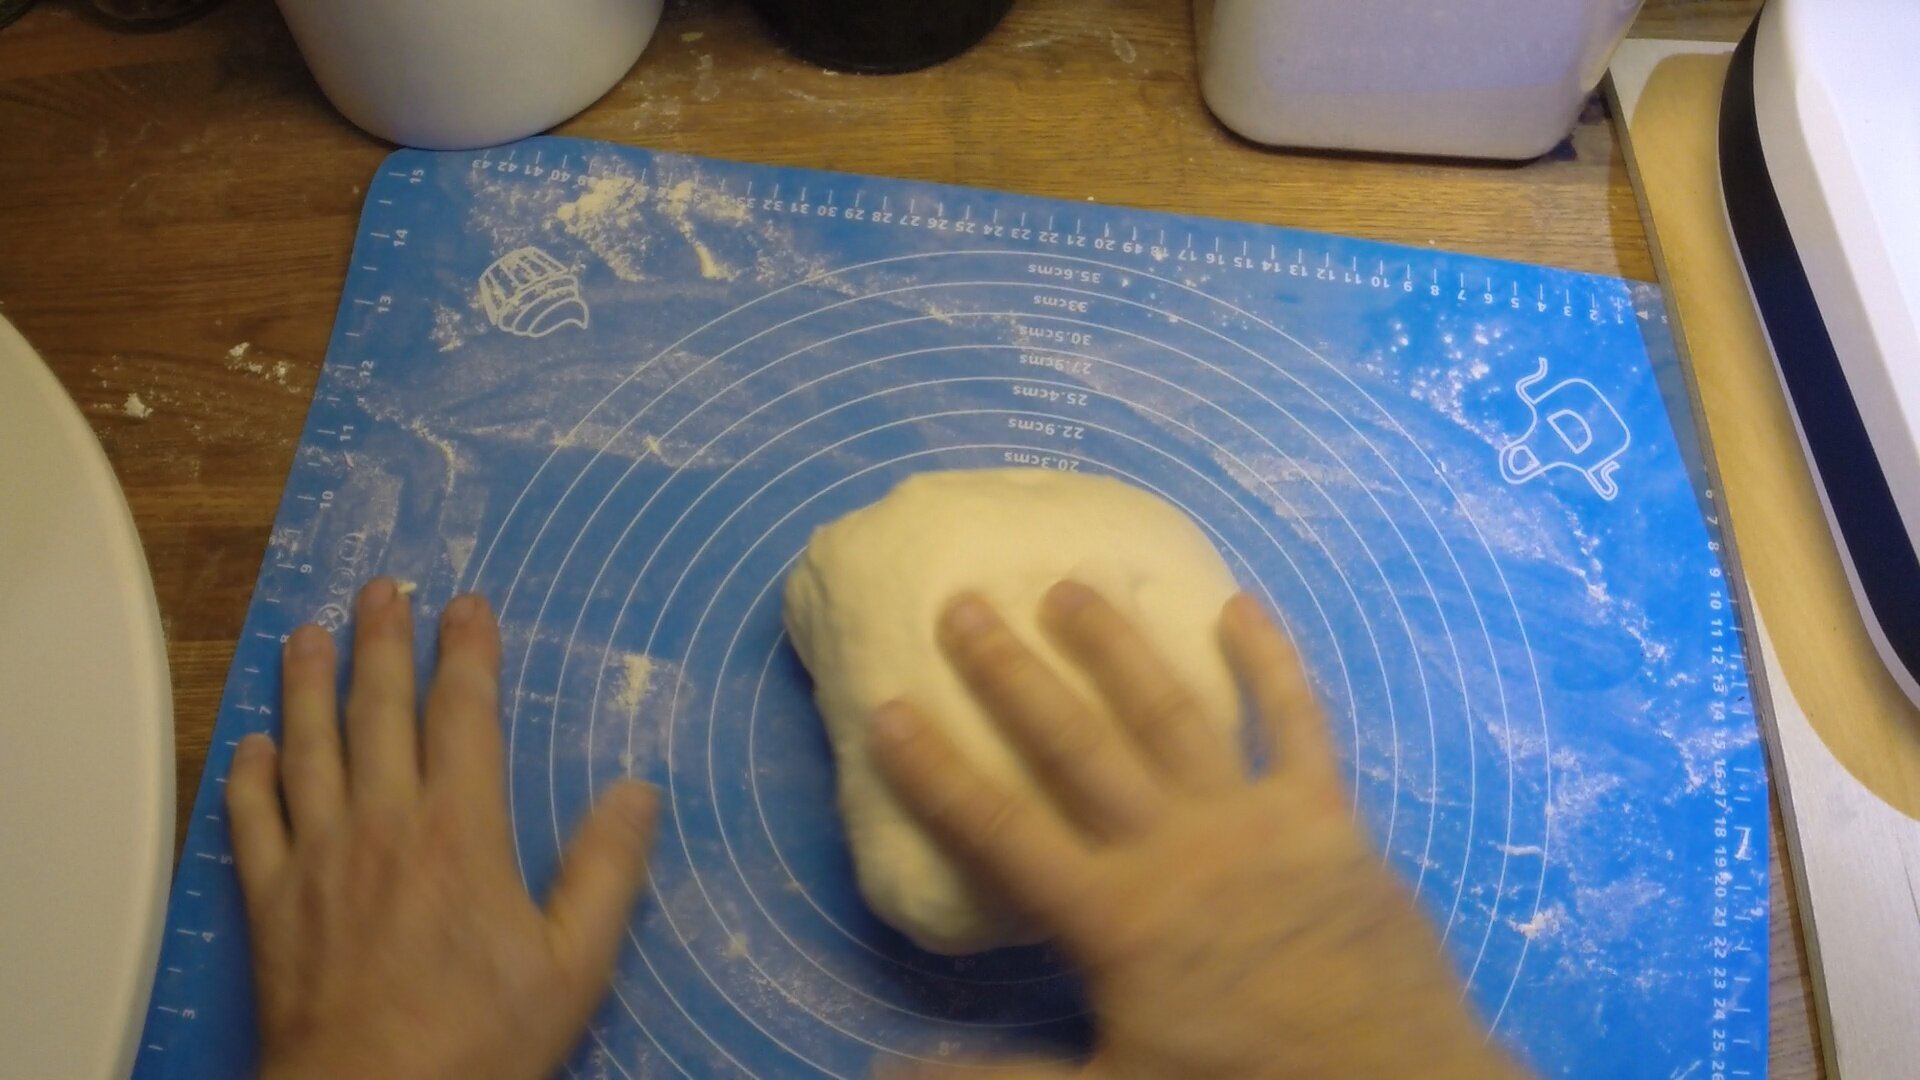
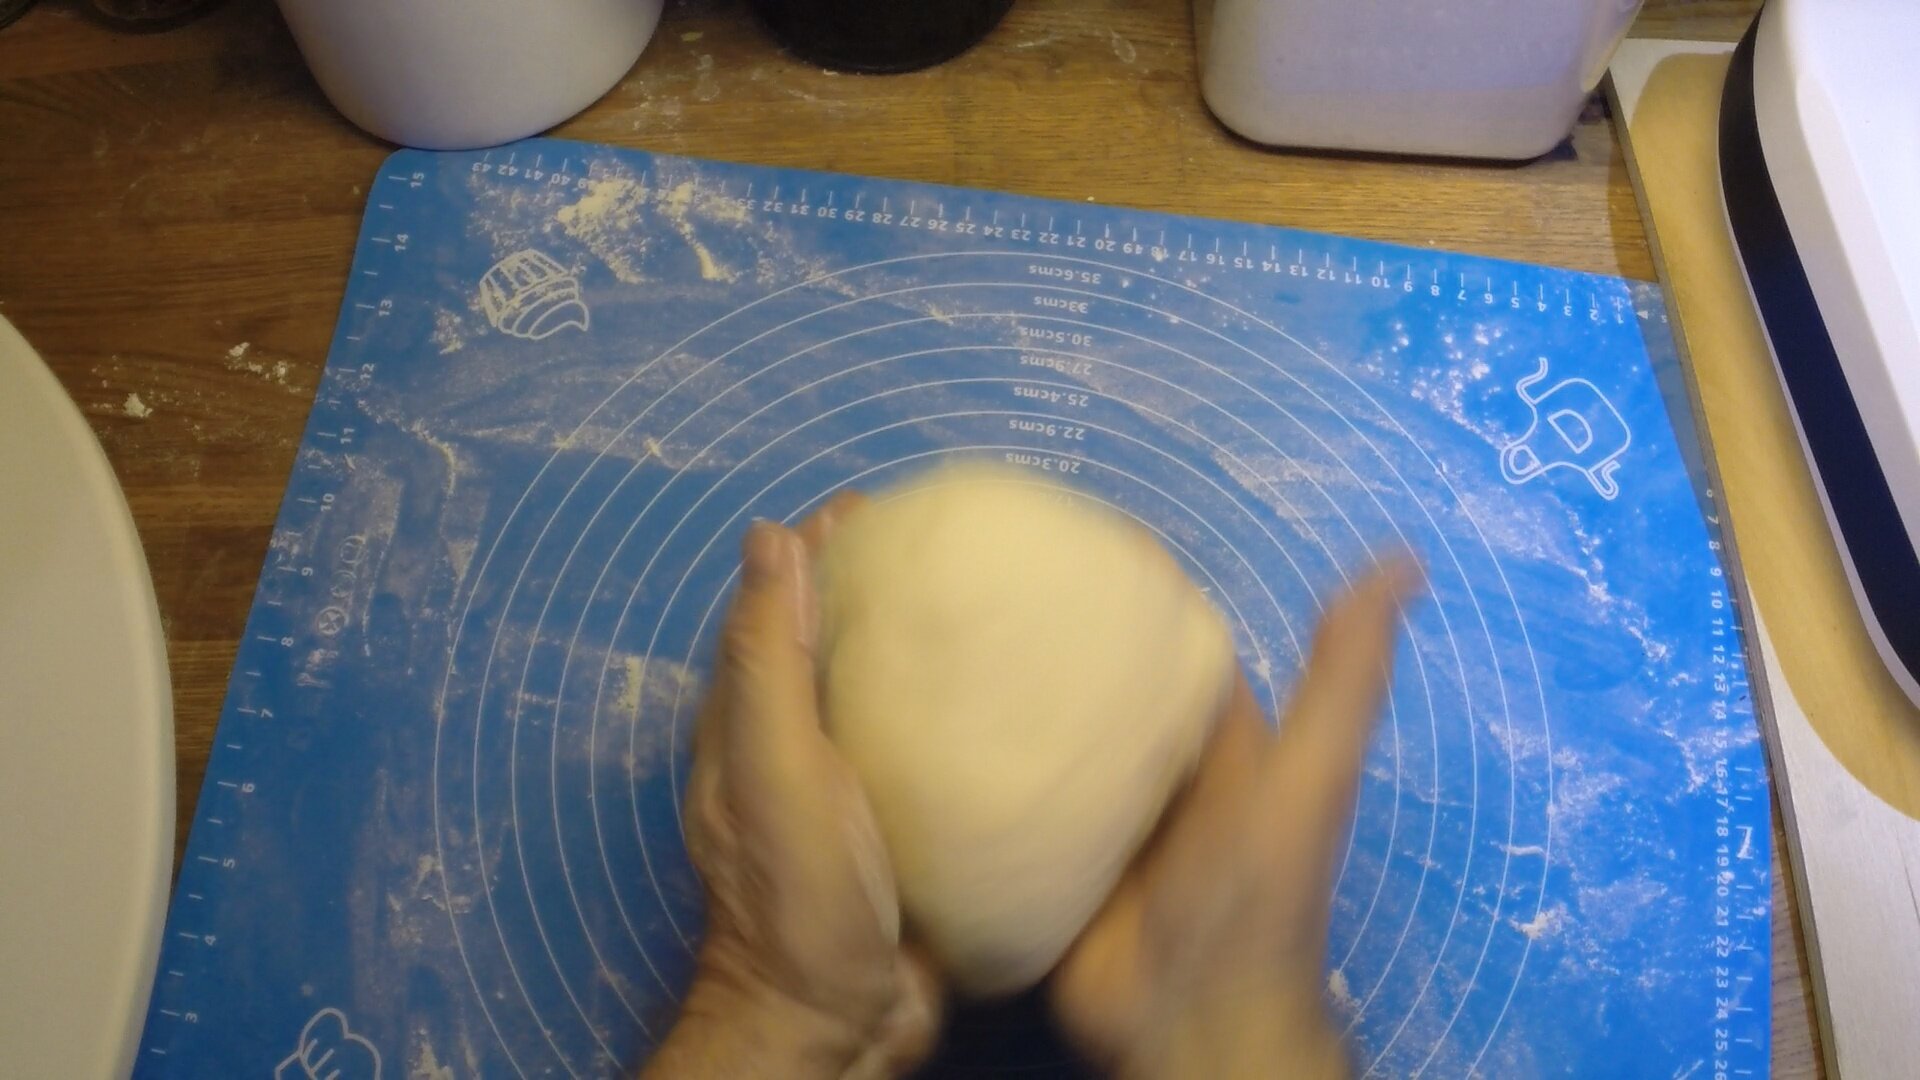
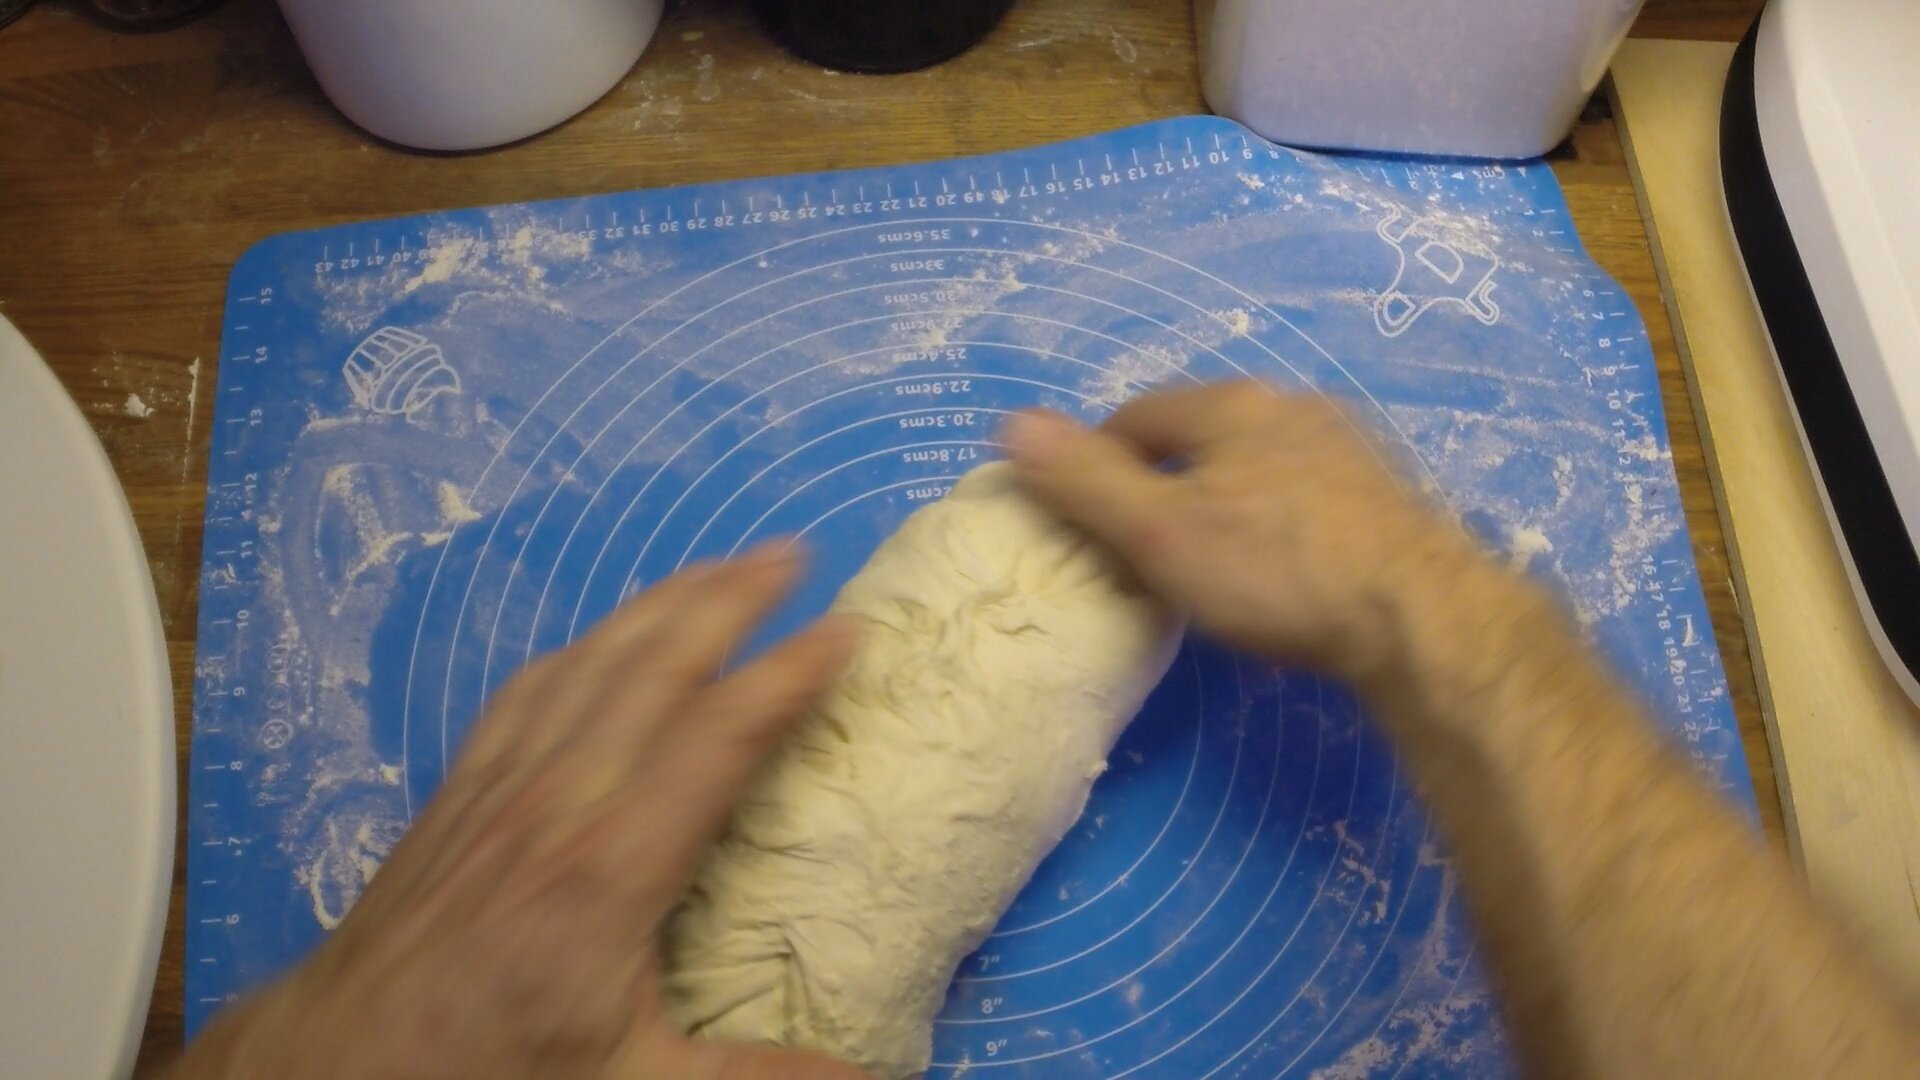
Roll
Roll the dough as tight as you can. The goal here is to stretch the outside.


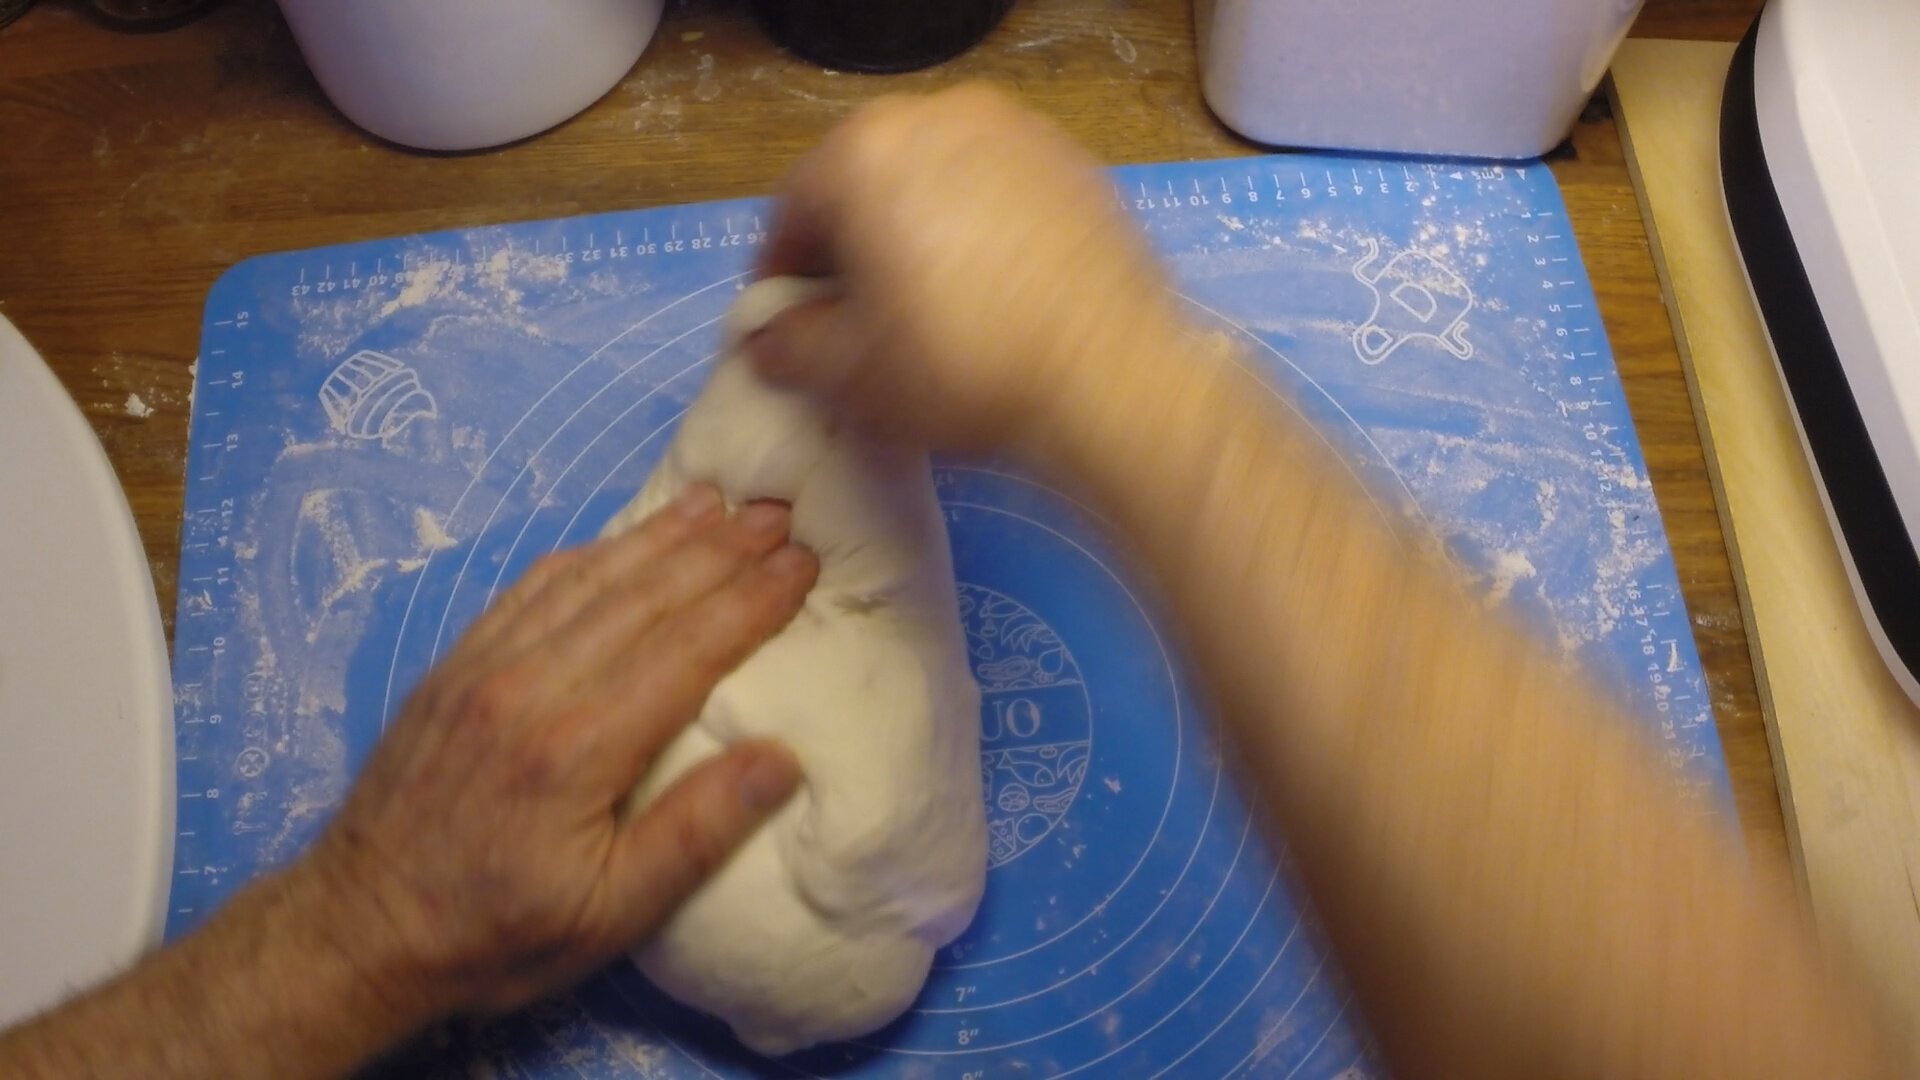
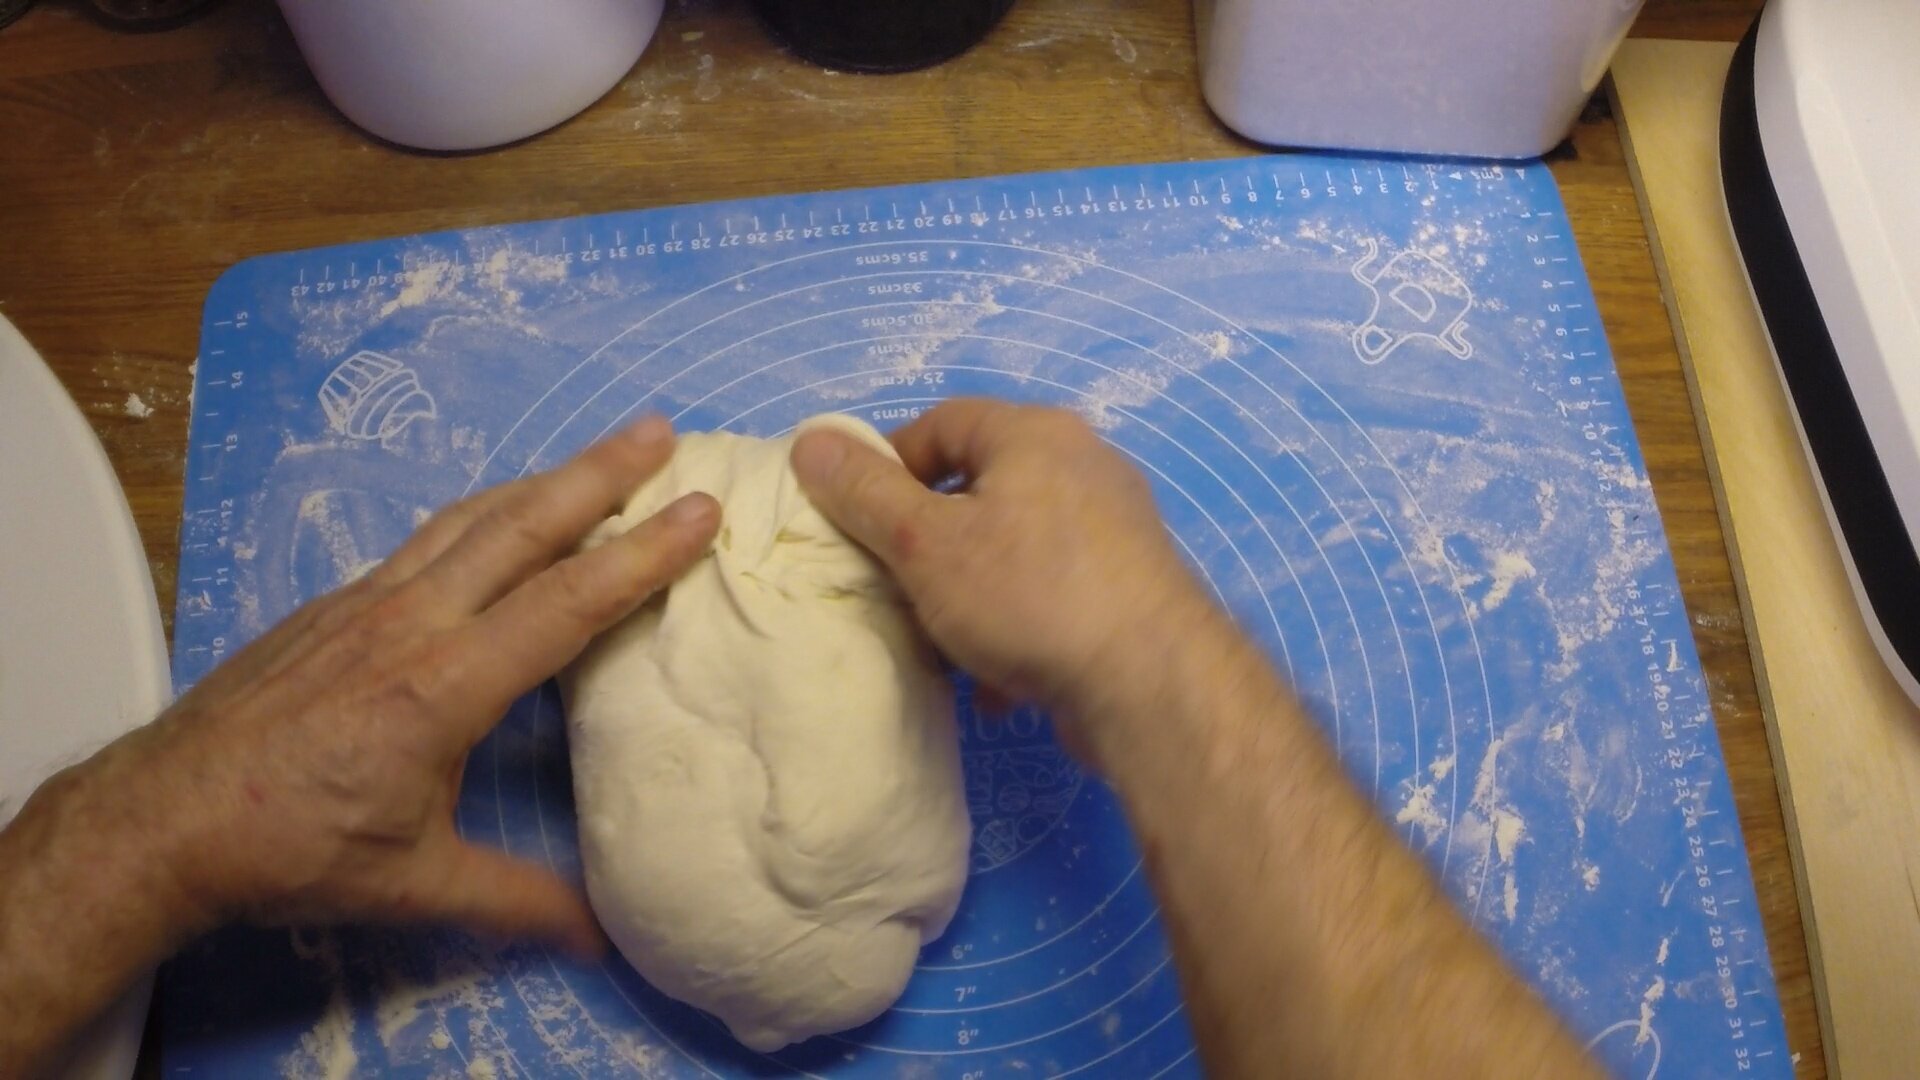
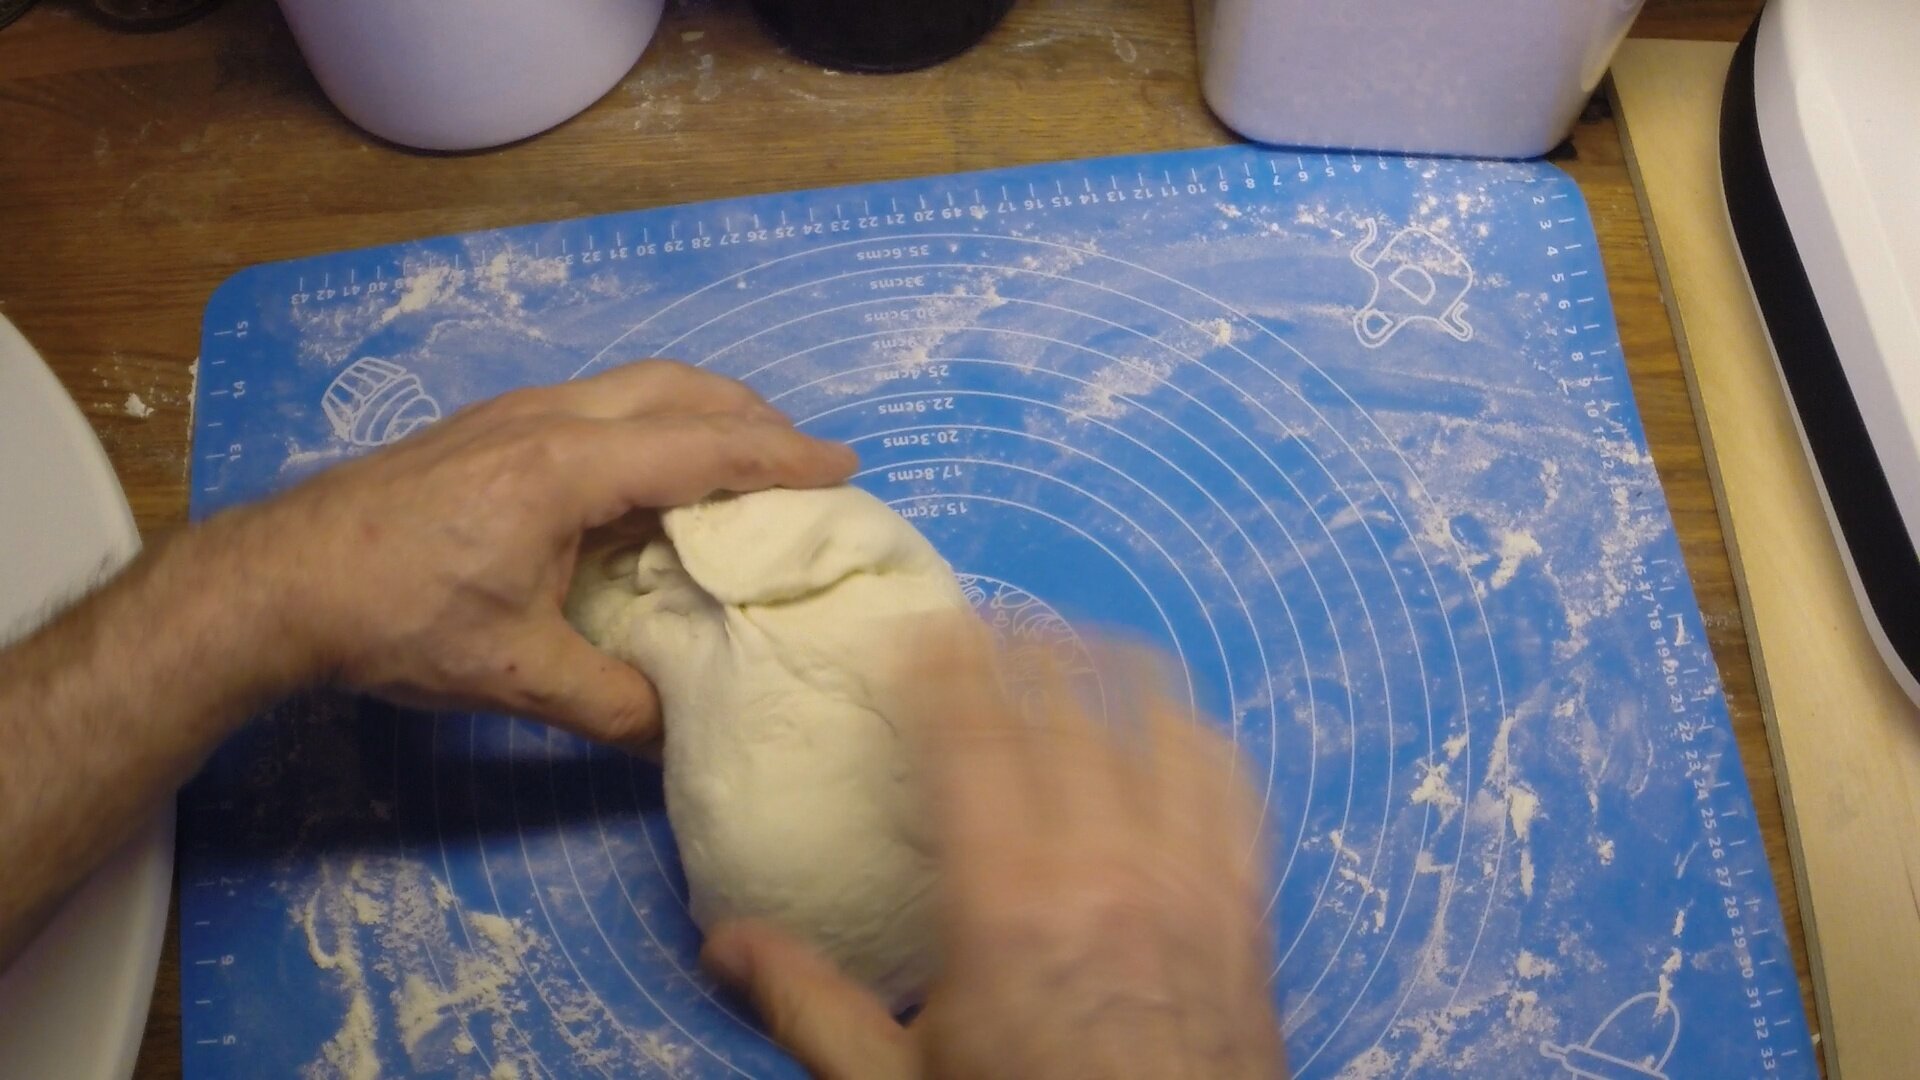
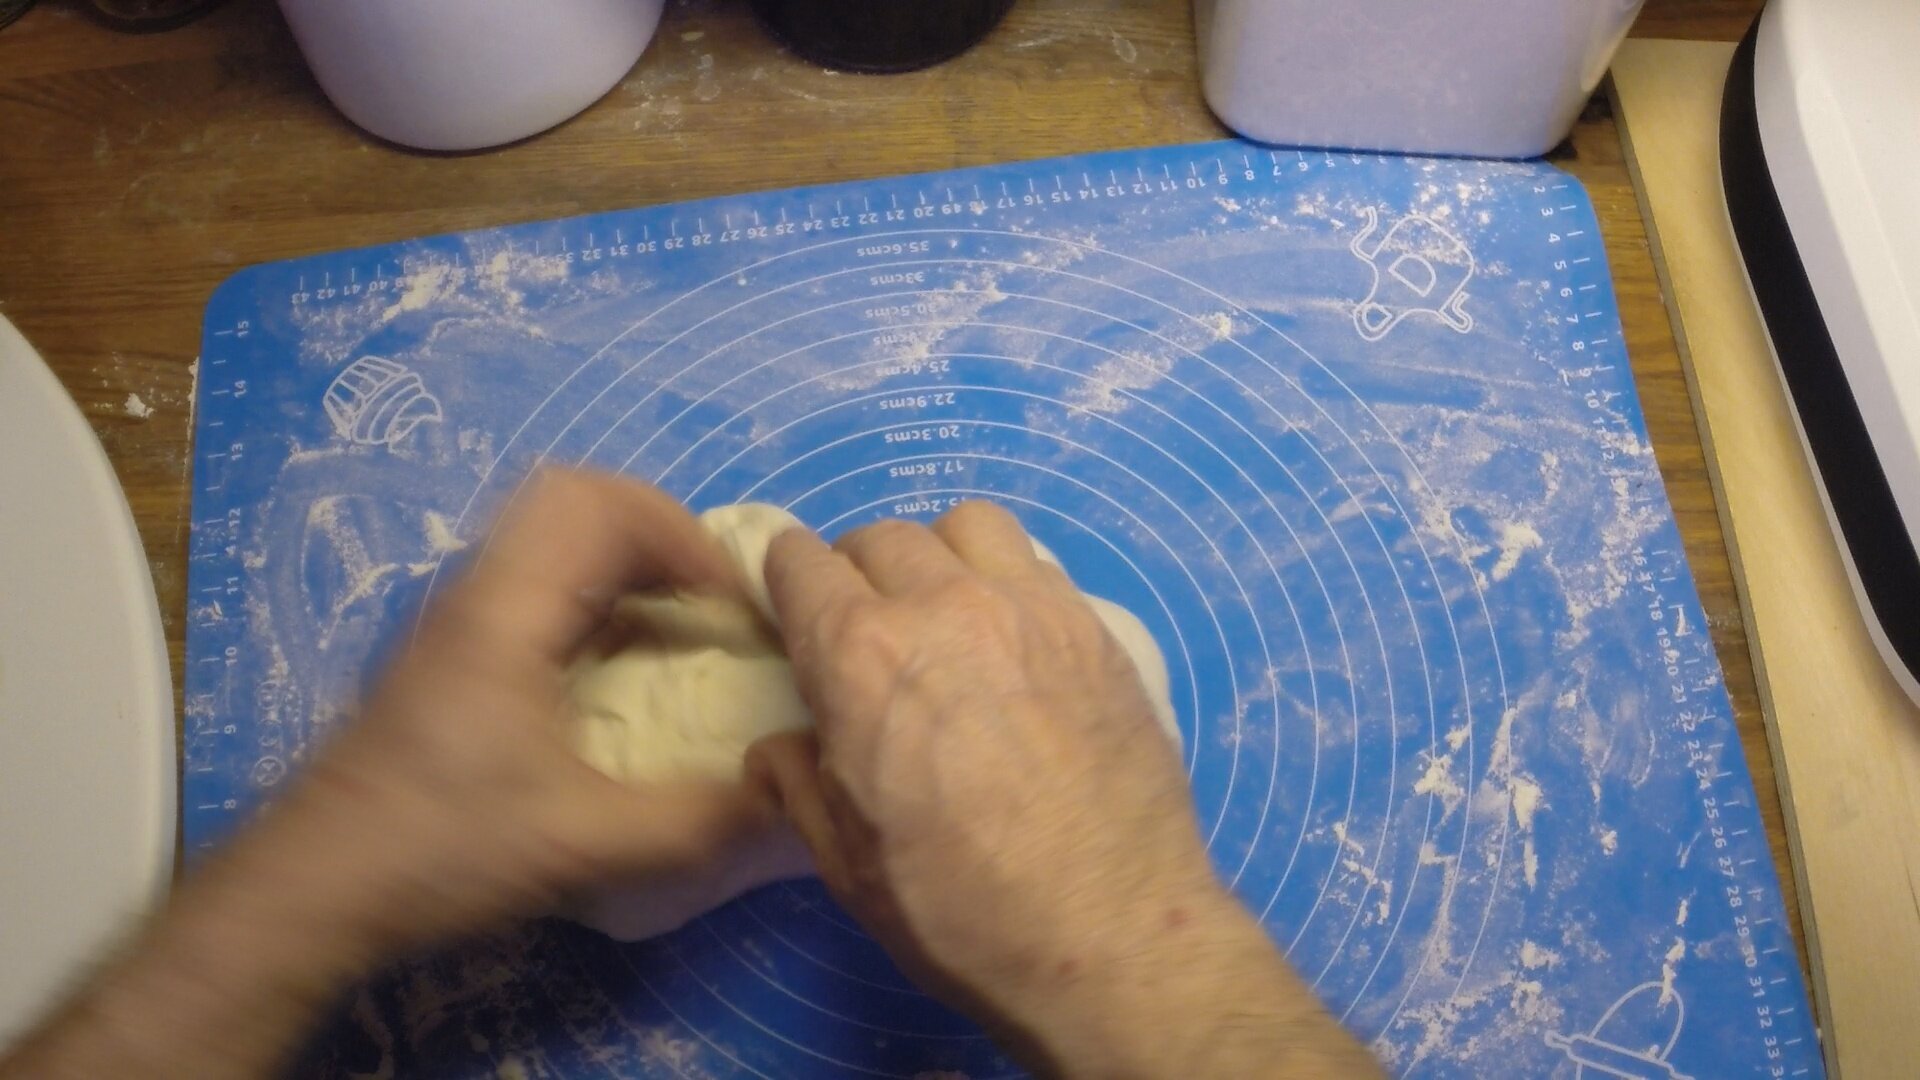

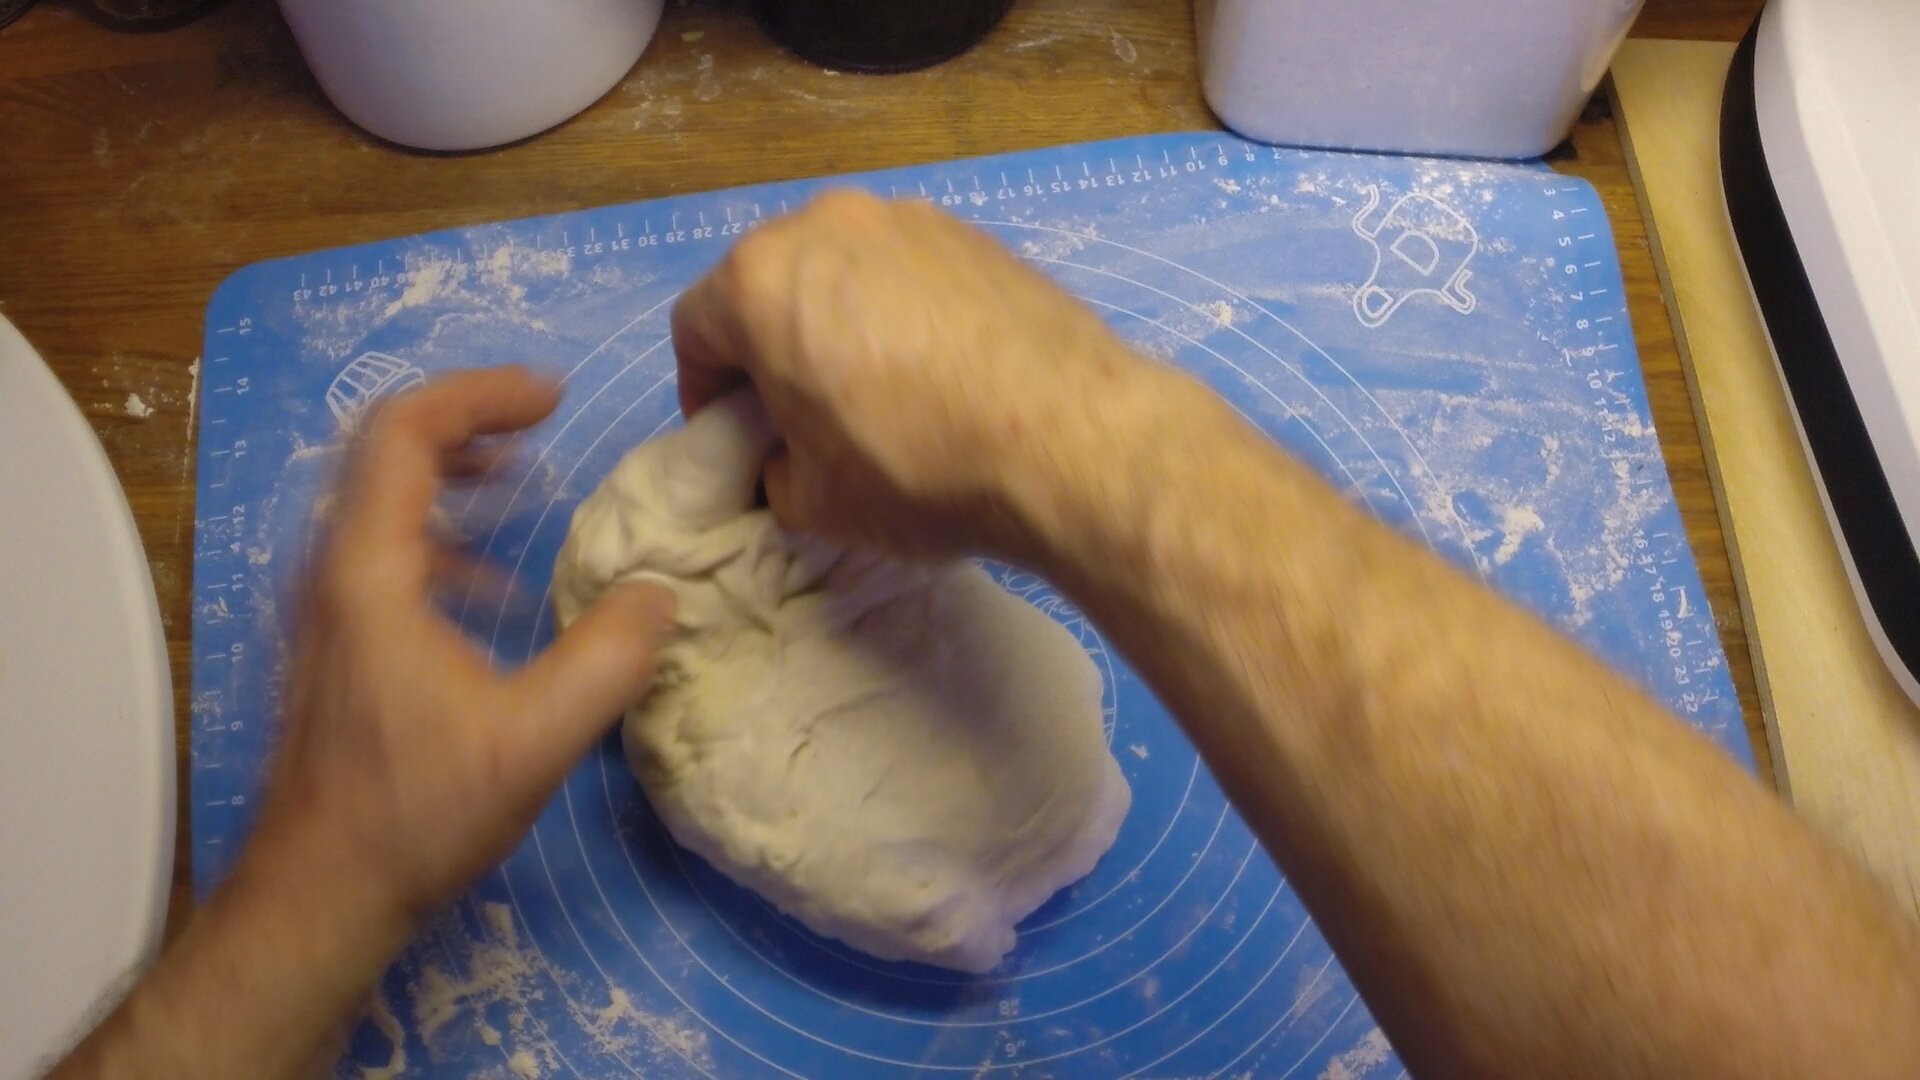
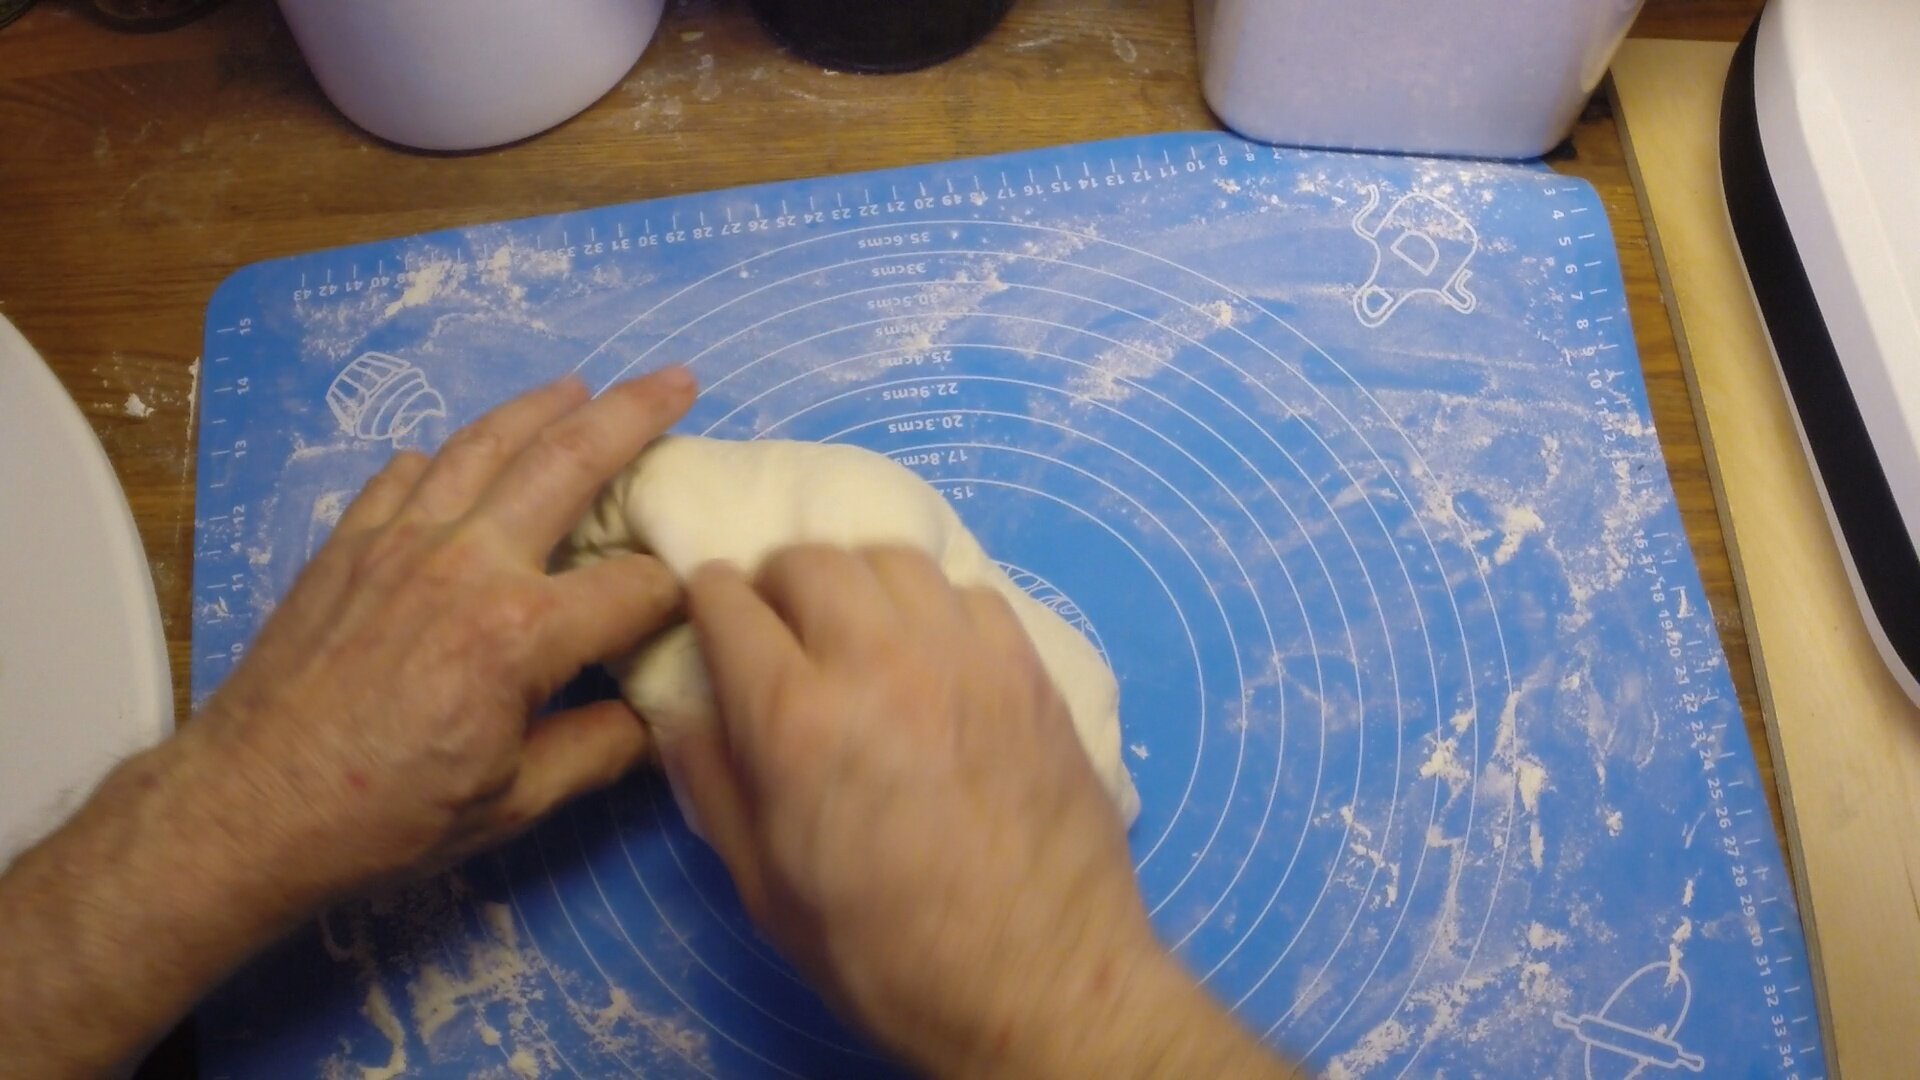
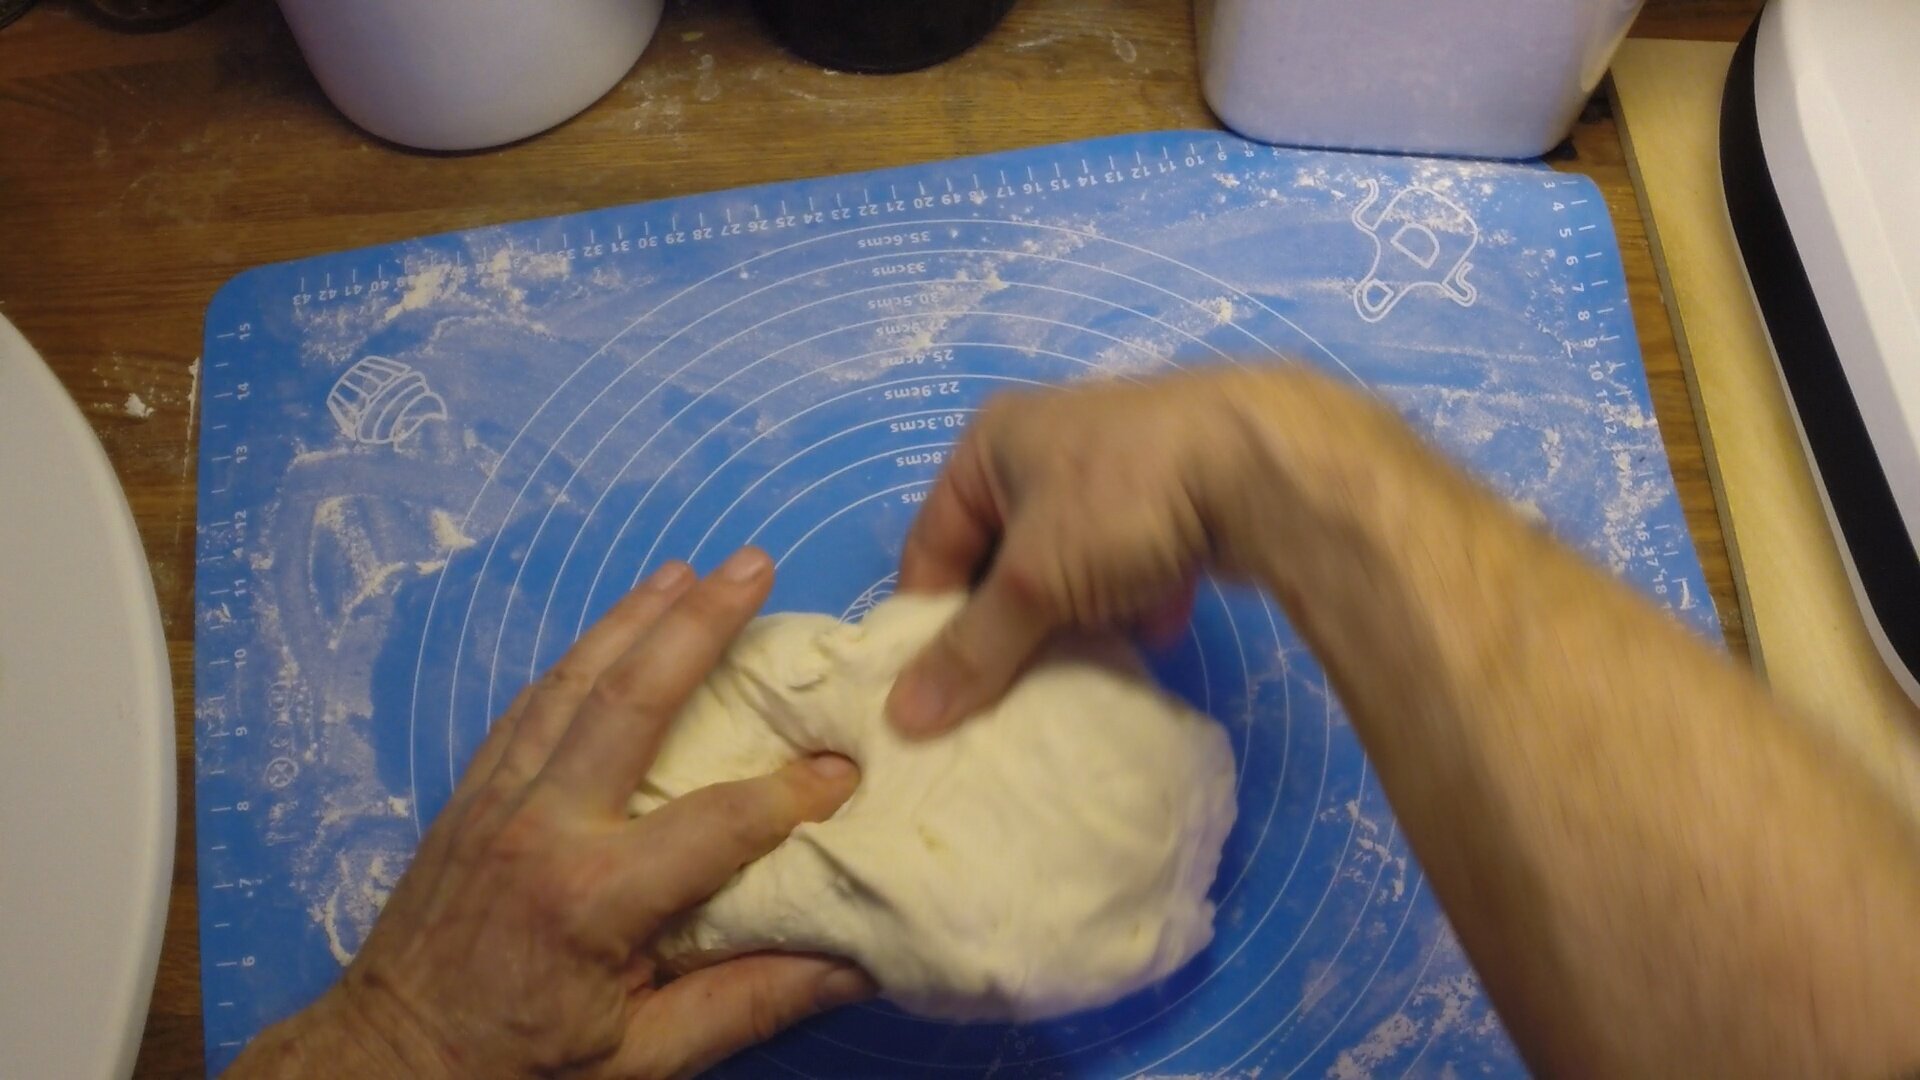
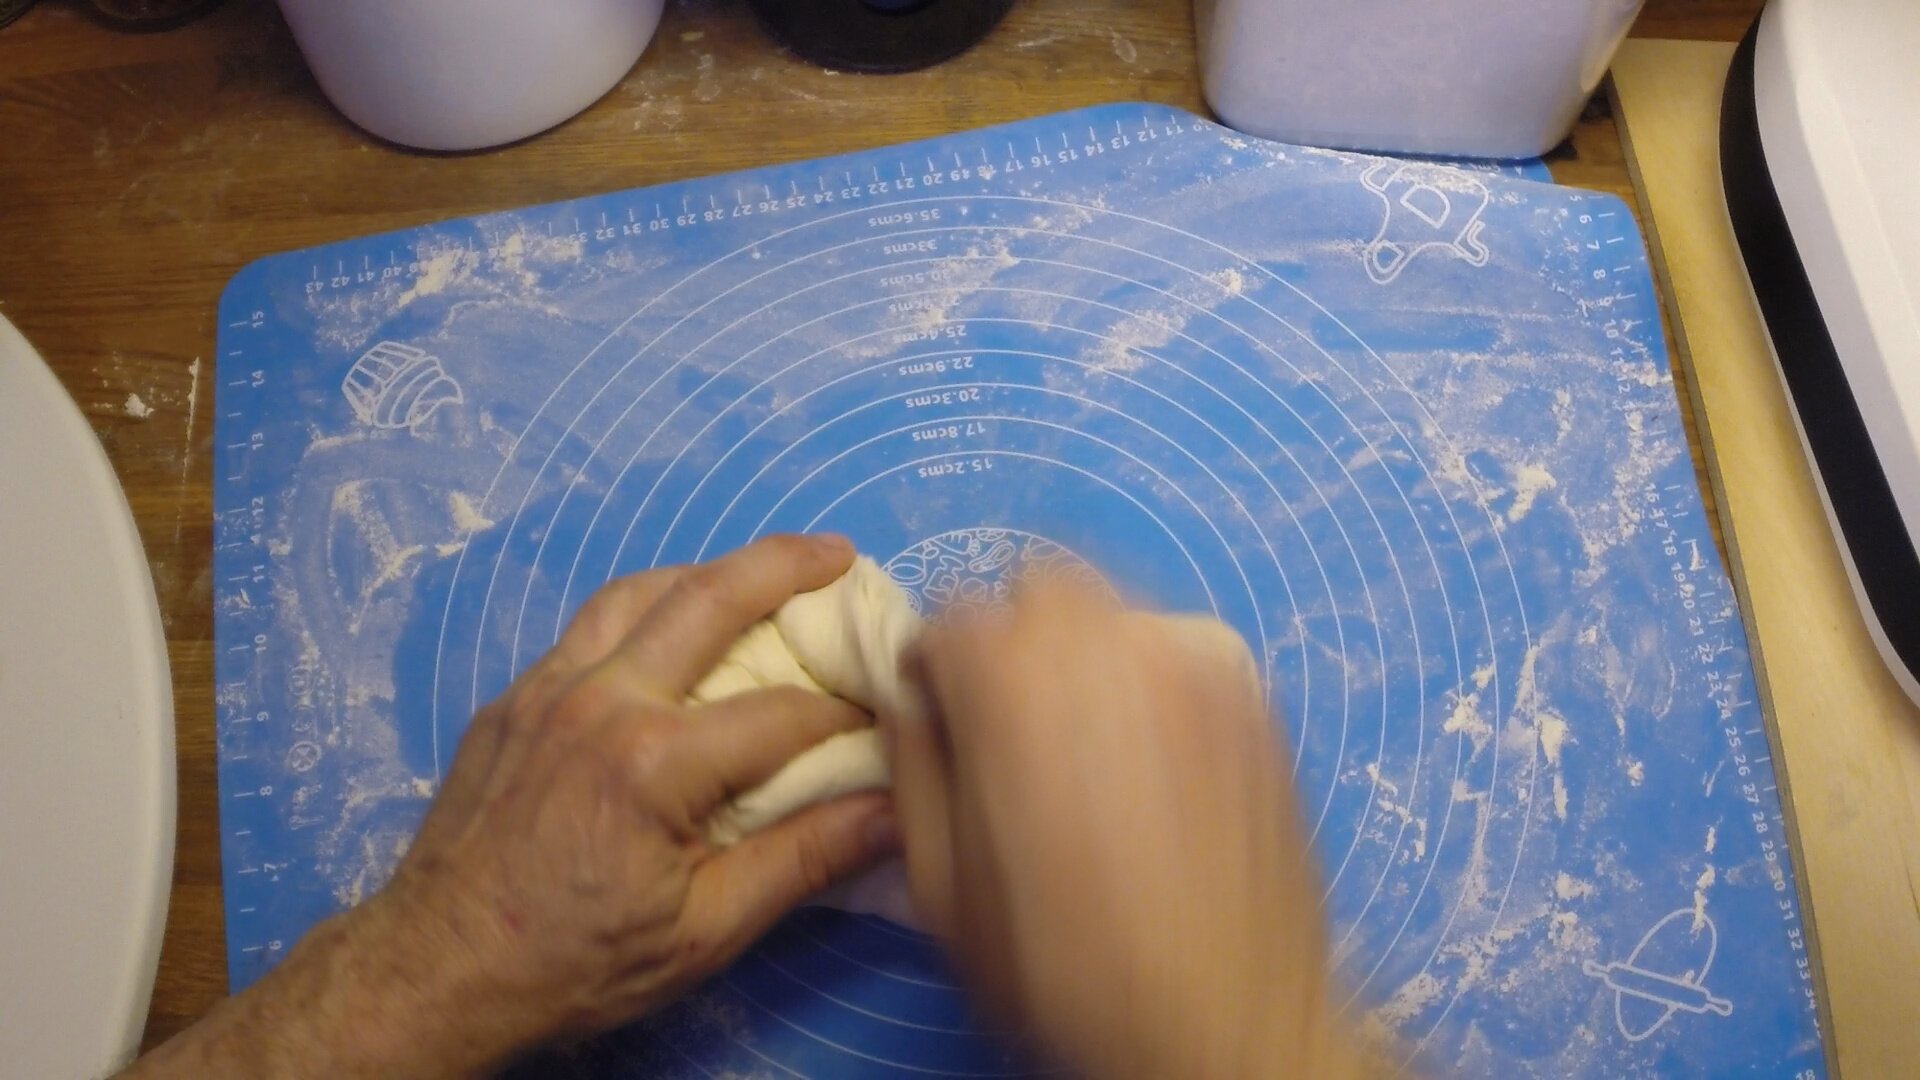
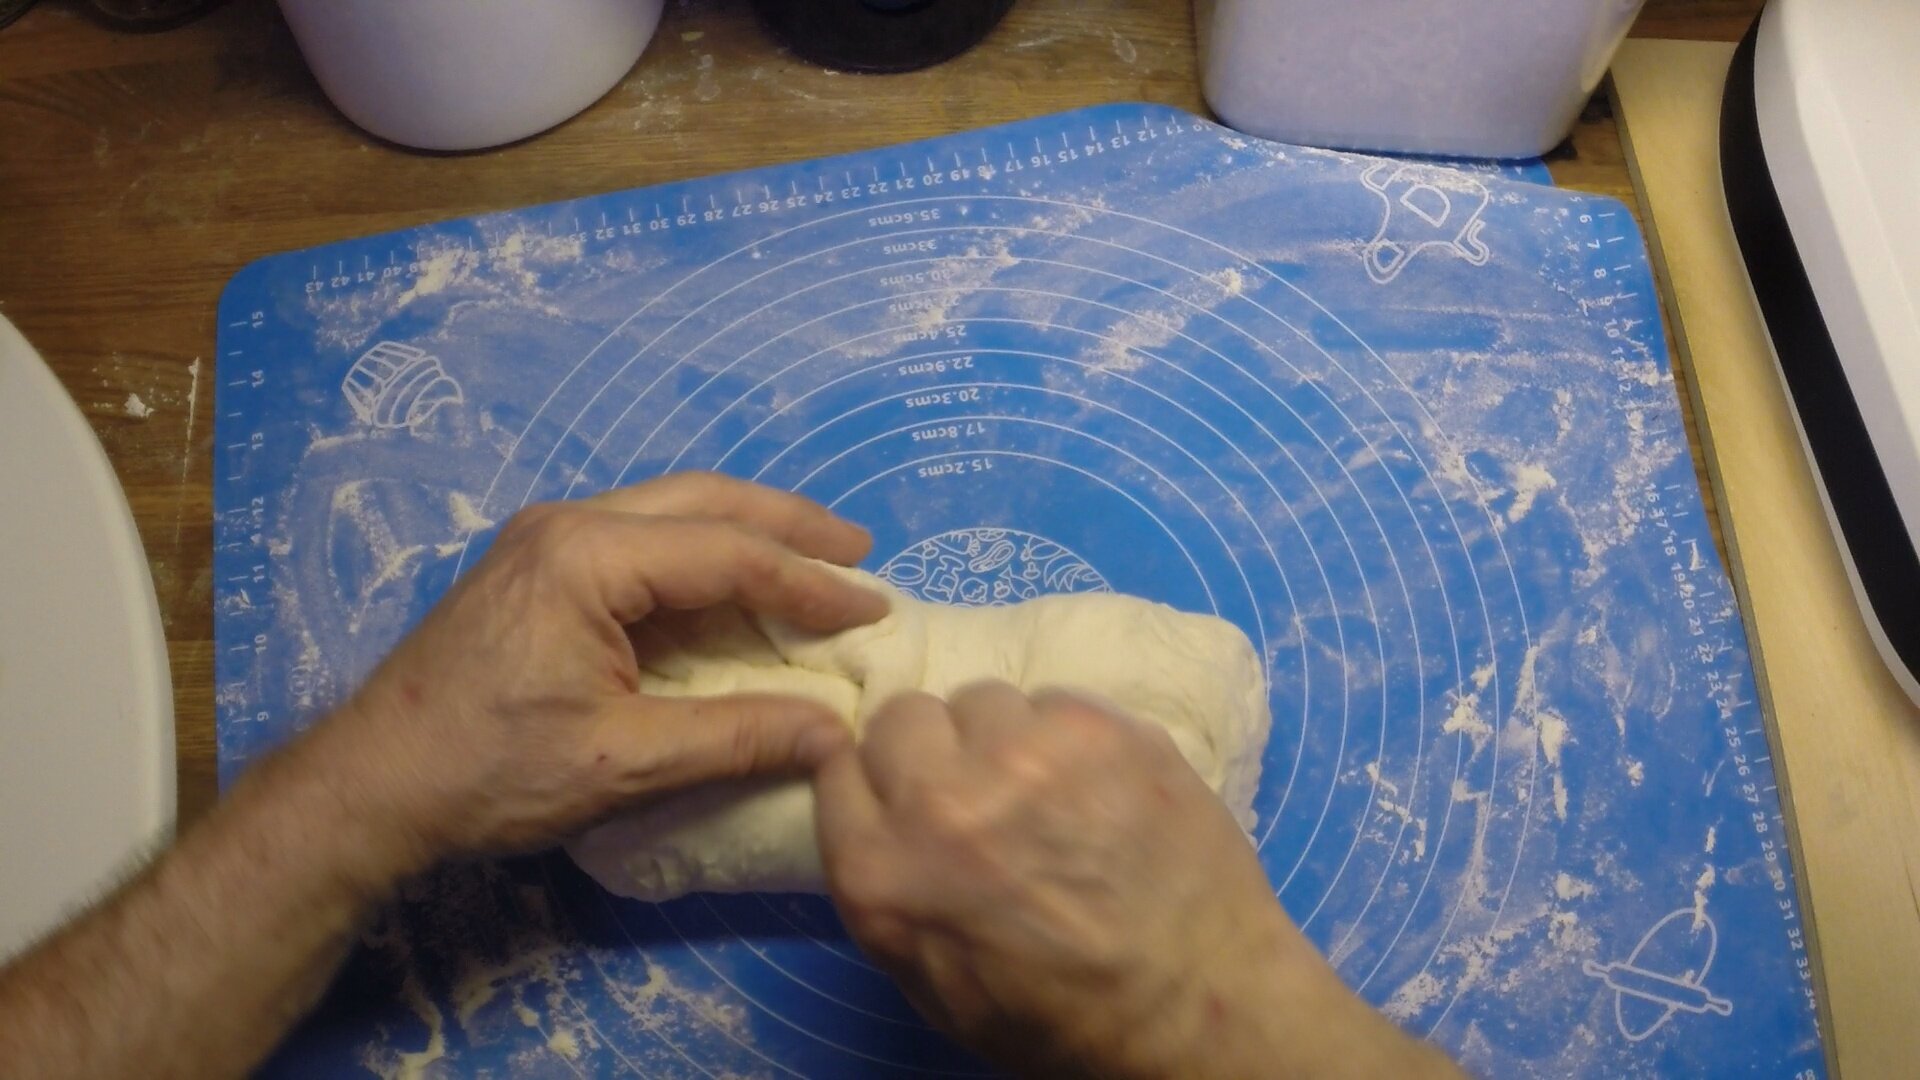
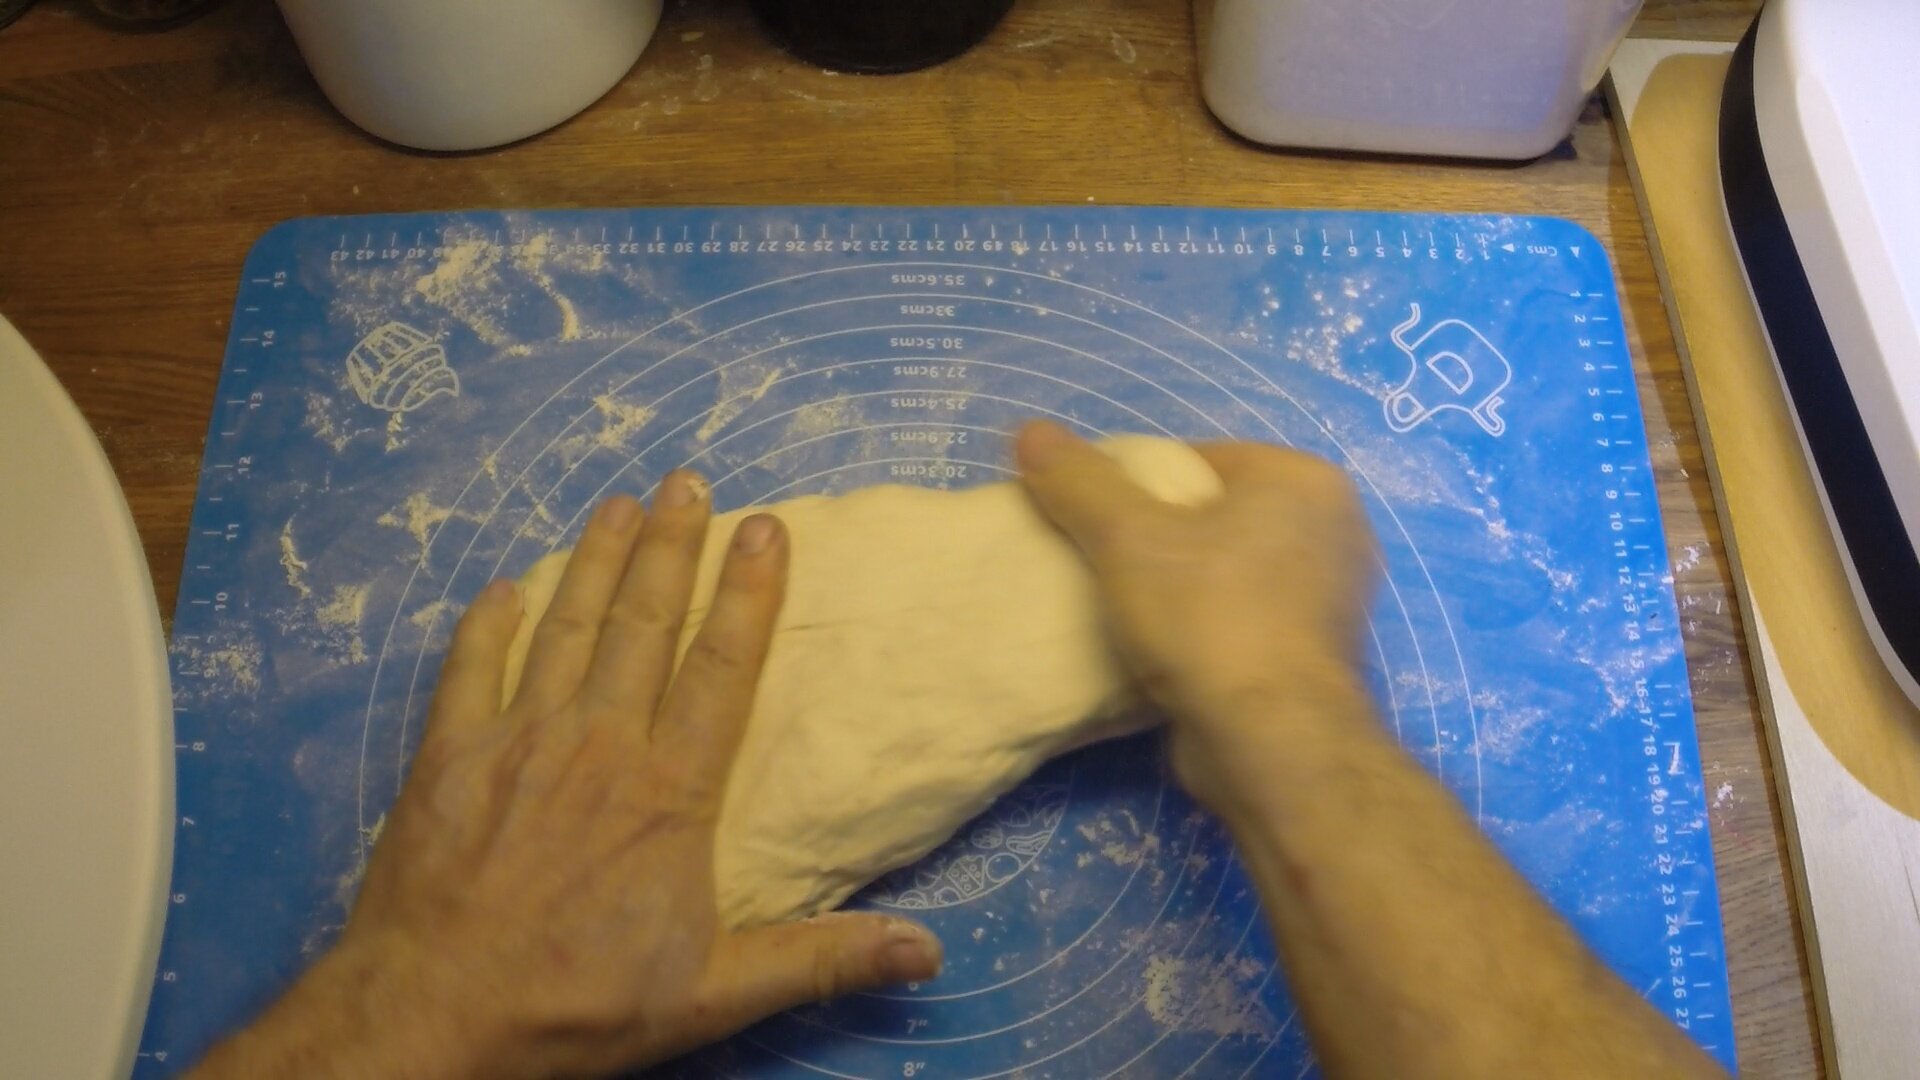
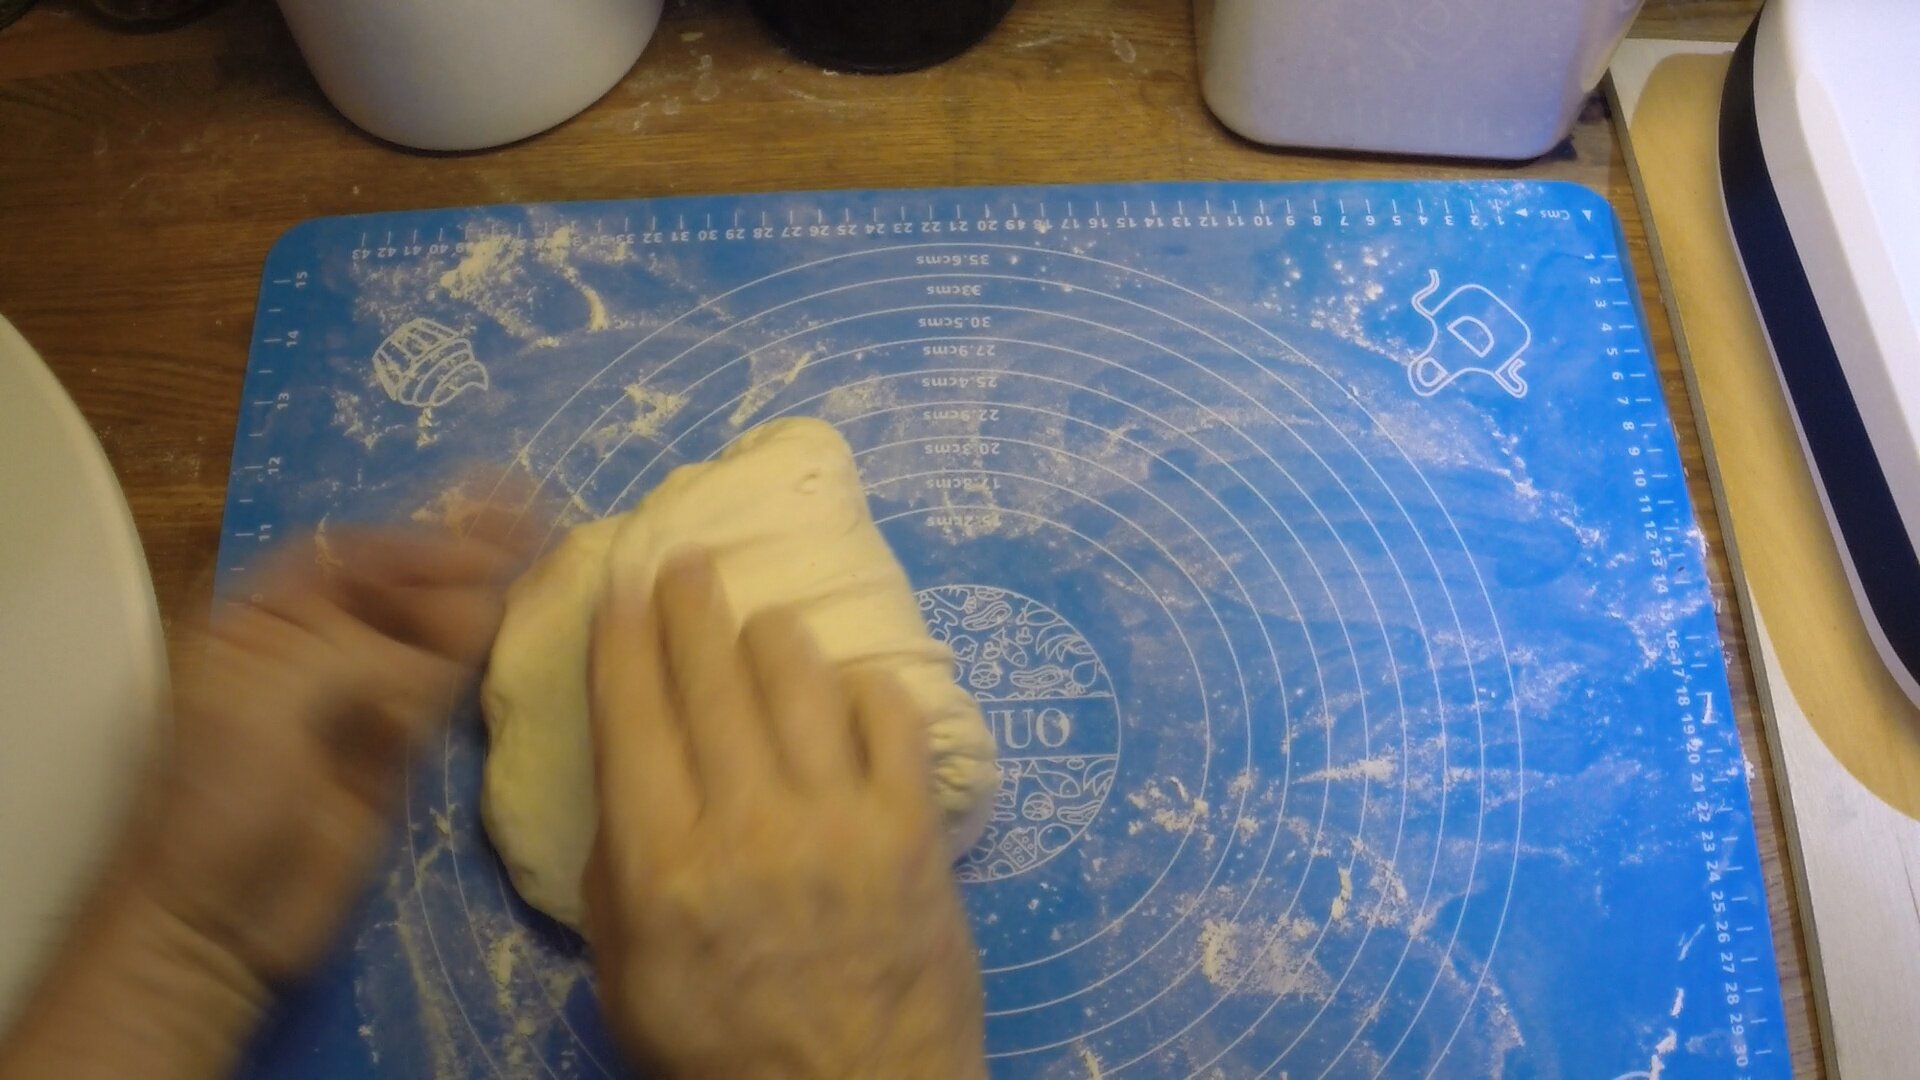
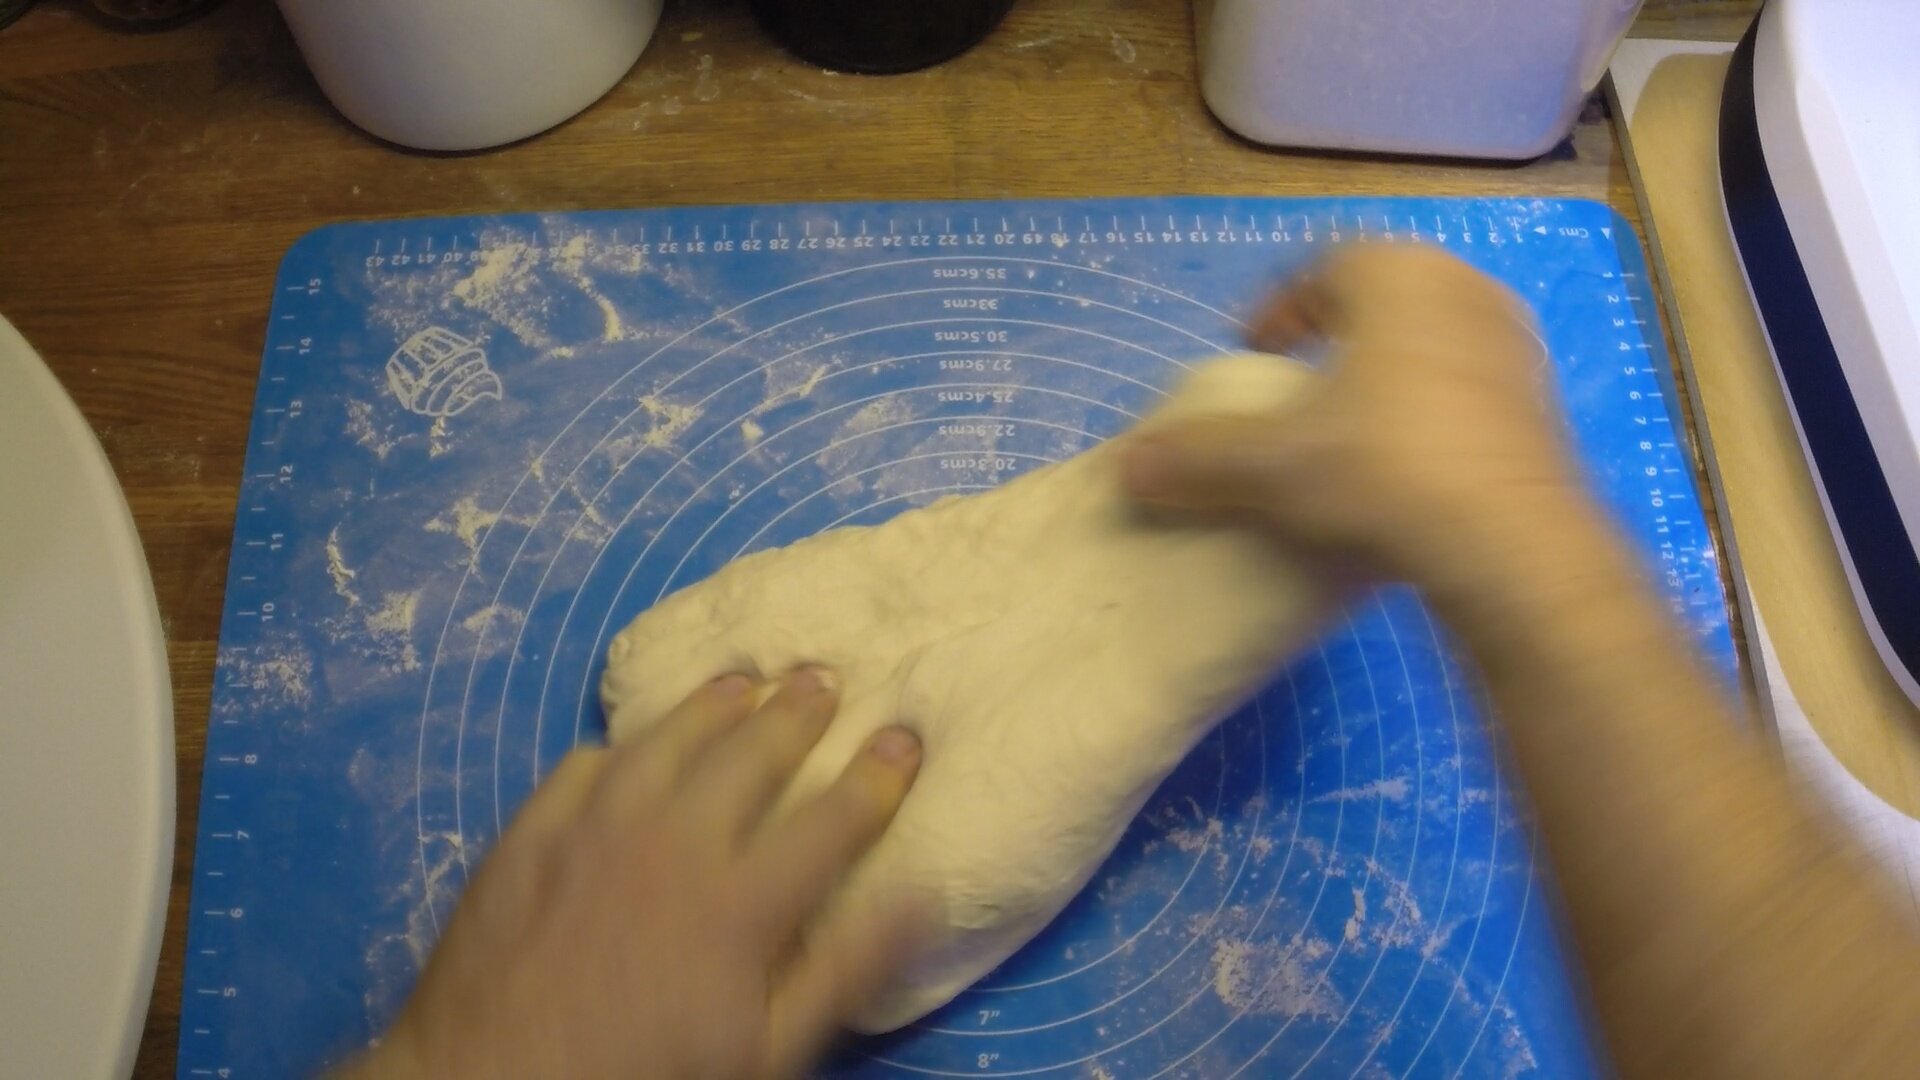
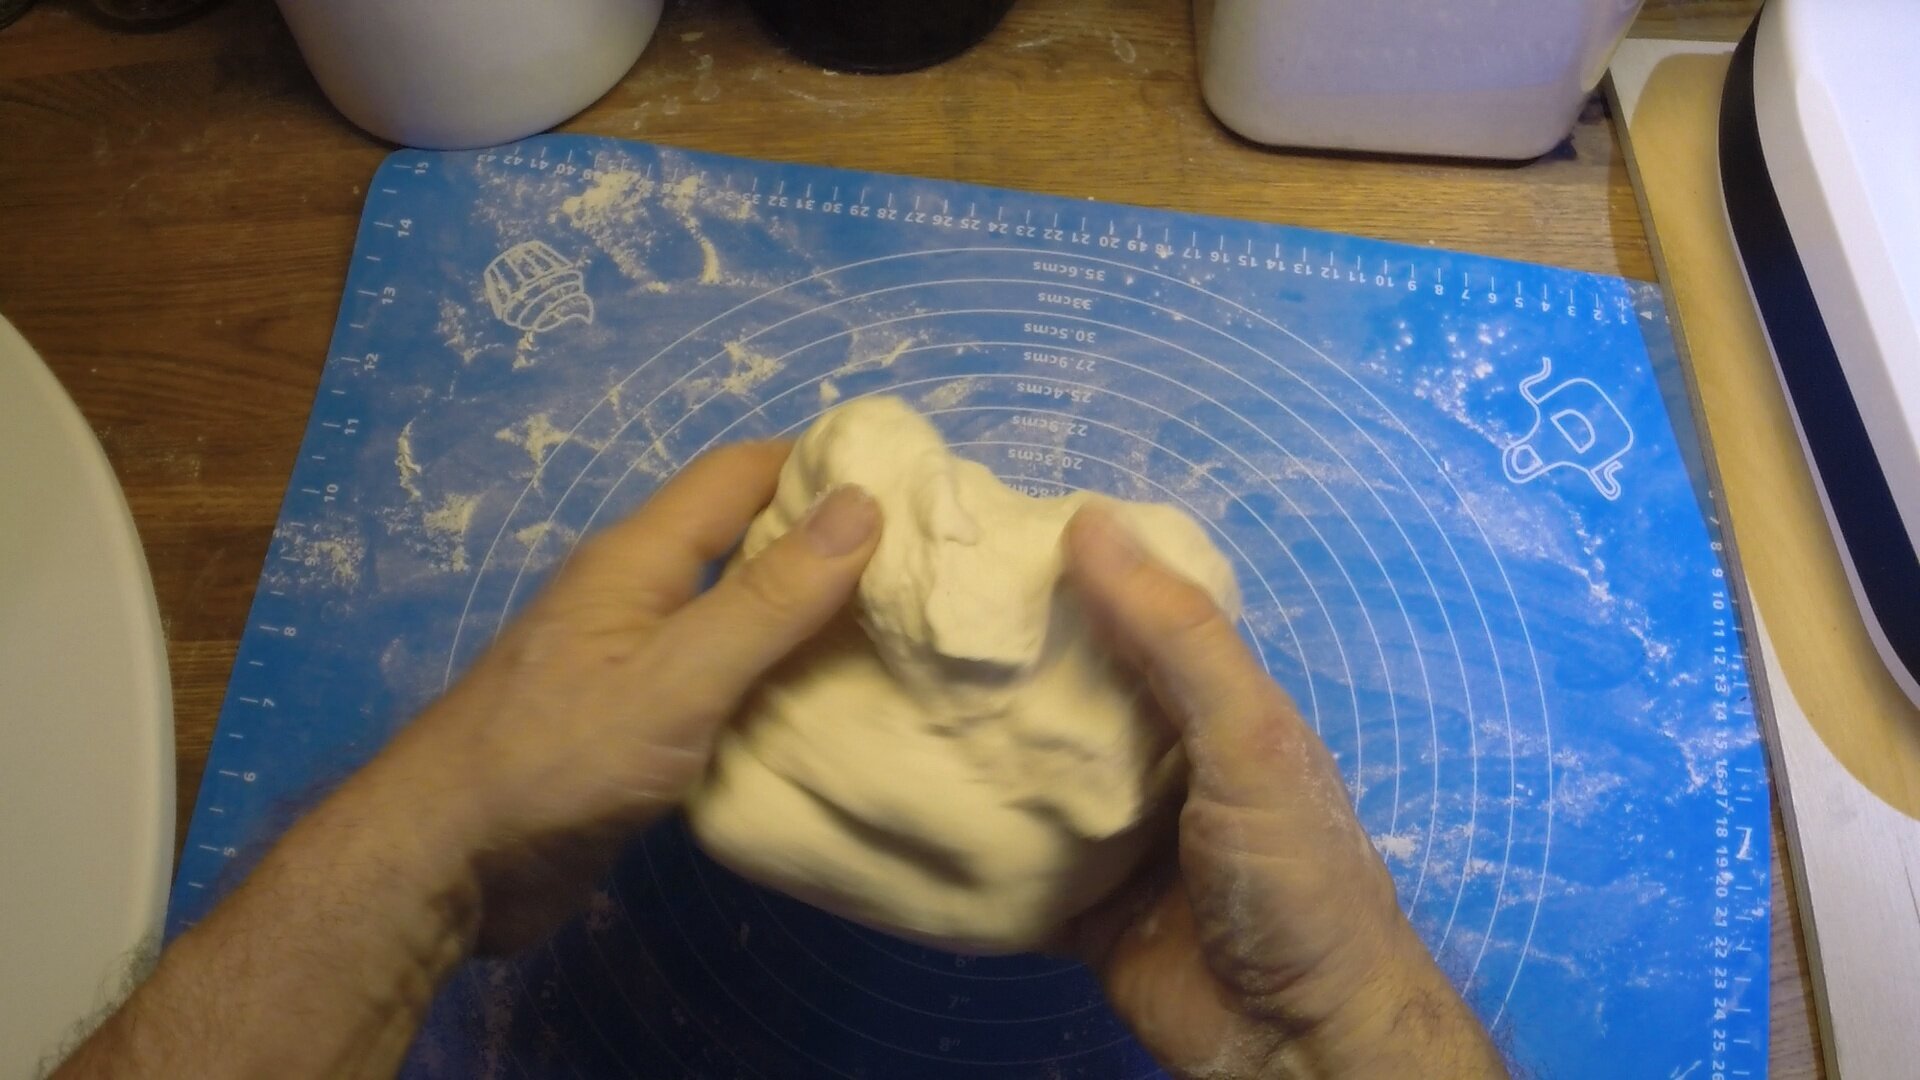
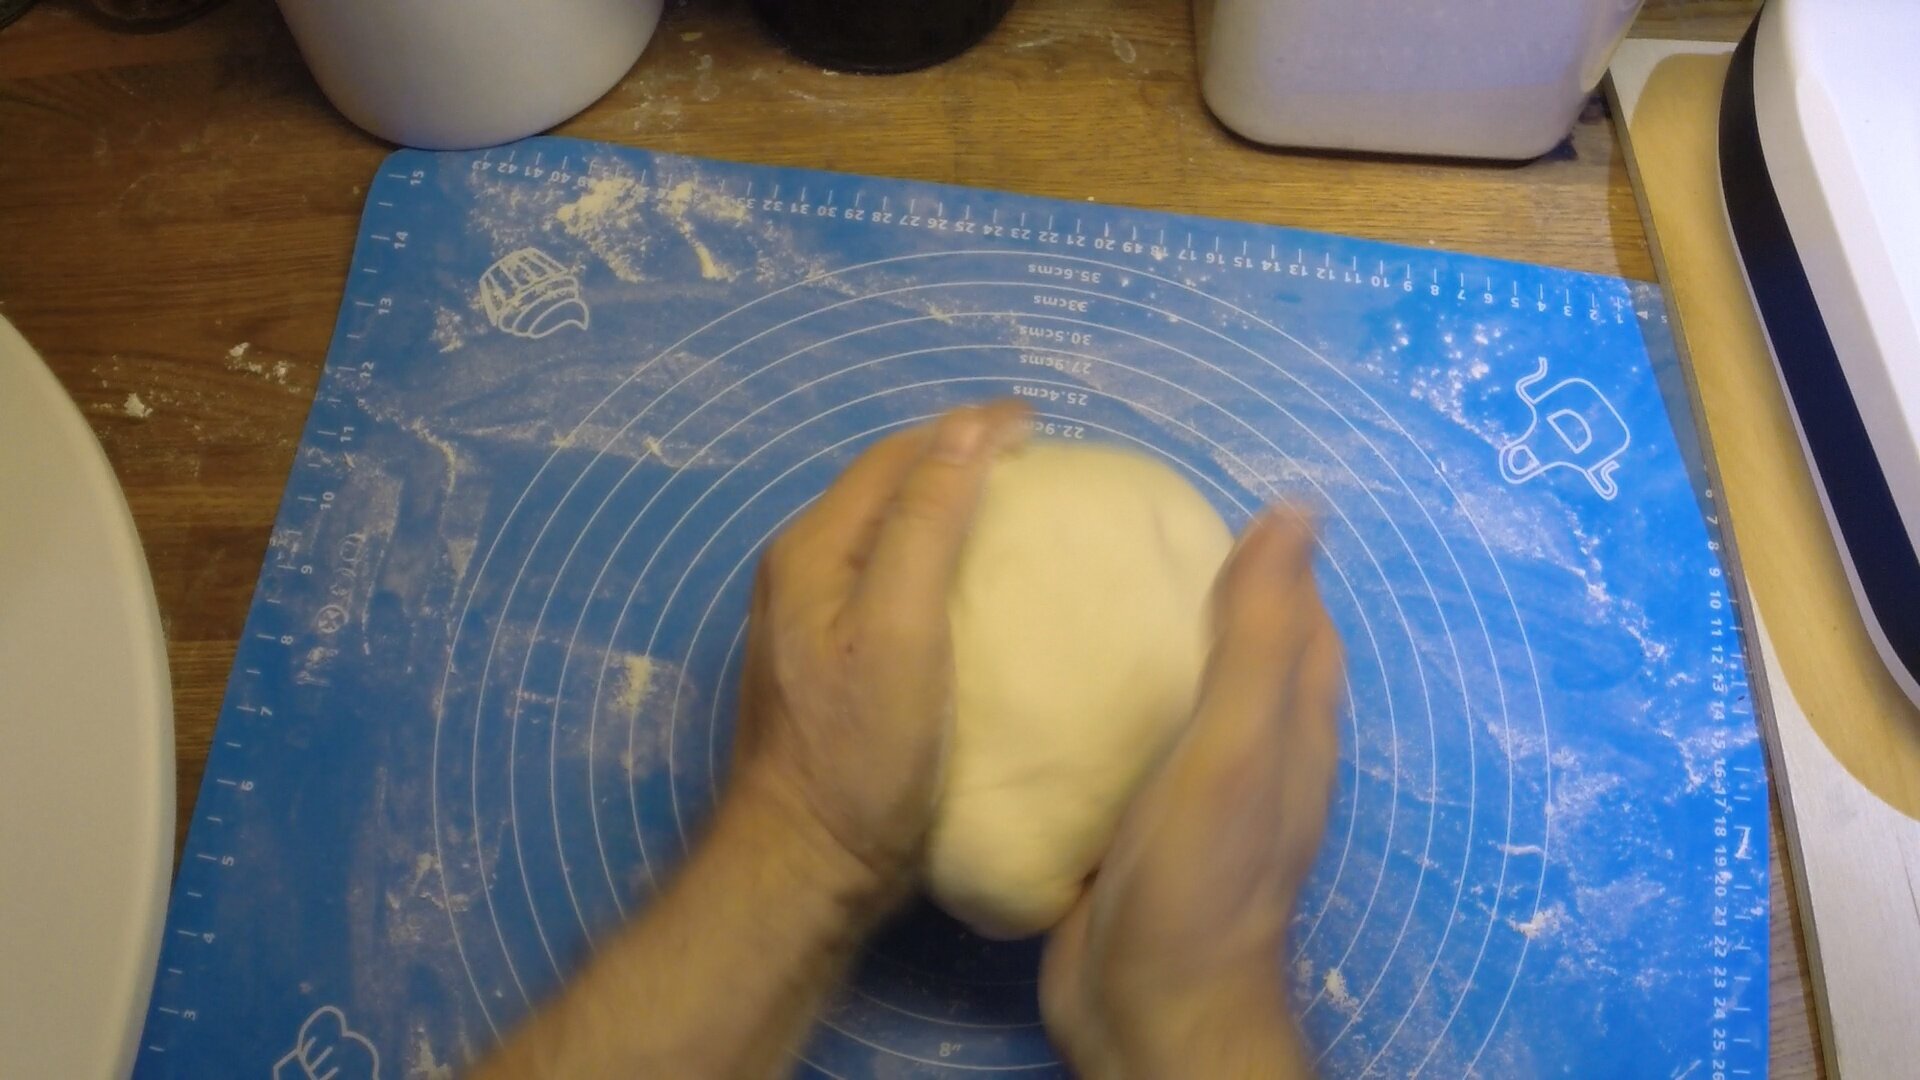
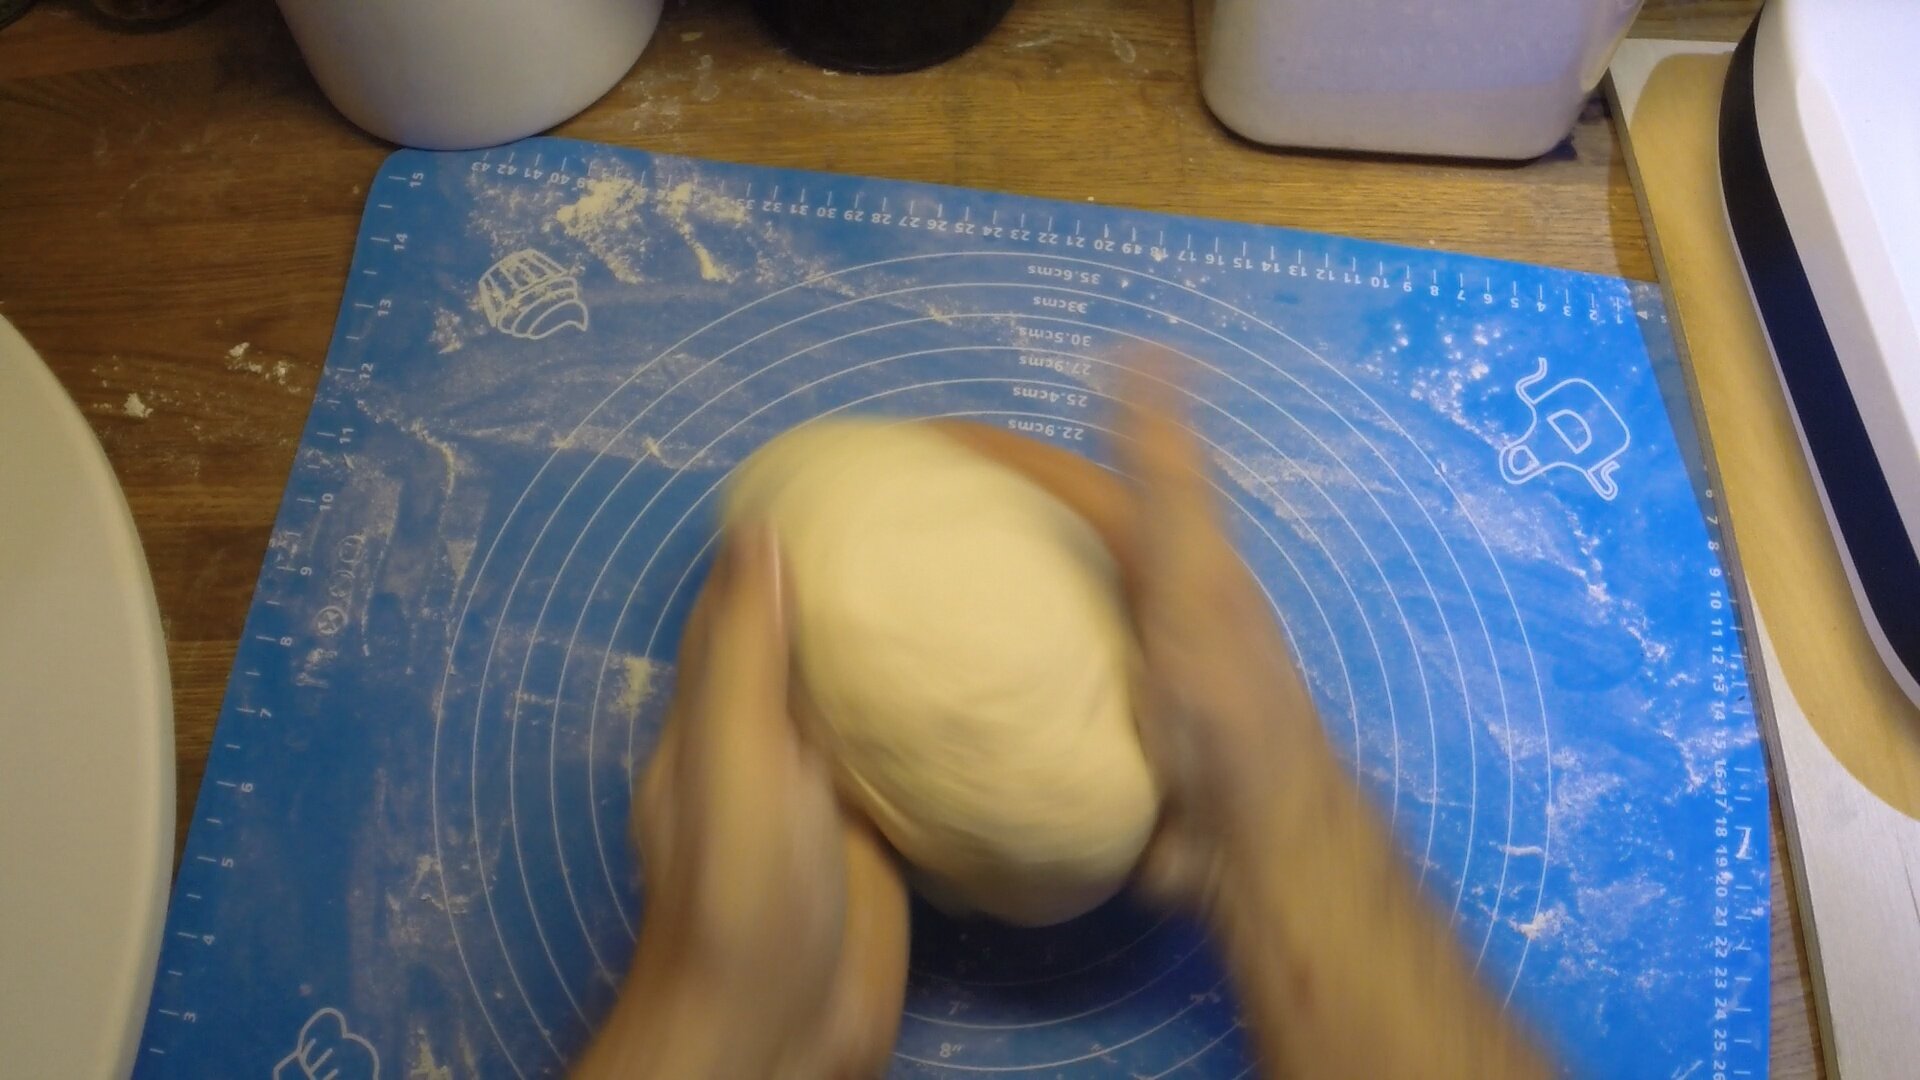
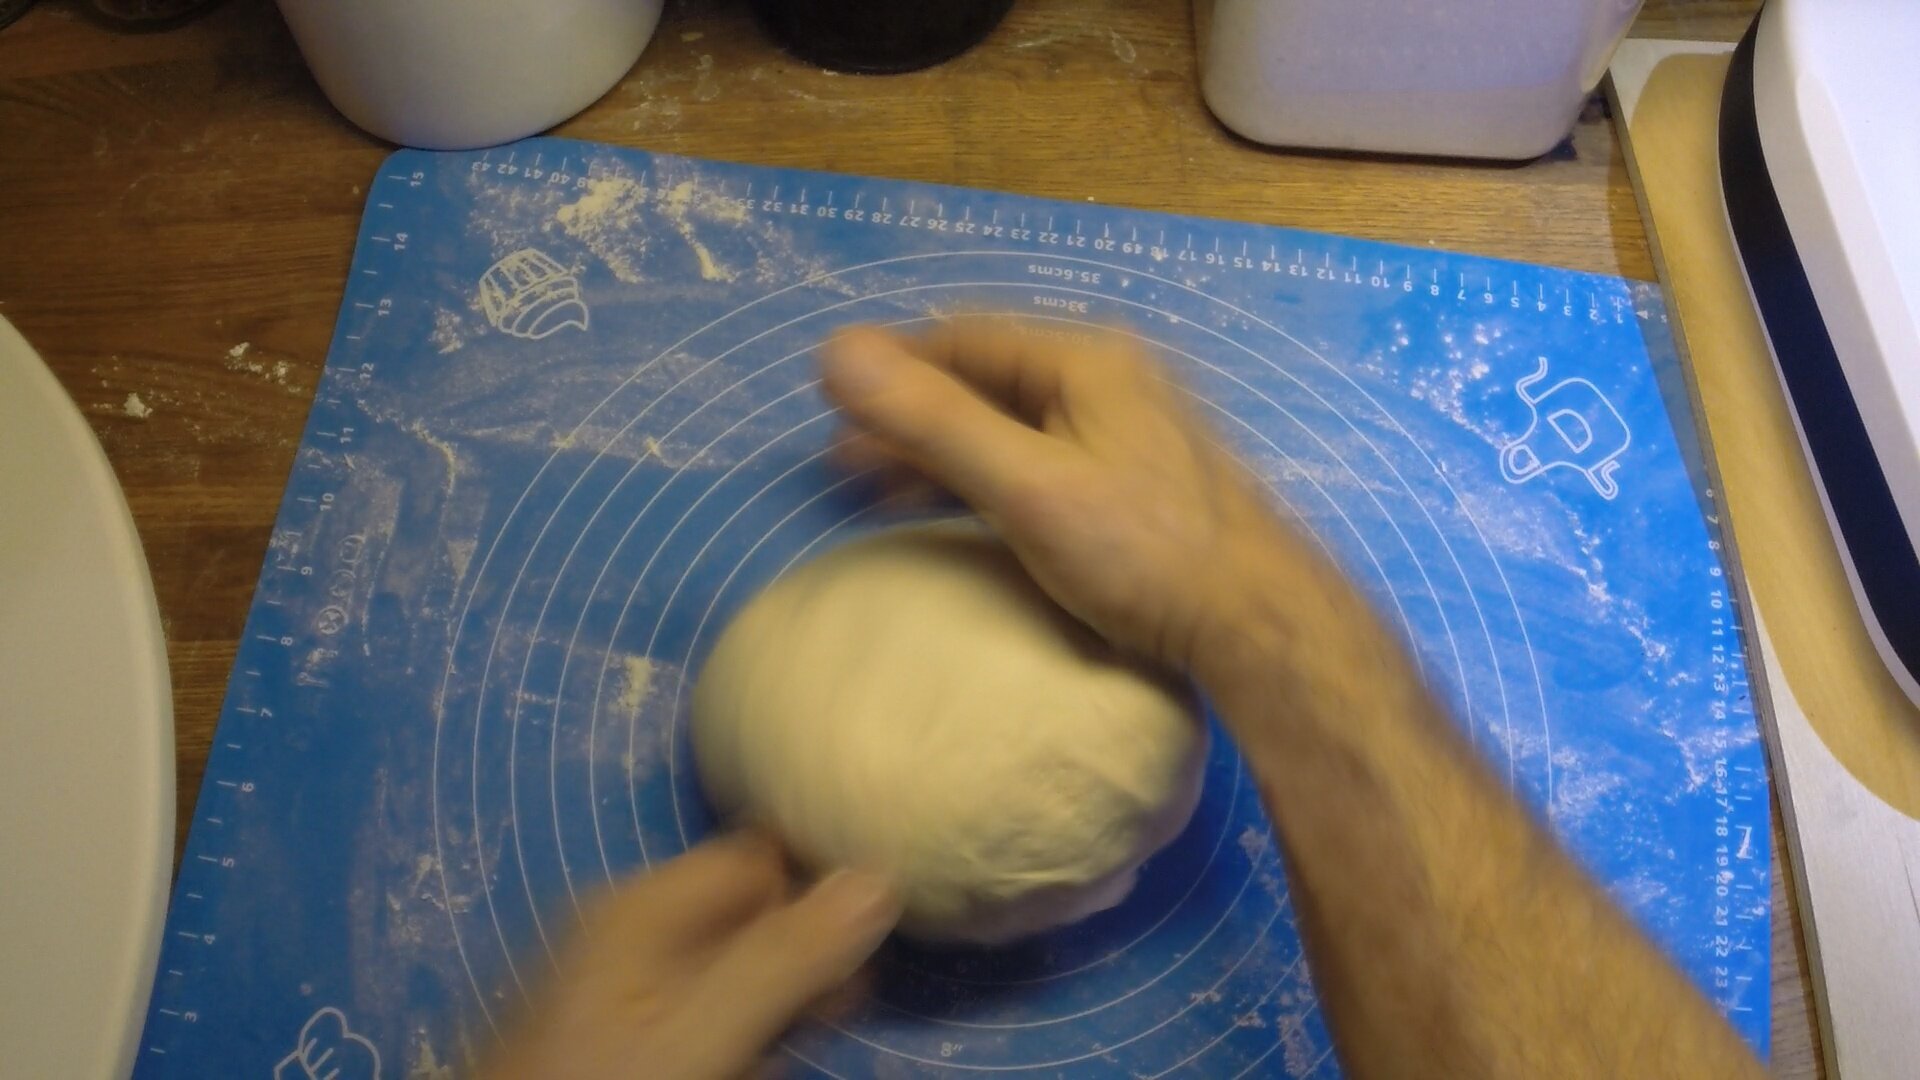
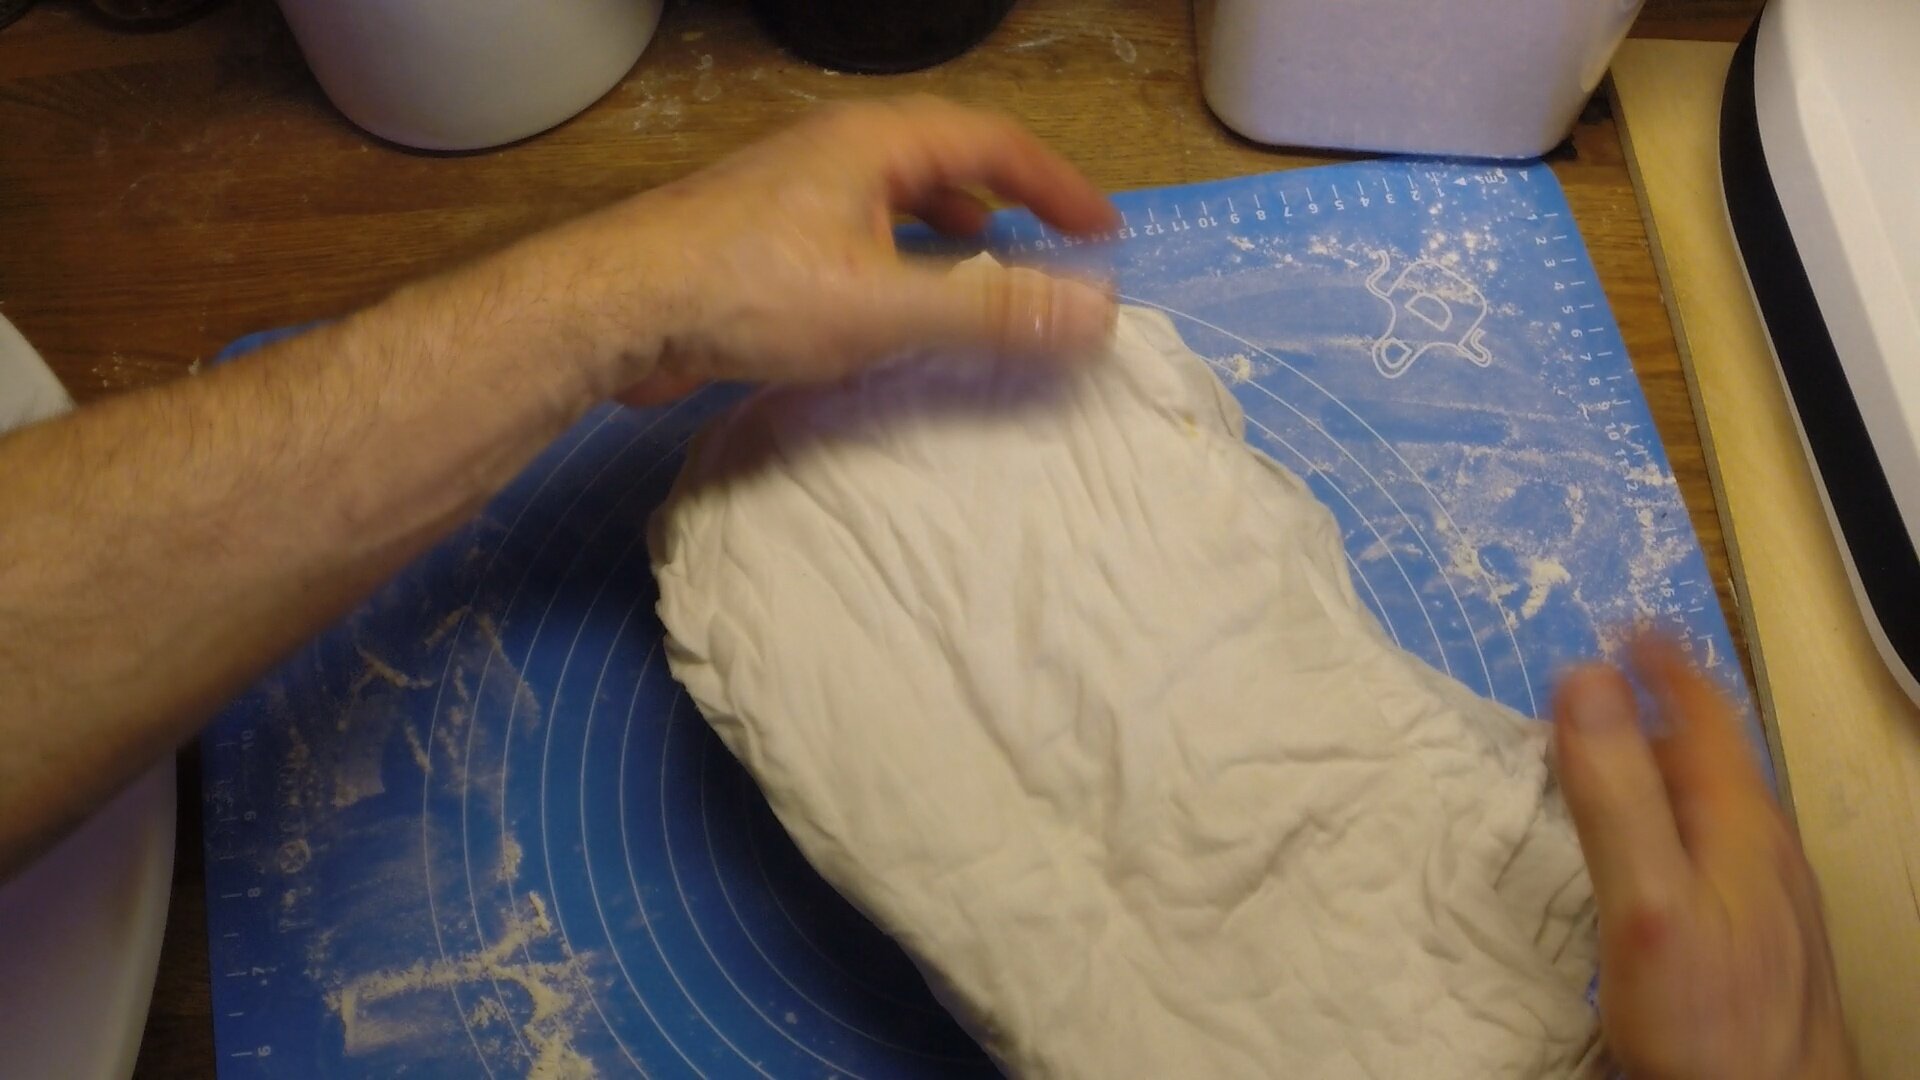
Final Shape
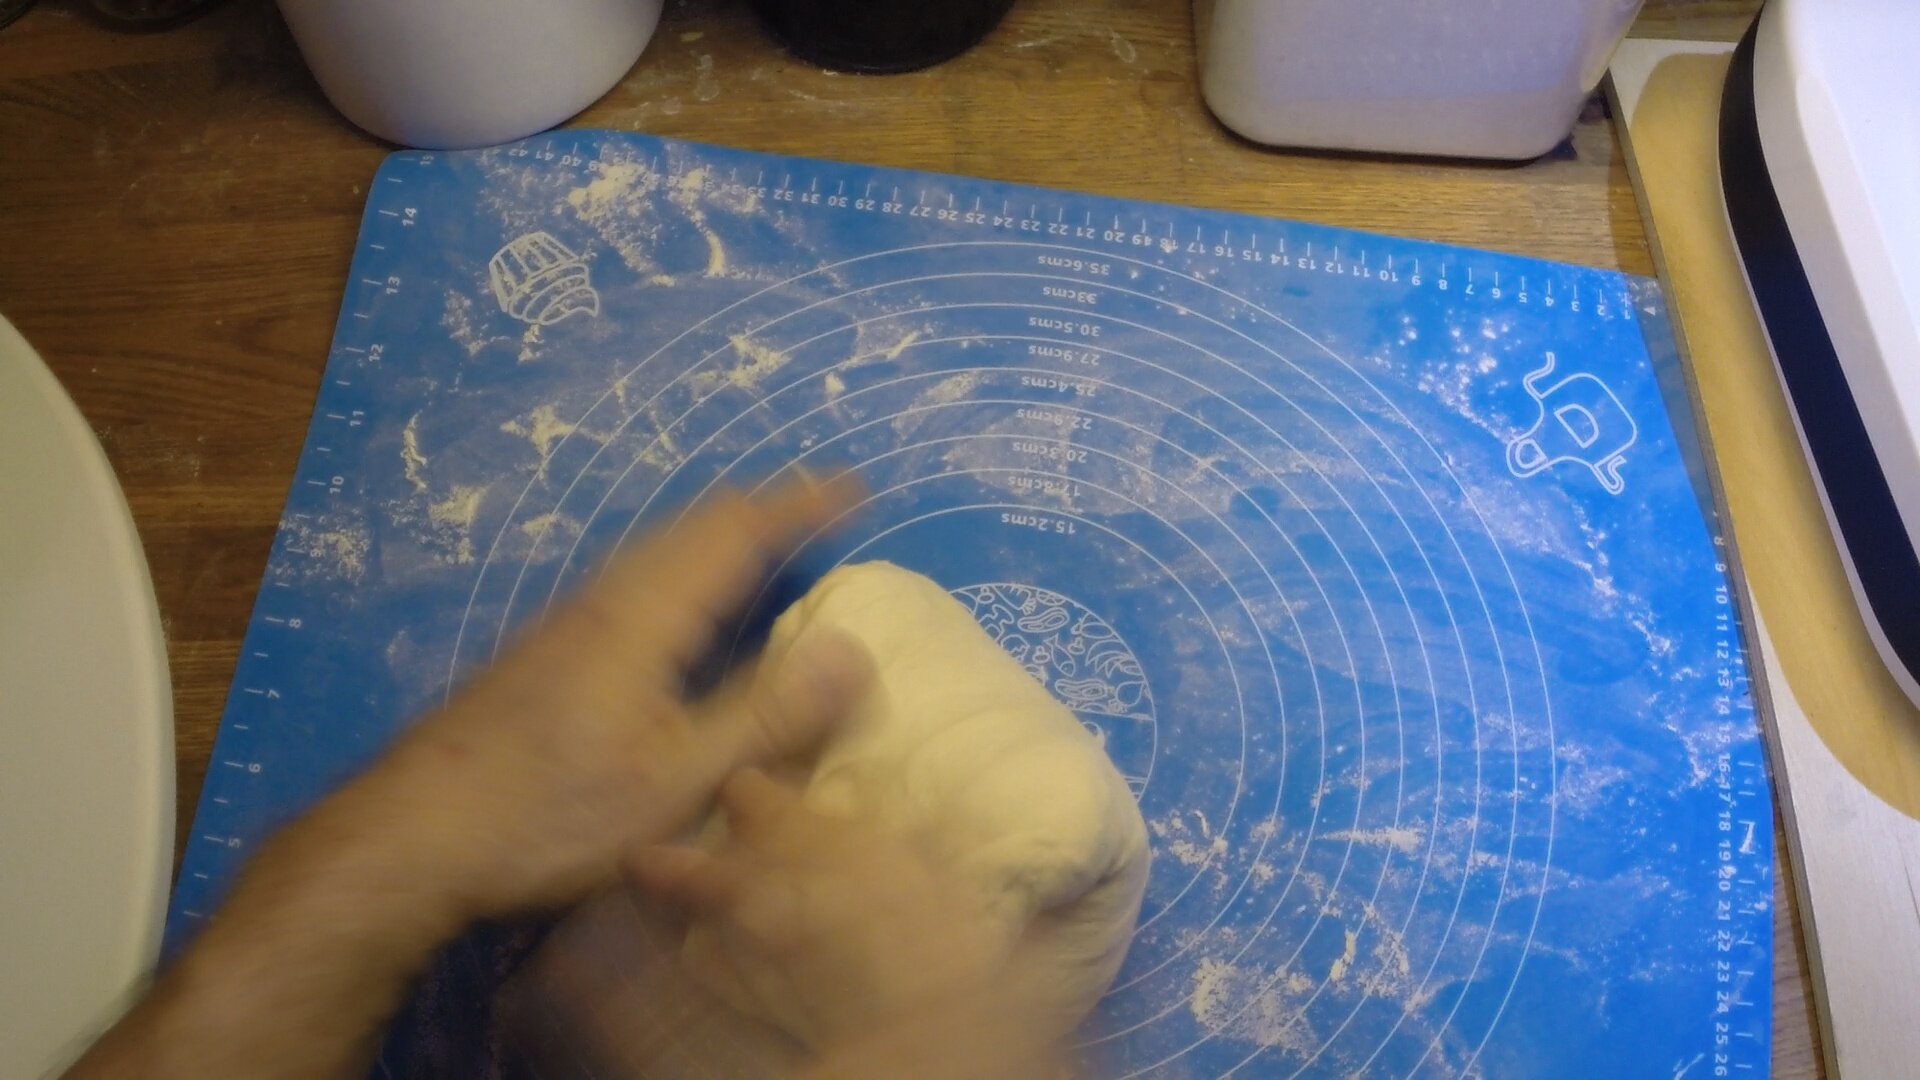
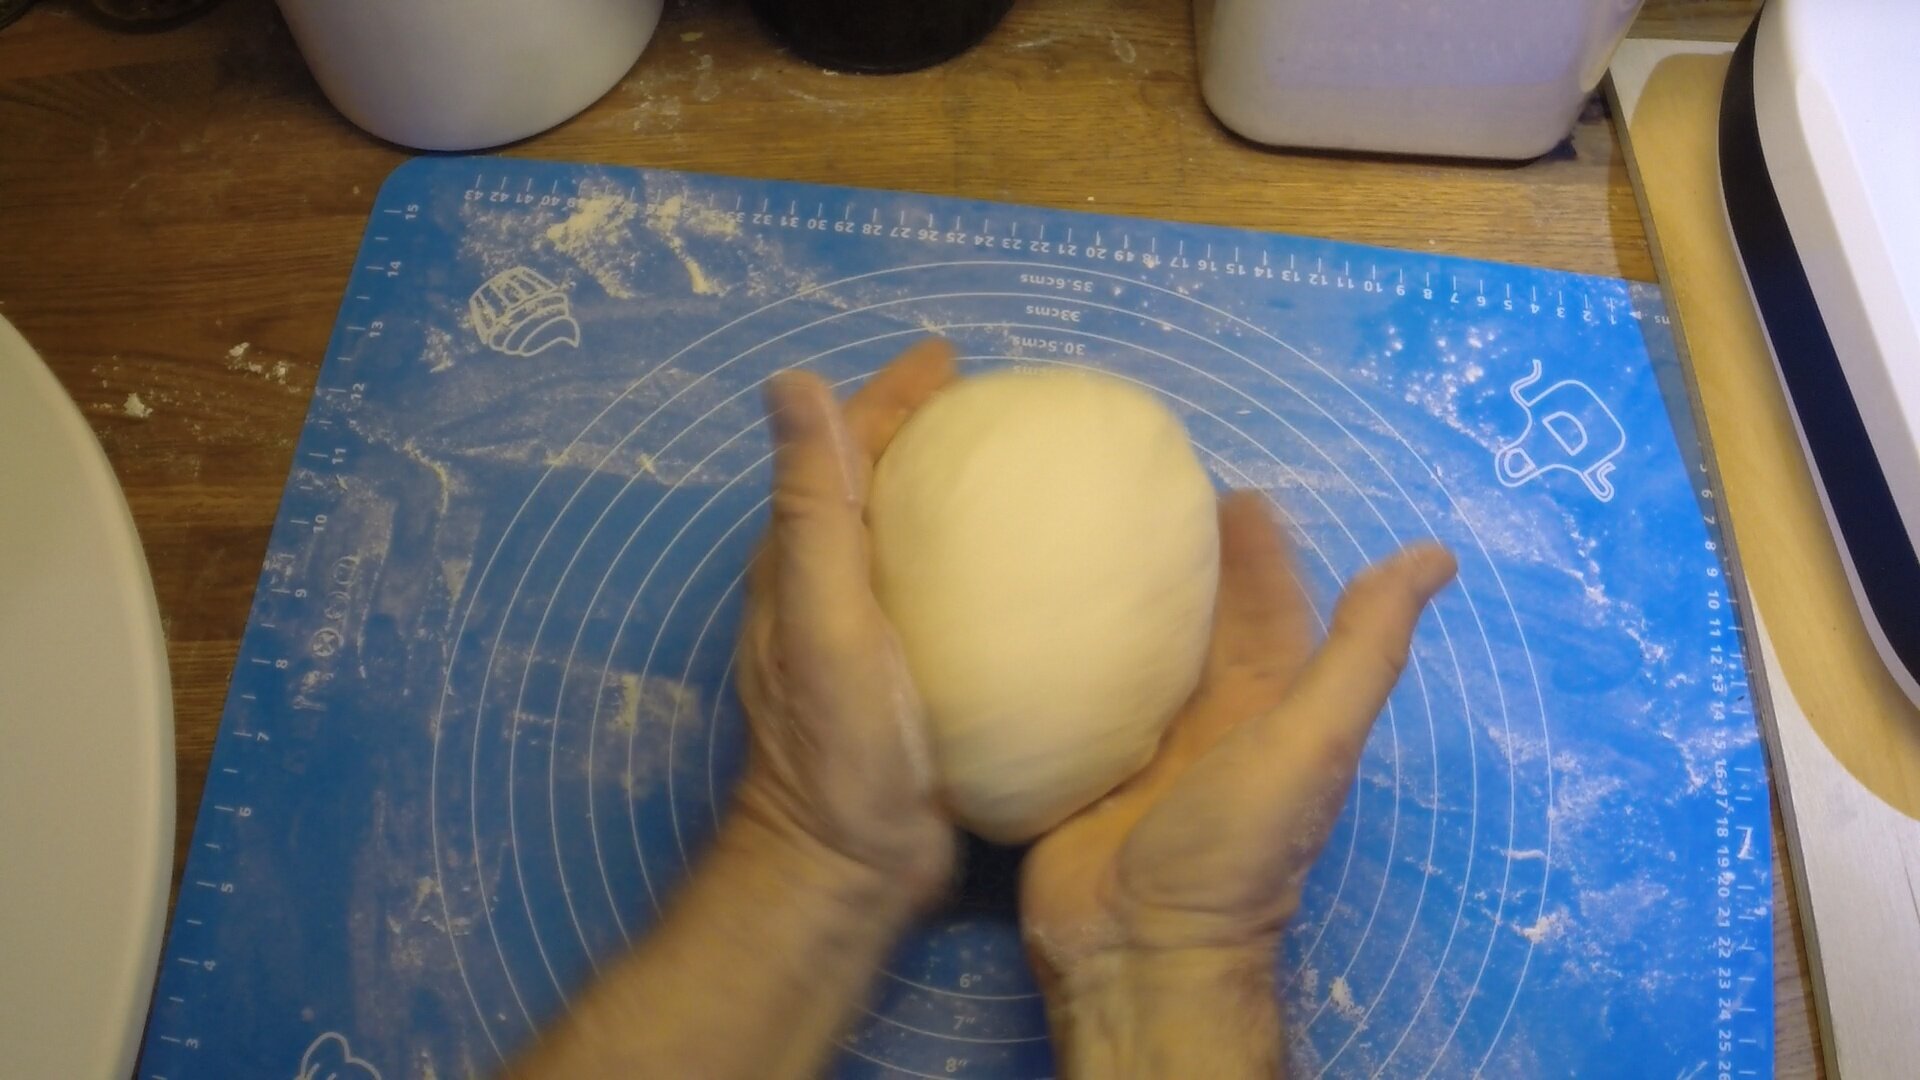
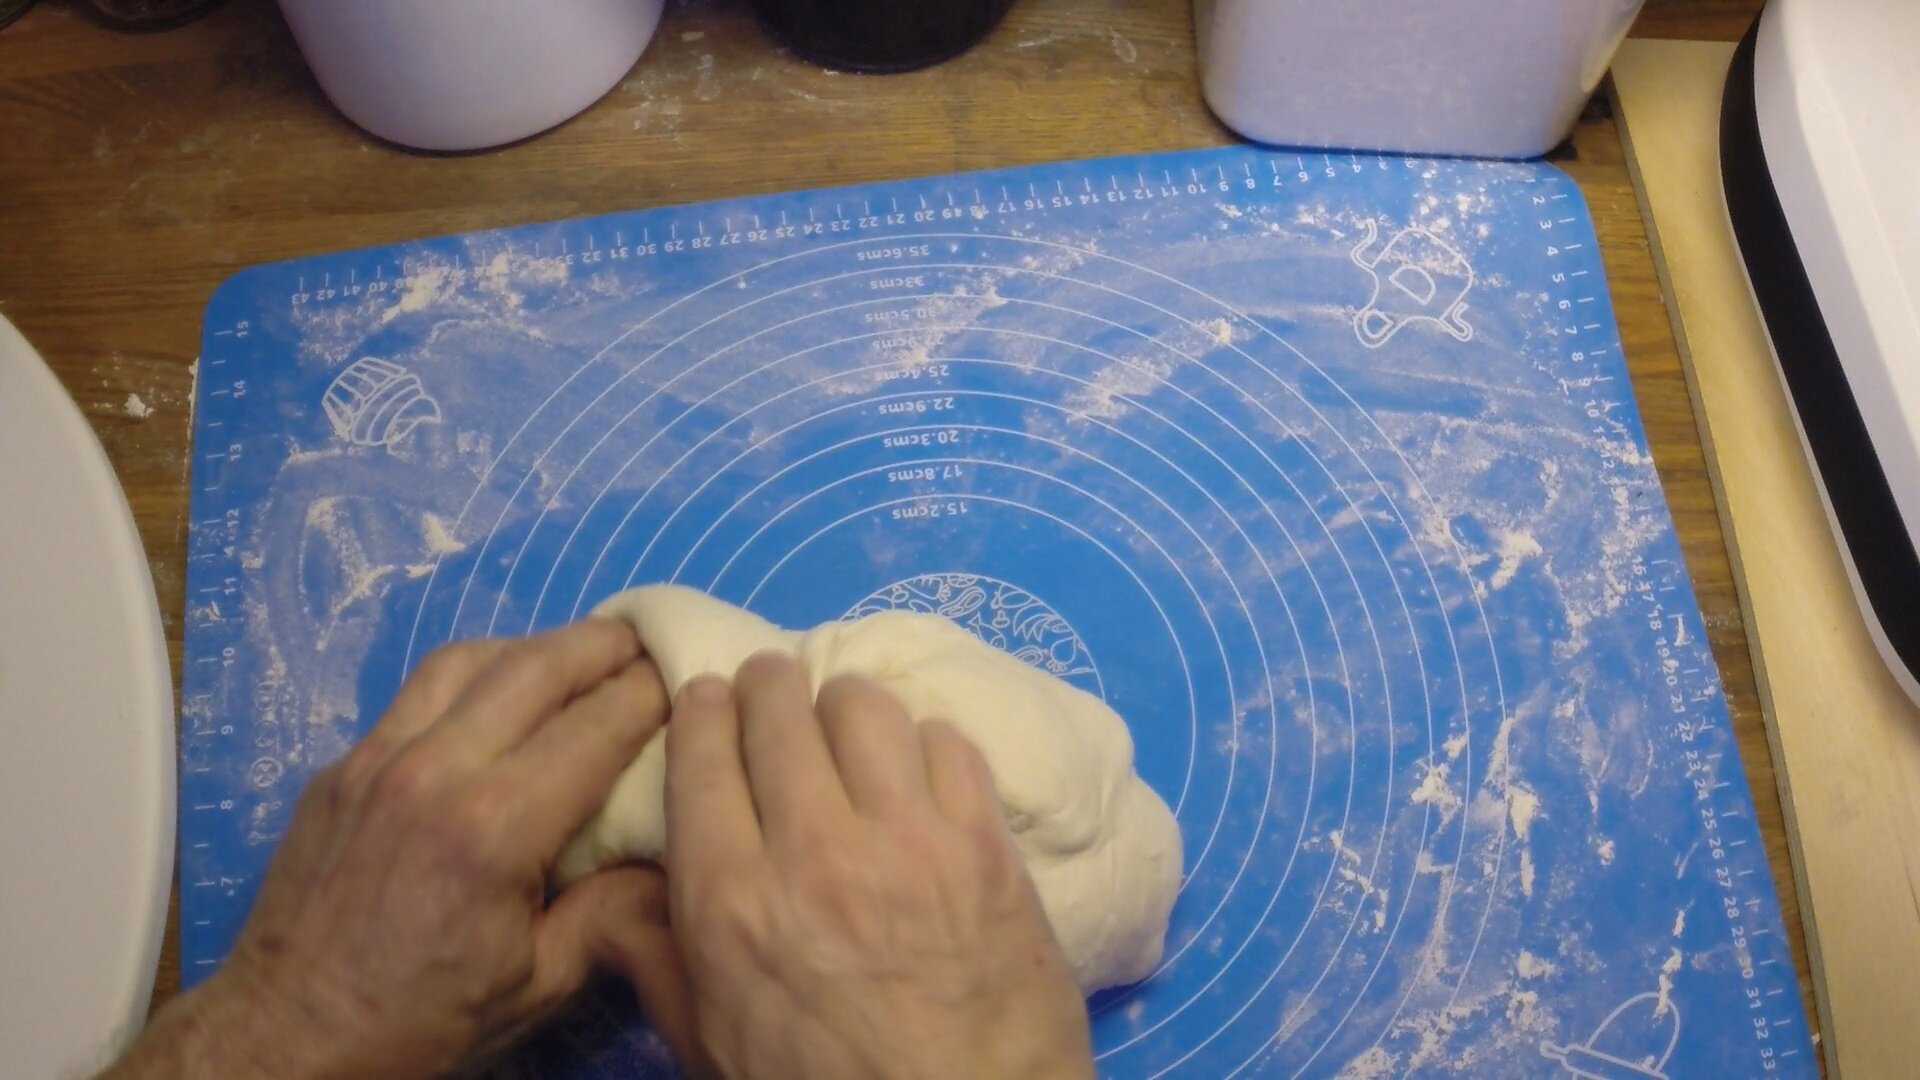
With the seam side up, start pulling small portions of the dough from the sides over to the center.
Keep doing this as you work your way around the dough. Try and keep the overall hot dog bun shape.
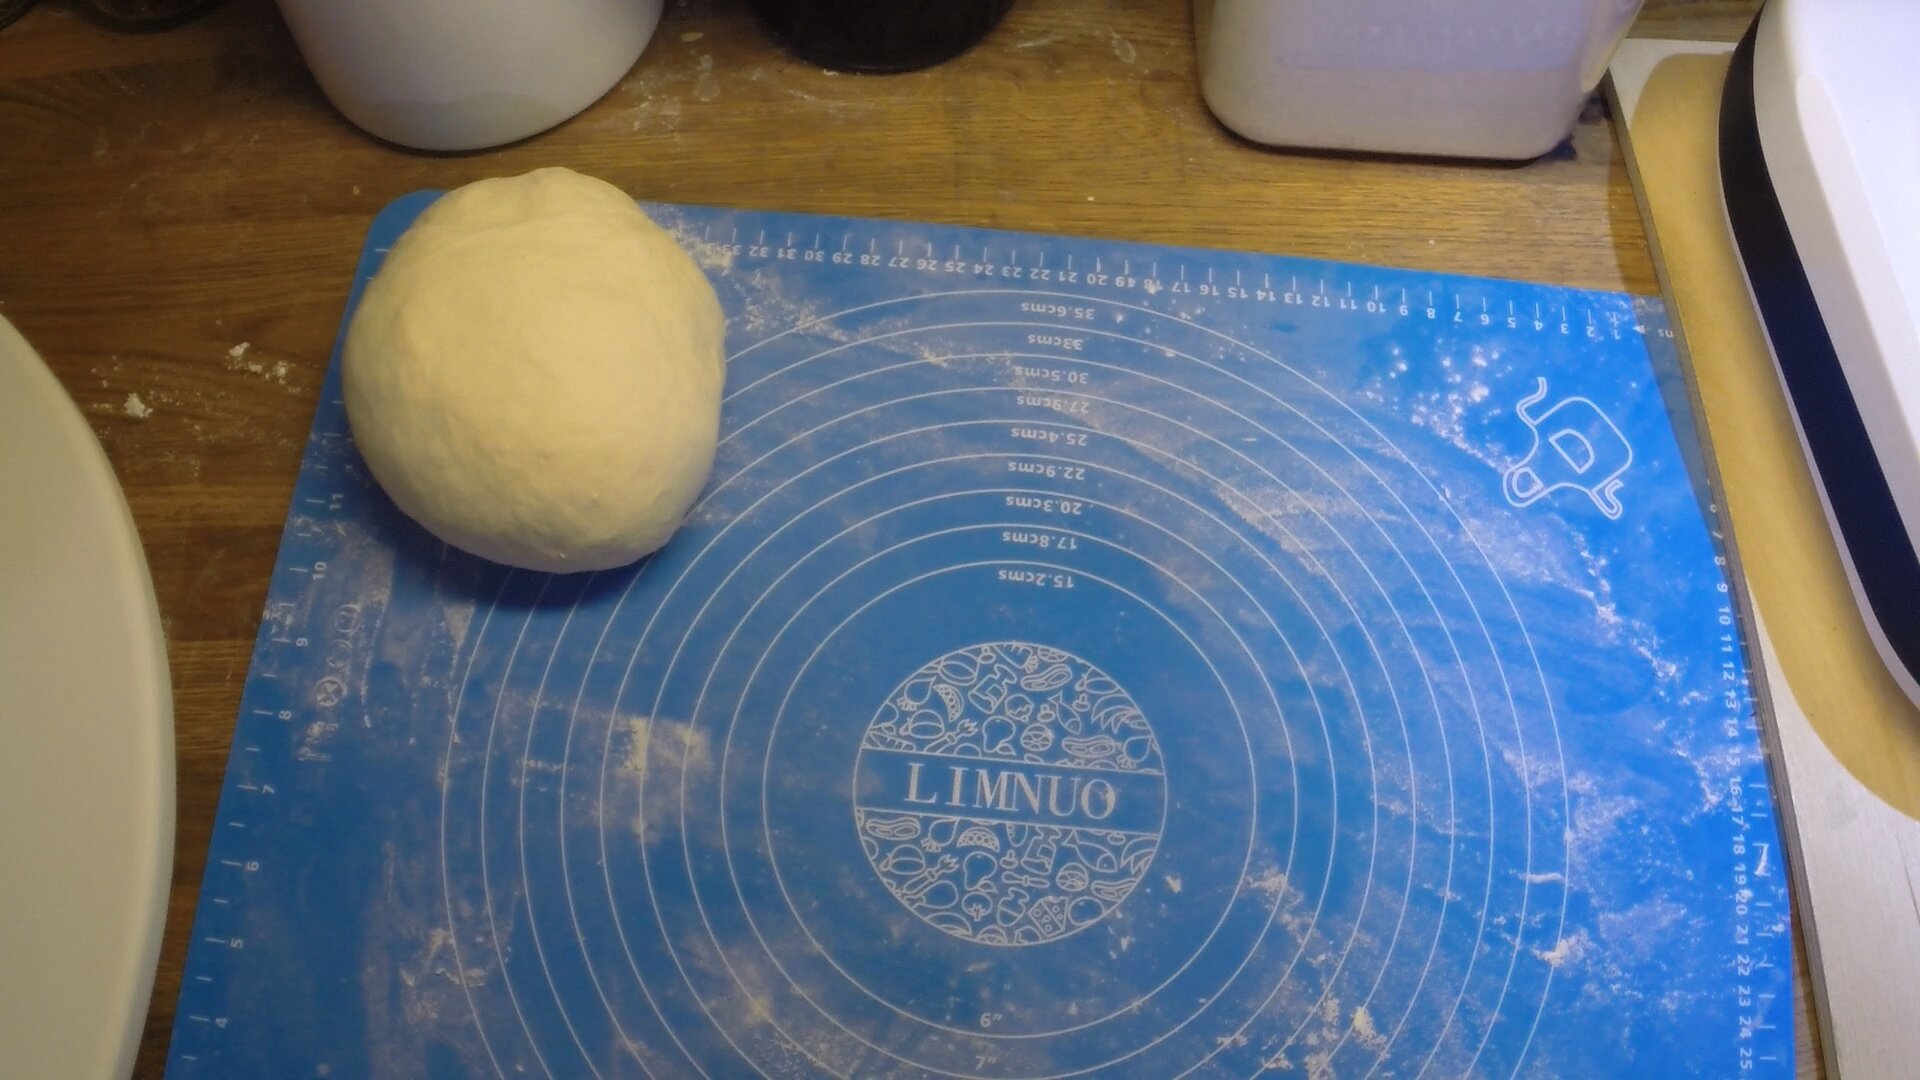
The goal here is to stretch the bread from the under side over to the seamed side while keeping the shape.
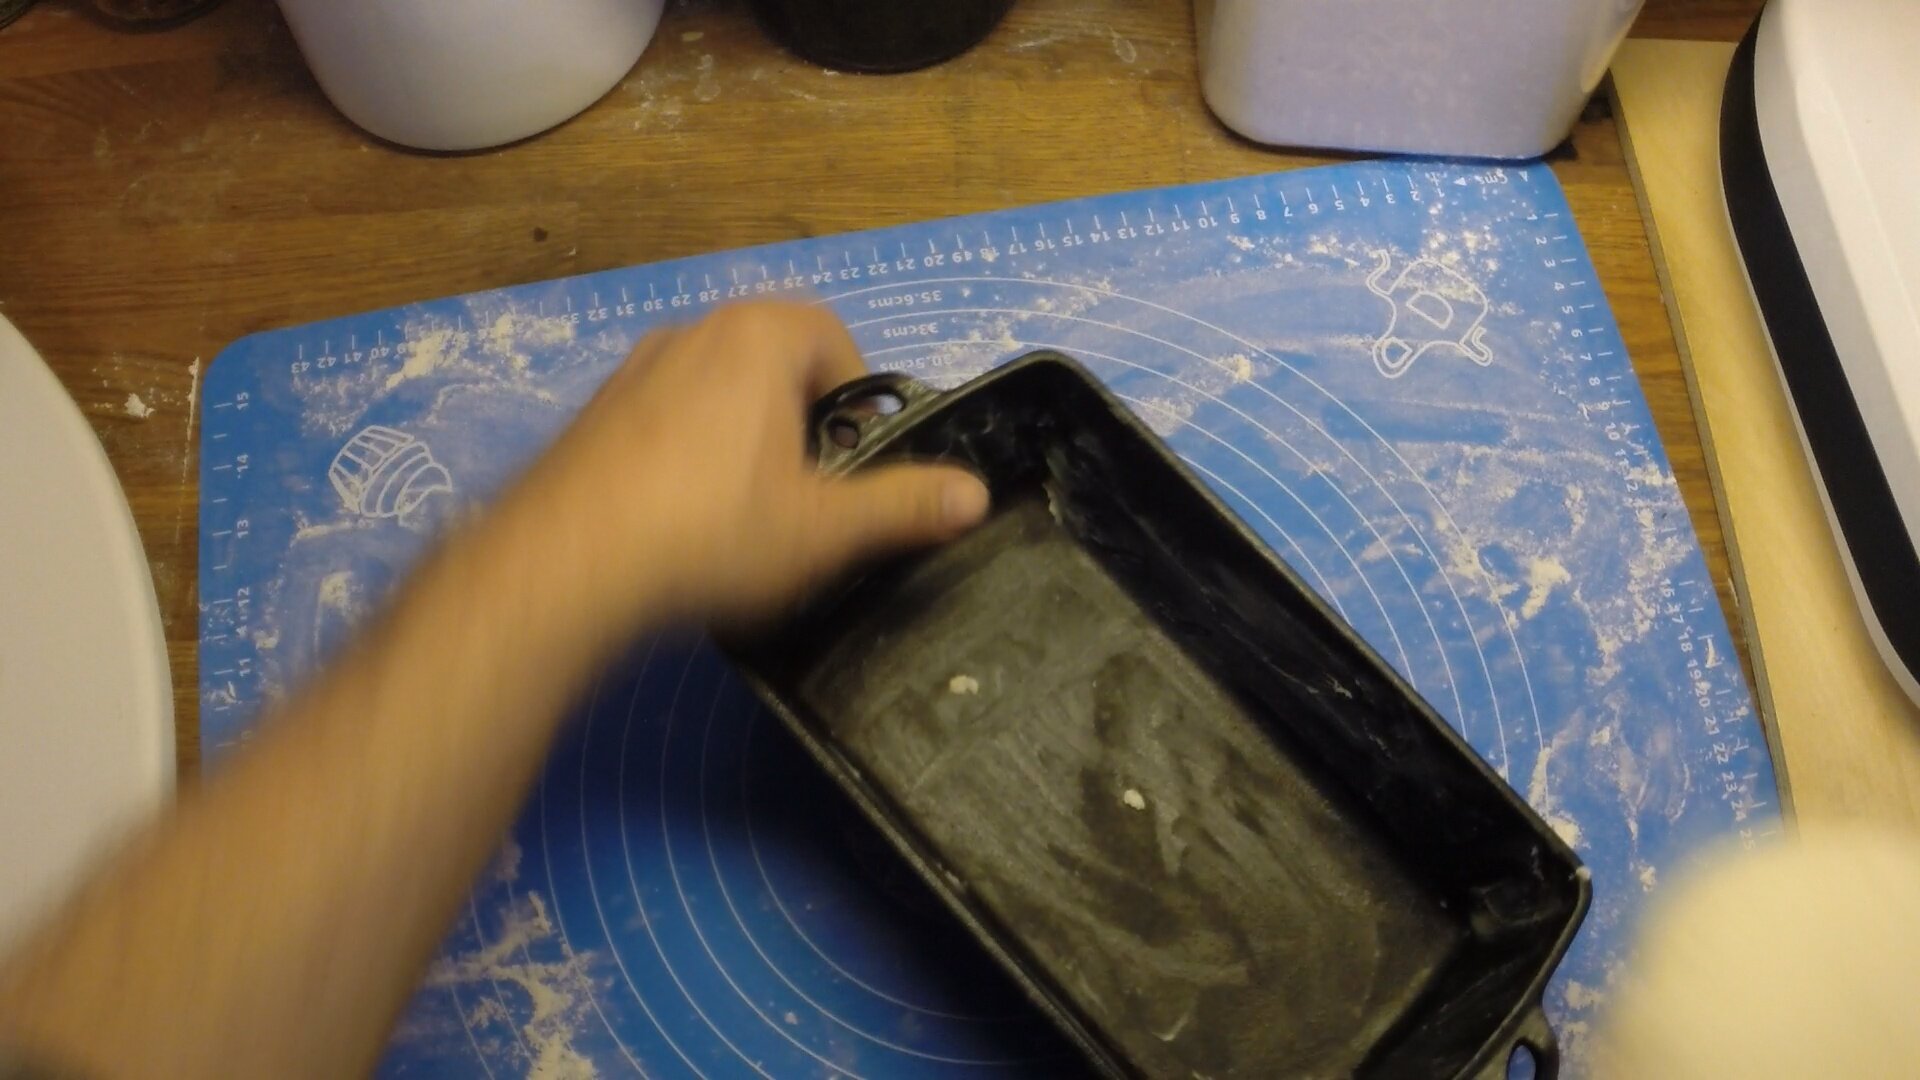
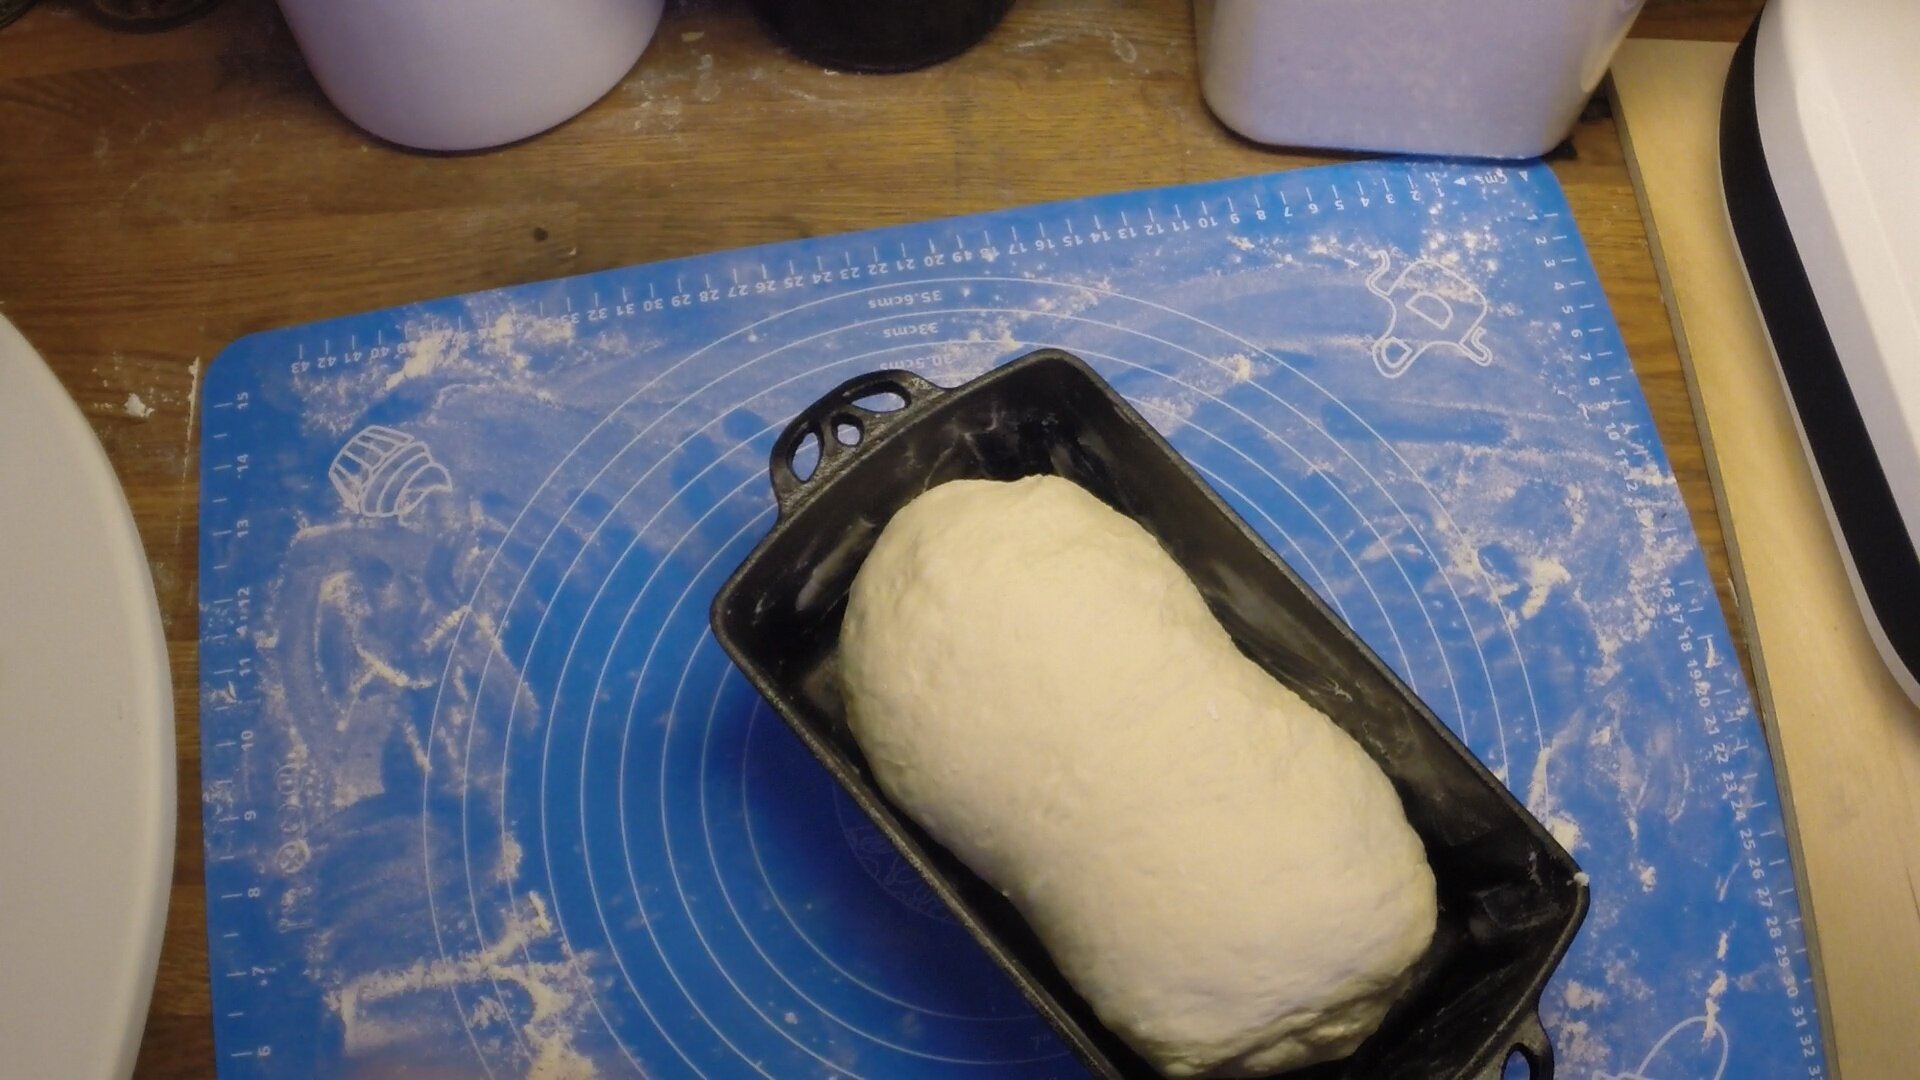
Add to Pan
Place the dough seam side down in a greased bread pan. Here I am using a cast iron pan greased with some all-vegetable shortening.
Cover with a damp Tea towel. I actually use flour sack towels.
Here is the cast iron pan I am using:

Proof
Again, if you have a proofer, set it to 86 degrees and proof for two hours.
If not you can proof at room temp. Remember proofing at 70 degrees you will take about 4 hours.
Wait
Wait for the proof to complete.


When the bread fills the pan and rises above the top it ready to bake.
Bake


Score
Score the bread with a razor blade or bread lame.
Coat Top
Using a silcone brush coat the top of your bread with the remaining melted butter.
Bake
Place the bread into a preheated oven.
Bake for 30 minutes at 400 degrees Fahrenheit.
Final Rest
Remove Bread
After 30 minutes remove the bread from the oven.
Rest
Remove the bread from the pan and place it on a cooling rack.
The bread needs to rest for about an hour. It is essential that you let the bread rest, as it is still cooking on the inside.
The Bread


Enjoy Your Bread
One the bread has cooled you can slice and enjoy the bread. I let mine cool to just warm to the touch.
Something to keep in mind, I use the butter as a density control for the bread.
If you want more of an open crumb, use less butter. For a denser closed crumb bread, add more butter.
Here is a video of the above process.