
Stuff I used
In this article I am going to show you how I do mini pressure fermentation in a 2 liter bottle.
This is the minimum pressure vessel equipment that I recommend for mini pressure fermentation.
Carbonation Tee
If you want to go completely Stainless Steel, you can go with these:
Stainless-steel Carbonation Tee
Stainless-steel Carbonation Caps
If you want an all-in-one Carbonation Tee, you can go with this one.
Spunding Valve
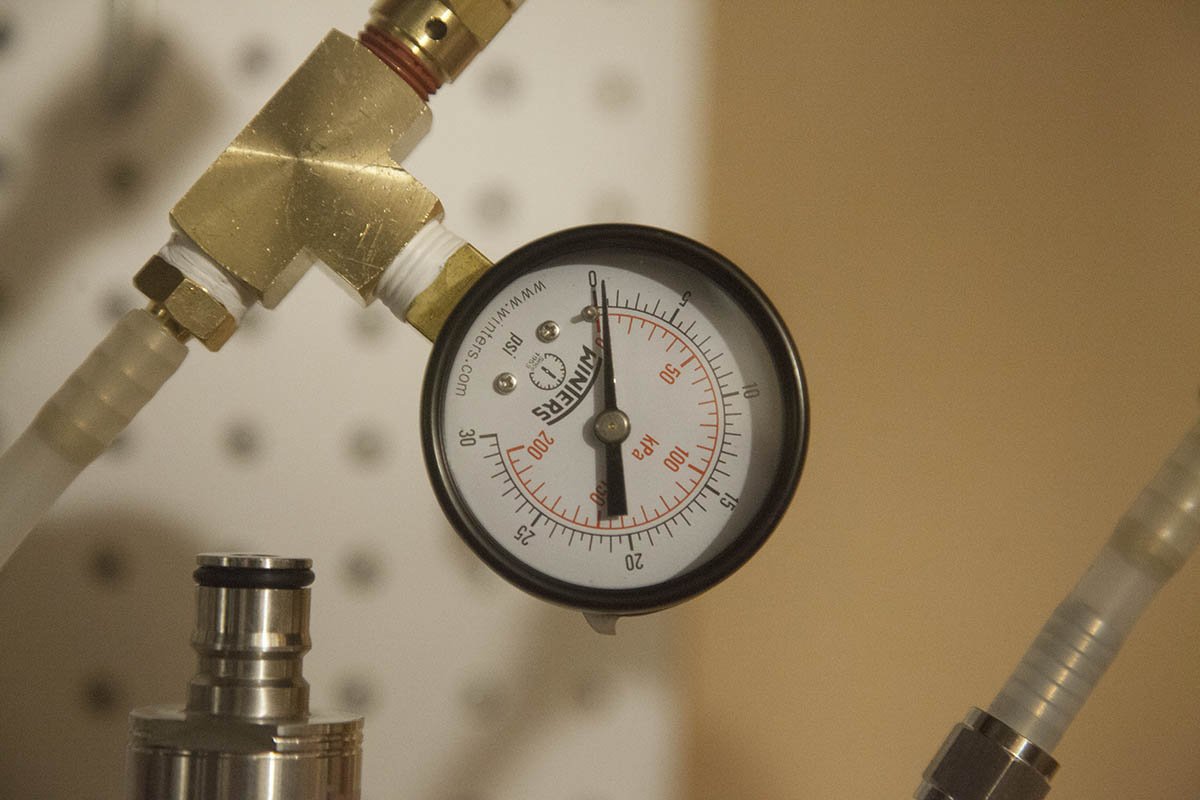
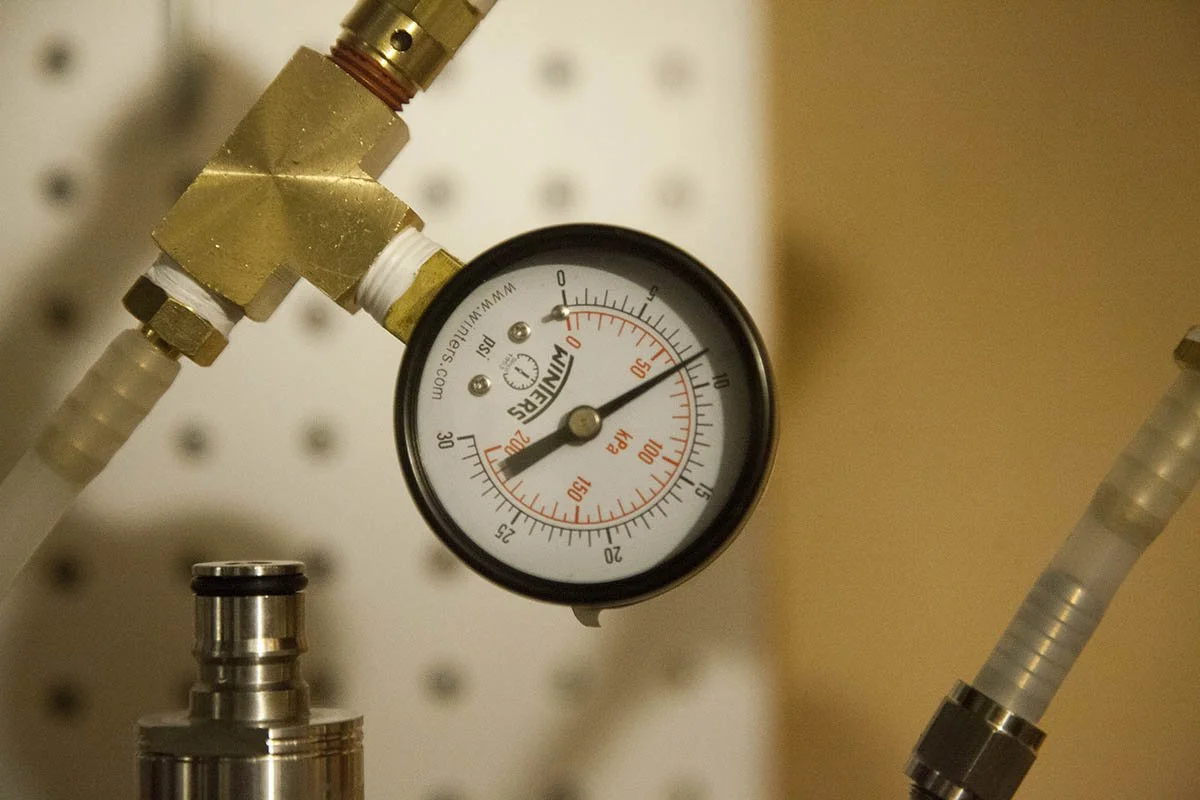
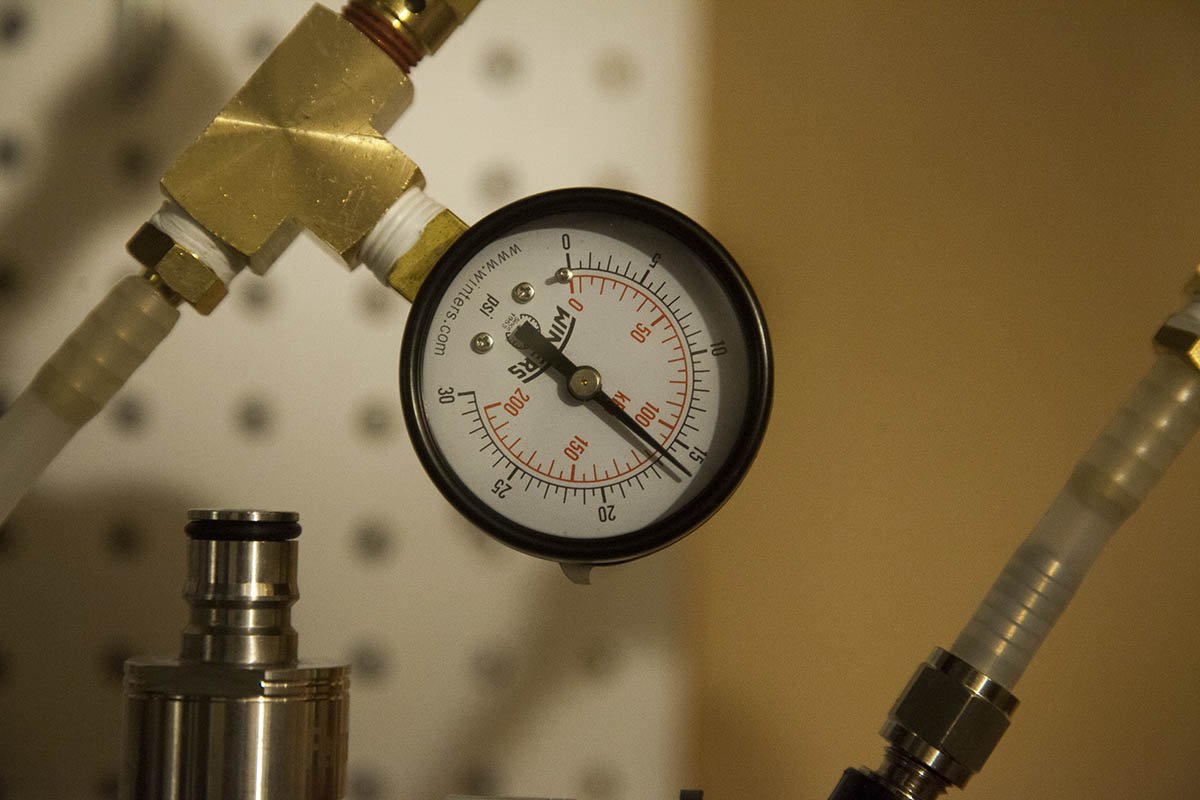
If you are going to pressure ferment, you must use a spunding valve. This device keeps you pressure from building up too high.
Shown here is one I built from various components from Amazon. If I get enough interest, I will do an article on how to build this.
This particular valve was made from spare parts I had in my shop.
This is one offered by Keg Land.
BlowTie Diaphram Spunding Valve.
This is one of my favorites. It is extremely accurate and easy to adjust.
I use this on my larger fermentation vessels.
One advantage to this type spunding valve is that you can connect an exhaust tube. This allows you to create a bubbler to help you watch the fermentation when placed in a container of water.
2 Liter Bottle
This is a standard 2 Liter soda bottle. Just make sure you keep the cap for it.
2 Liter Bottle Holder
The 2 Liter bottle will become top heavy when the Carbonation Tee and Spunding valve is added. To keep the bottle from tipping I created these holders. If I get enough interest, I will offer both plans and kits for these holders.
The Recipe
1 Lb Clover Honey
1 Cup Black Tea
1/8 tsp Yeast Energizer
1/4 tsp Yeast Nutrient
1/4 tsp EC-1118 Yeast
Water to about 1.75L (3/4 Filled)
The Process
Note that before proceeding the main 2 Liter vessel and all components that will touch the honey/must is sanitized with StarSan.

I make a cup of black tea.
Then add it to the two liter bottle.
I then add 1Lb of clover honey.
I fill the empty bottle of honey with hot water and shake it to rinse out all the honey and add it to the bottle.
I place the cap on the bottle and shake the heck out of it until the honey is mixed. Note that this also adds oxygen to the must to help get things going.
The Yeast
I take some water at approximately at 100 Fahrenheit and add a drop or two of honey.
I then add about 1/8 tsp of yeast energizer.

1/4 tsp of 71B Yeast.
I give them a quick mix and let stand for 20 minutes.
The Process Continues
I add cold water to the bottle.
I fill the bottle to about 3/4 full.
Note that I mix 1/4 tsp of yeast nutrient with an ounce of warm water then add it to the bottle.
I place the cap on the bottle and shake it again to mix things up.
I take a temperature reading.
Once the temperature is below 80F, I take a hydrometer reading.
I got a temperature corrected reading of 1.084.
I then pitch my yeast mixture.

Attach the Spunding Valve
I add my sanitized Carbonation-Tee. This will allow me to add my spunding valve and take samples as needed.
The spunding valve is added to the air only ball lock connection.
While the spunding valve can also be placed in the downward orientation, I prefer the up orientation as I have had drops make it into the ball lock from time to time. This way they don’t make it to the regulator or valve.
I move the must to my fermentation room. This room is set to about 72F.
I wait for the pressure to build on its own.
I reach my target 15PSI in about six hours.
Now I wait.
At the time of this article, I have three mini pressure fermentations going.
Super Berry Fruit (Left)
Mead (Middle)
Blue Agave (Right)
Feeding the Must
After three days, I decided to check the gravity.
I slowly remove the Carbonation-Tee. By slowly letting the pressure out it keeps the foaming down. Keep in mind the must is carbonated at this point.
I use a sanitized wine thief to fill my sanitized testing tube. The reason I am sanitizing everything is that the must that I am pulling out will go back into the container.
Because the must is carbonated, I have to wait for the bubbles to subside.
It took about 15 minutes for the bubbles to completely dissolve.
But just adding the hydrometer caused them to reappear.
I ended up with a temperature corrected reading of 1.013.
It went from a SG of 1.084 to 1.013 in just three days.
I added the tested must into a small, sanitized jar.
I added 1/8 tsp of yeast nutrient and mixed.
Once the yeast nutrient has dissolved, I poured it back into the bottle.
I placed the Carbonation-Tee back on the bottle.
And the spunding valve attached.
Once the must is back up to 15psi, I give the bottle a squeeze to remove the oxygen that is in the bottle. You can hear it coming out of the valve.
Note that it took this must about an hour to come back up to 15PSI.
Fermentation Over
4 days later I got a chance to check the mead. It finished out to just under 1.0. About 11.4 %.
I placed my test sample into a small glass so I could taste it. I taste all my meads at the end of fermentation. This gives me a baseline as it ages to see the direction it is headed.
This one tased very young, but surprisingly very crisp. Note that is still carbonated.
I replace the carbonation tee and place it into my mini fridge to cold crash for a while.
After the Crash

Time to Bottle
One week later the mead was really starting to clear. Using Co2 I pressure transfer to another container and placed it back into the fridge.
After a week, I needed my equipment to start another mini pressure experiment, so I decided to bottle the mead.
The bottle will be set aside for a few months with the remainder added to a PET bottle to force some more carbonation with my CO2 tank.
Conclusion
A few days later, I decided to drink some of the force carbonated mead. It has lost much of that young yeasty taste and is rather pleasant. I’ll have no problem drinking this tonight. Will it improve with age? Of course. Not this glass however, it is as good as gone.
I like experimenting with these small batches. Something of note though. Since I only use the carbonation tee when I transfer or bottle, I can get by with only a single carbonation cap for most of the fermentation. I can add the tee when I am ready to transfer.