I designed my bee house to hold 5 large AZ hives. This is the perfect size for me to manage right now.
They are sections of 12 frames.
At the time of this writing, I also have two AZ swarm catchers populated with hives with no place to put them. I want to keep them in reserve, so I have something to back fill any failing hive going into winter.
I could keep them in these until needed, but that presents a few problems.
The temps are now into the 90s and I just can deal win managing the bees in a bee suit at these temperatures.
These swarm catchers were not designed to hold the bees for any length of time. While they have AZ frames the bee space is a little to much at the top and bottom. This causes the bees to build honey comb on top of the frames between the frame and the lid. They do the same with brood comb under the frames.
Backup AZ Hives to the Rescue
To give me some sort of manageable AZ hive backup, I decided to add four single sections with six frames each.
Thier close proximity to the five large hives will make doing splits or combines very easy.
Backup Hive Design
The design is identical to my larger hive design, just smaller. All I had to do was size the enclosure to have the correct bee space.
Materials
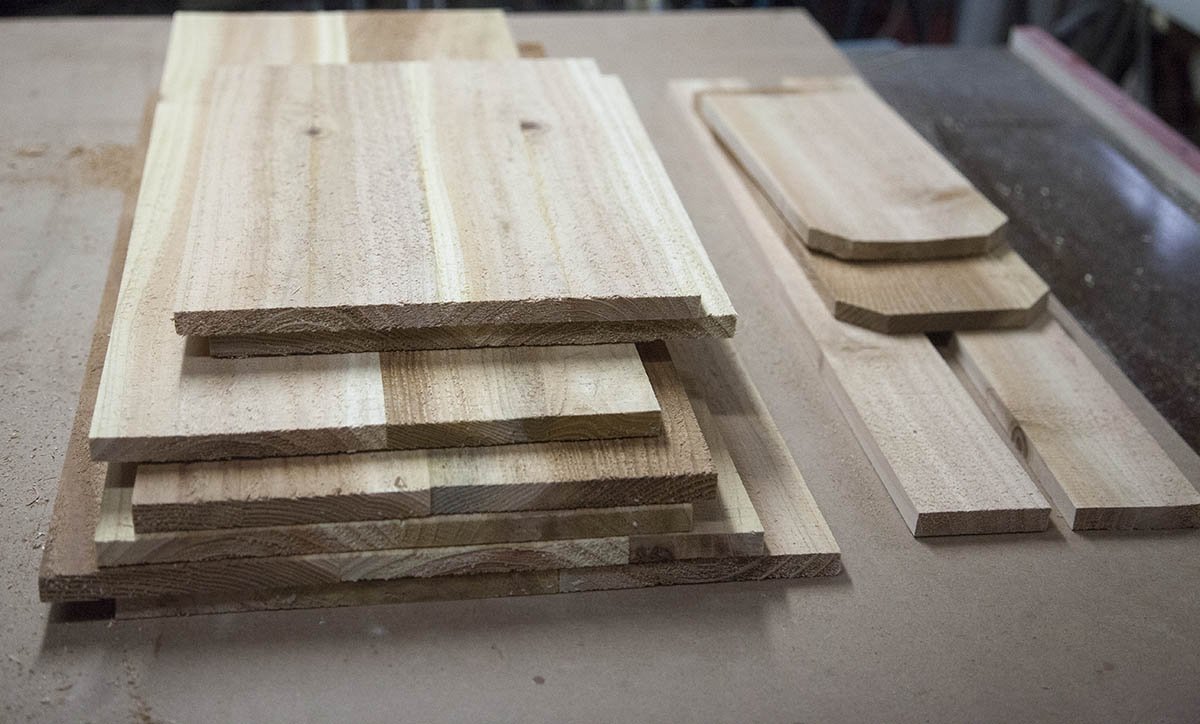
Two of the backup hives will be made from glued up pine scrap.
Two will be made from glued up cedar fence pickets.
Assembled Hives
One of the assembled Pine Hives. On this one I used the correct wood grain orientation for an AZ hive.
This insures the main expansion is front to back and will not affect bee space or cause warpage. Note that the inner front panel floats in dados.
The rear of the backup hives also sports two-part rear screens.
Here is one of the hives made with the cedar pickets. Note the grain orientation is not correct. Cedar does not expand and contract as much as pine so this will be an experiment to see how it holds up.
The rear of the four backup hives with removable varroa trays installed.
Painting the Hives
Due to the hives close proximity to each other they need to be decorated to help keep the bees from drifting from hive to hive.
I give each hive three base coats on an exterior water-based paint and added some simple shapes to the front of each hive.
On one of the hives, I even decoupaged an image I printed on my printer. I used waterproof Mod Podge to attach the print.
Conclusion
The next step is to install the backup hives into the bee house.
Be sure to check out my Building a Slovenian Hive book series.


