
In this article, I am going to show you how I sealed garage opening around the bee house.
The largest challenge is that the beehouse and support are anchored to posts that are below the frost level. It is not going to mover.
The garage, however, is sitting on skids on a gravel bed. It does move slightly over the course of the winter. I will have to make provisions for this movement.
First Things First
The end of the supports I added to the main posts were too close to the garage trim. This would make sealing off the garage problematic.
I used a reciprocating saw to cut the supports flush with the joist.
This will give me plenty of room to work.
Another problem was that the actual bee house was not centered in front of the garage door opening.
The house is not secured to the support structure, so I used a piece of scrap wood and a sledge to move the house.
You can see how much I had to move the house to center it.
Side Panel Spacers
In order to make a better seal, I needed to add some spacers to the side of the beehouse to make them flush along the rear edge.
I cut three spacers for each side of the beehouse.
The spacers were painted.
They were attached as shown here. This will make sealing the sides of the beehouse much easyer.
Weatherstripping
I plan on using this pipe insulation as my weatherstripping. It has a 1-3/4” outer diameter and a 7/8” inside diameter.
I created these spacers.
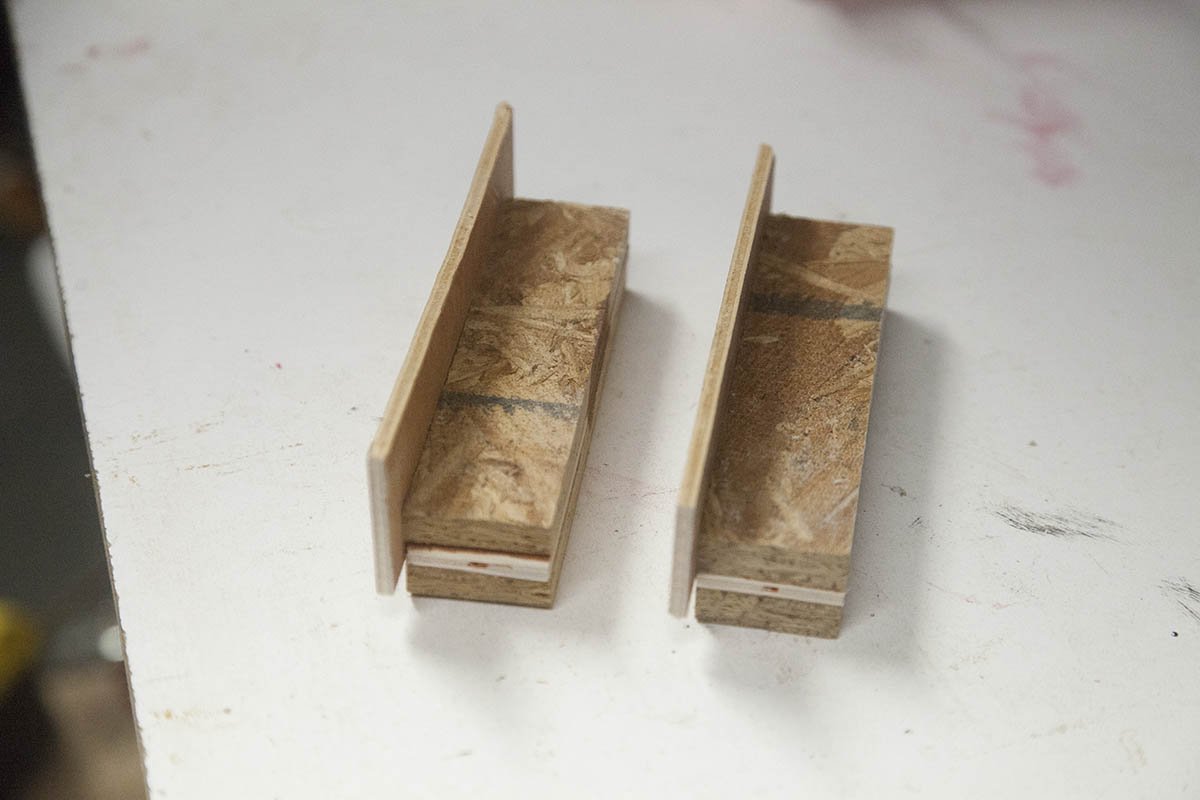
I will use these spacers to compress the insulation to about 1-1/2”.
This amount of flex should allow for the movement in either direction that I mentioned earlier.
Sealing the Sides
To seal the sides, I attach a painted 2x4 that runs the full height the beehouse.
I use my spacers to set the correct distance from the garage.
With insulation compressed and packed into the void, the sides are now sealed.
Sealing the Top

I attached a piece of 2” rigid insulation to the front of the opening. Its tall enough to reach the trim that surrounds the garage opening.
I used my compression spacers.
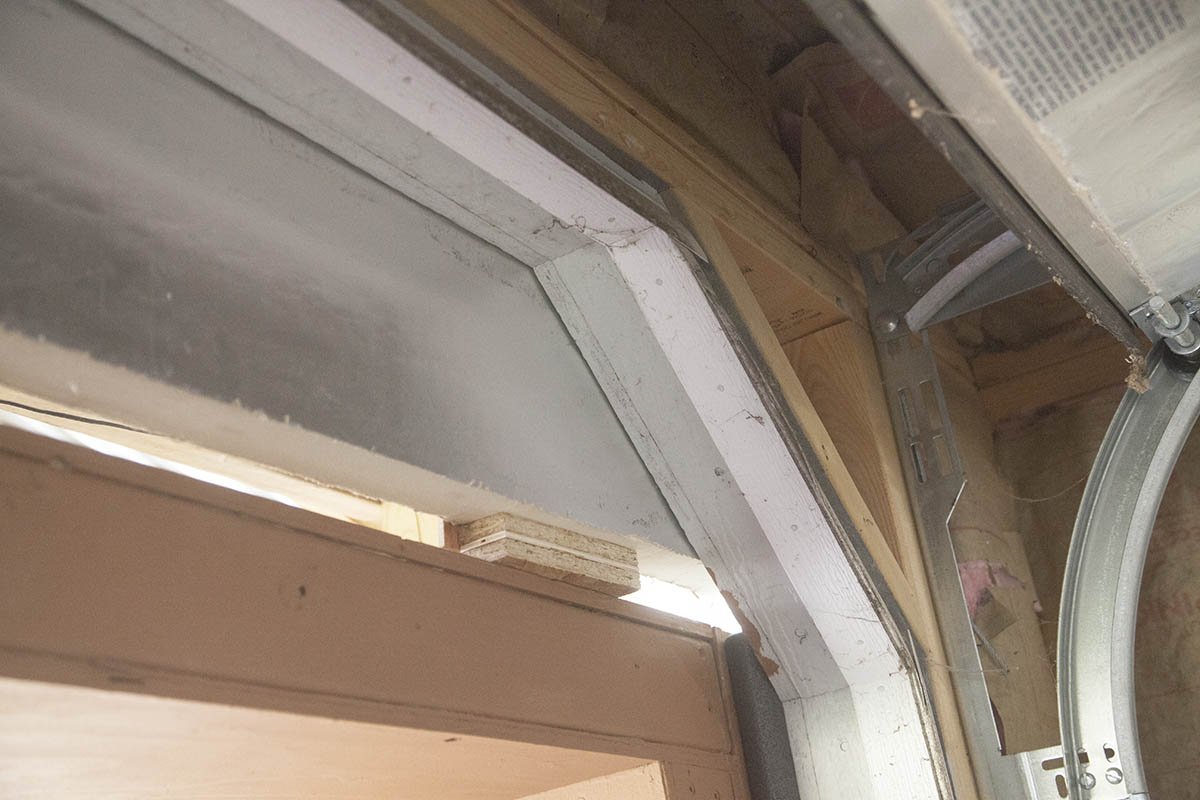
The insulation is attached to the trim via screws and wooded washers.
The pipe insulation is then squeezed between the beehouse and the rigid insulation.
I sealed the inside with some exterior caulk and painted the insulation.
The top is now sealed.
Sealing the Bottom
I took a scrap piece of 2” insulation and attached it to the front of the opening.
This will act as a stop for the main piece of insulation I will be adding later.
I suspect the will be replaced with something else a little later. For now, it is just here to help hold the main insulation in place.
I cut a panel to fill the space between the garage opening and the beehouse. Ther is space on the bottom and the two sides to add some pipe insulation.
The panel is secured to the beehouse with a 1x3 cleat along the top. Later I will attach a small accessory shelf to this cleat.
The pipe insulation is added to the bottom…
.. and the sides.
The panel is painted, and the shelf added.
The bottom is now sealed.
Conclusion
The beehouse now sealed to the garage, it’s time to start looking at hive placement and the front trim.
Be sure to check out my Building a Slovenian Hive book series.